
Nowadays, most apps and services require a password to log in. Remembering all the passwords in this busy environment is quite a difficult task. iPhone users need to face the consequences upon entering the wrong passcode. Whether you forgot the iPhone password or someone else tried to access the device with the wrong passcode, the device gets locked. In other words, all iPhone has specific limits for entering the wrong password. Exceeding the limit displays an error message on the screen. As displayed in the message, the user can unlock the iPhone by connecting it to iTunes. If you find yourself in such a situation, you can fix it up as the process is straightforward and easy to do. Follow the guideline to unlock iPhone when you get the iPhone is Disabled Connect to iTunes message.
Keep in mind that the unlocking procedure wipes all data on your iPhone, including passcode. Wiping your data is the only solution for the iPhone disable problem.
Possible Error Messages for iPhone is Disabled Connect to iTunes Issue
The possible messages you will get on iPhone with respect to iPhone Disabled Connect to iTunes include the following.
- Upon entering the wrong passcode 5 times continuously shows “iPhone disabled for 1 minute” message.
- Entering the wrong passcode 7 times in a row displays “iPhone is disabled for 5 minutes.”
- If the user enters wrong passcode 8 times in a row, “iPhone disabled for 15 minutes” appears.
- When the user continuously enters 9 times the wrong passcode, the screen displays “iPhone is disabled for 60 minutes.”
- If the user entered 10 passcode attempts wrongly, “iPhone is disabled Connect to iTunes” message appears.
How to Fix iPhone is Disabled Connect to iTunes
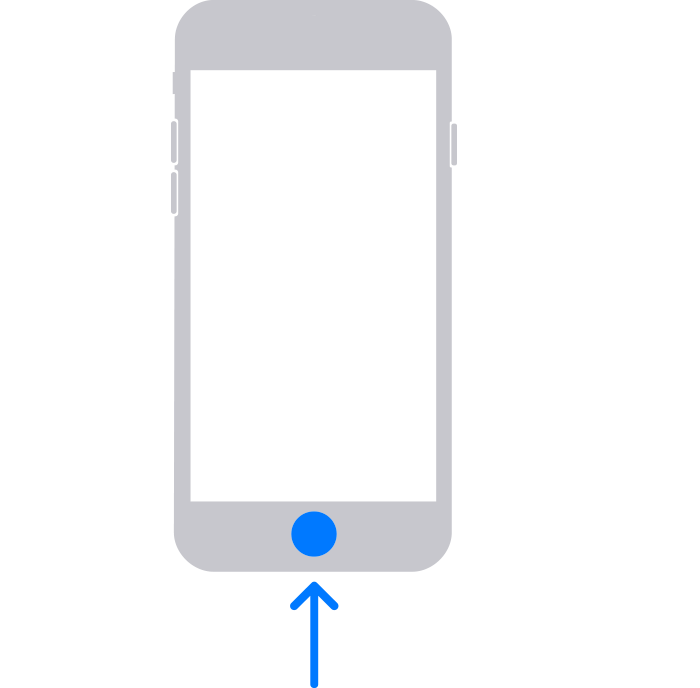
1) The first thing to do is to put your iPhone in recovery mode.
2) The next thing to do is to connect your iPhone to Mac or PC via USB cable. The PC you are using should be Windows 8 or later versions. Make sure to have the latest version of iTunes installed on your PC.
1) How to Enter Recovery Mode on iPhone
The recovery mode procedure varies on different models of iPhone. Follow the procedure provided below to put your iPhone in recovery mode.
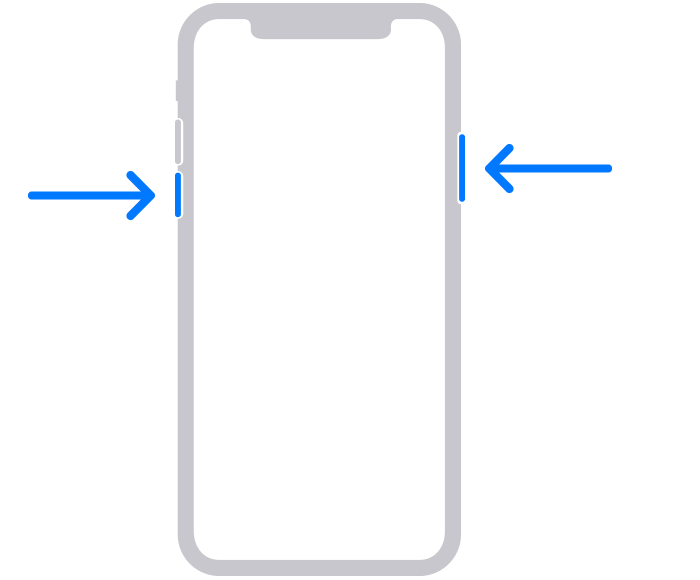
iPhone X or later, iPhone 8 or 8 Plus, iPhone SE (Second Generation)
- Press and hold the Volume down and power off button of the iPhone simultaneously until the power off slider appears on the screen. Swipe the slider to the right and turn off your iPhone.
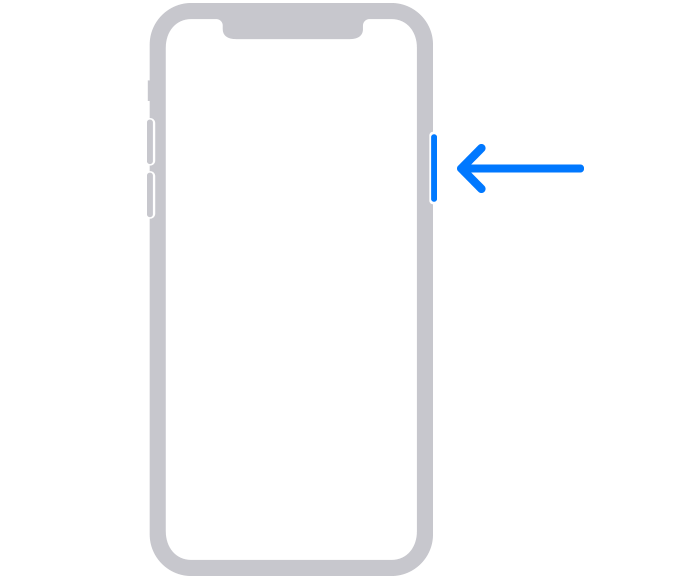
- Press and hold down the side button until your iPhone displays the Recovery mode. The recovery mode screen looks like a laptop connected by a USB cable.
iPhone 7 and 7 Plus
- Long press the Side button until the power off screen appears, swipe the slider to switch off your iPhone.
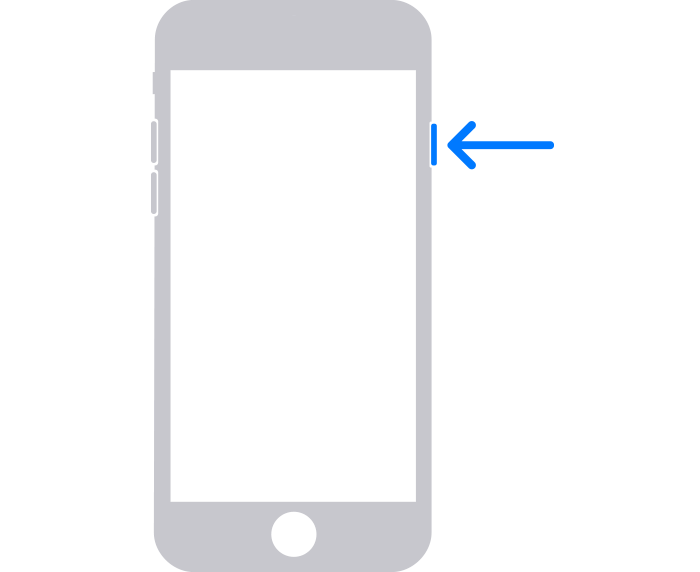
- To put your iPhone in recovery mode, long-press the Volume down button.

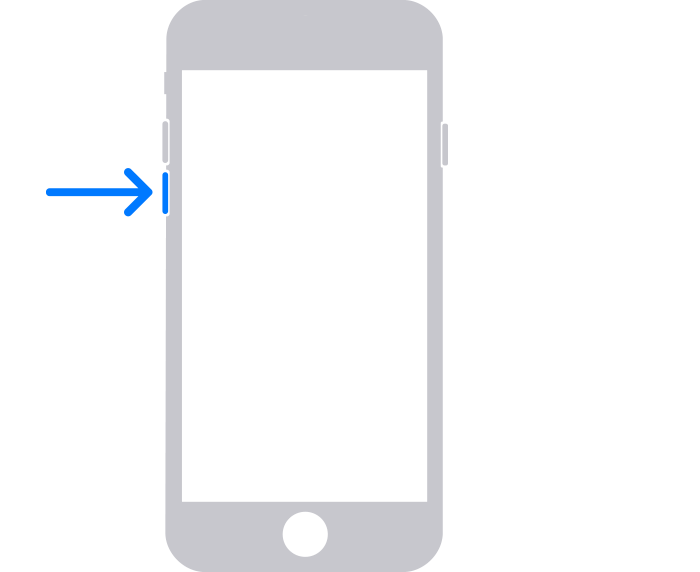
iPhone SE (1st Generation), iPhone 6, and earlier versions
- Press the side button without releasing it.
- Release it when you see Power Off slider on the screen.
- Swipe right the slider to power off.
- Now, long press the iPhone’s home button to enter into recovery mode.
2) Restore iPhone
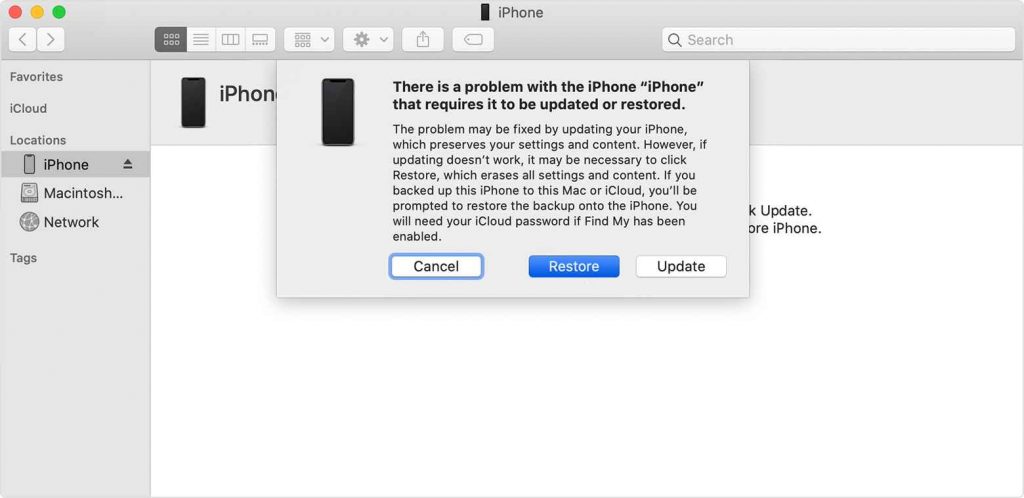
1) After entering into the recovery mode, locate your iPhone on iTunes (PC) or in Finder (macOS), select your device under the heading Locations.
2) The screen displays a message with options to Restore and Update.
3) Click on the option Restore. The restore process will start, and iTunes will start downloading and installing the latest version of iOS on your device. This process completely wipes all data in your iPhone. You can backup your data later.
4) Now, you can see the Hello message on the iPhone’s screen. That’s it. Go ahead and set up your iPhone. Make sure to select the backup option while setting up and back up all data using iCloud on your PC or Mac. Select the required option and follow the on-screen prompts to back up.
Related: How to Fix “iPhone Cannot Connect to the App Store” Issue
Alternative Ways to Fix iPhone is Disabled Connect to iTunes Error Message
In addition to the iTunes method, you can also unlock and recover your iPhone by using the following methods.
- Find My from iCloud
- Find My App
- Tenorshare 4uKey
Using Find Myfrom iCloud
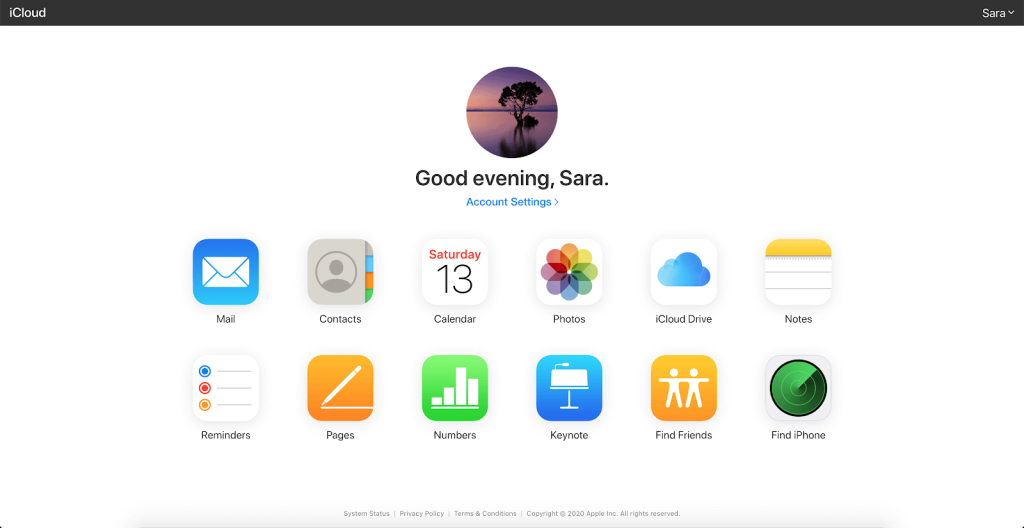
1) Choose a browser of your choice and visit the website iCloud.com on your Mac, PC, iPad, etc
2) Enter the iCloud credentials to login into the website.
3) Locate and tap the Find iPhone icon.
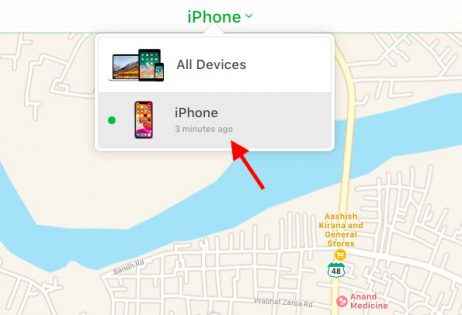
4) Click All devices displayed on the top.
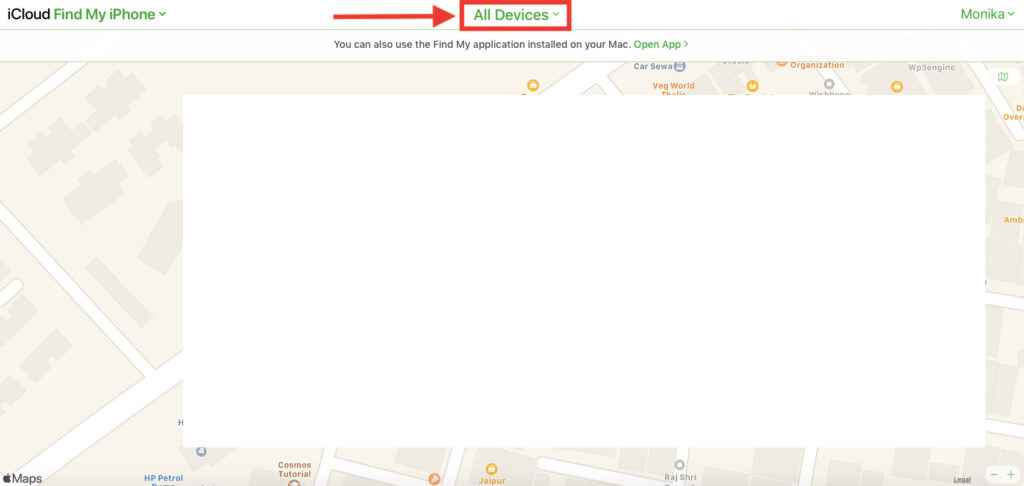
5) A small drop-down menu appears on the screen. It displays all connected devices to Find My. Select your Apple iPhone.
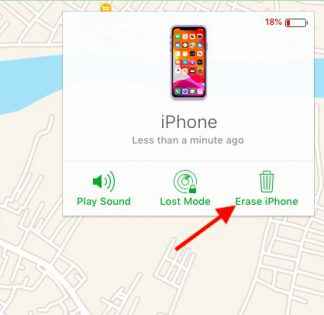
6) You will see an option Erase iPhone and Tap Erase to confirm the removal of iPhone from iCloud.
7) You can also Erase the device using the Find My app.
8) After removing the device from Find My, your iPhone screen displays Hello screen. Start setting up your iPhone and make sure to restore backup data.
Using Find My App
You can resolve the issue using the Find My app from one another iOS of yours or your friends. Follow the steps listed below to unlock your iPhone without iTunes.
1) Launch the Find My app on your iPhone.
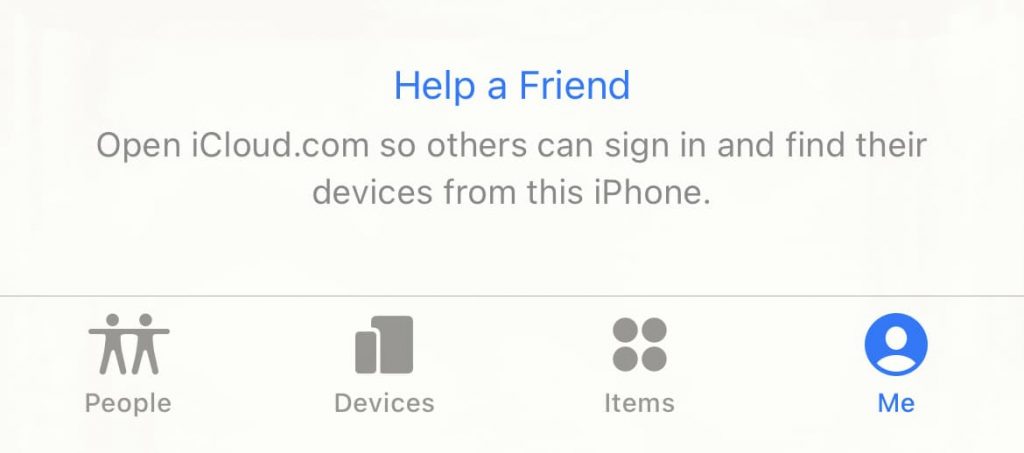
2) Click on the Me tab displayed at the bottom.
3) Now, choose the Help a Friend option.
4) Tap on Use a Different Apple ID if the Apple ID is not the same as your iPhone. Else, proceed.
5) Once logged in, go ahead to click on Devices.
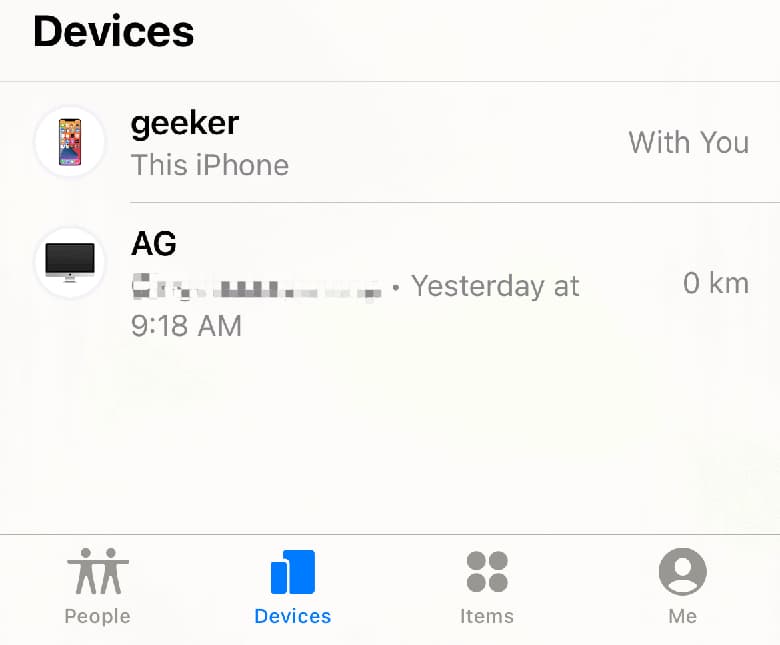
6) Scroll to select the disabled iPhone you want to unlock.
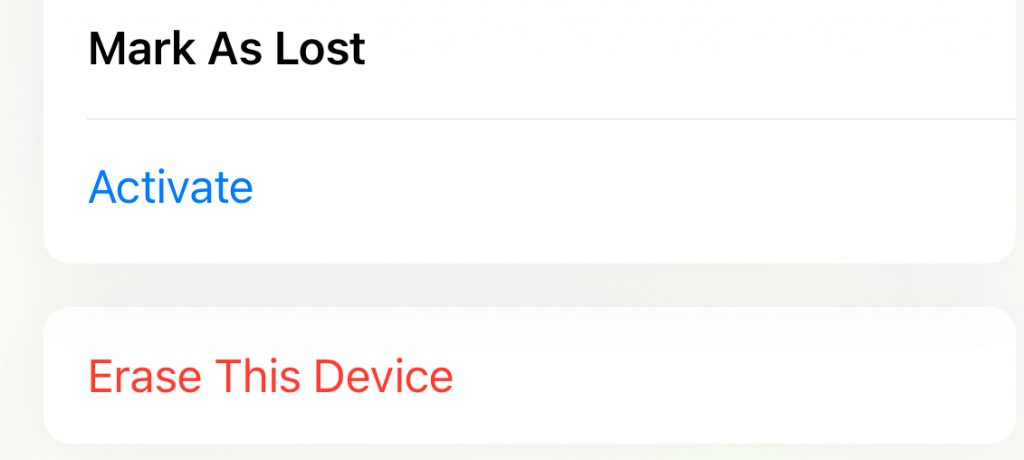
7) Finally, click on Erase this Device and select Continue when prompted to proceed.
8) With this, the data including your passcode gets erased. You shall now start setting up your iPhone to use it.
Related: iPhone Touch ID Not Working – Best Troubleshooting Tips
Using Tenorshare 4uKey
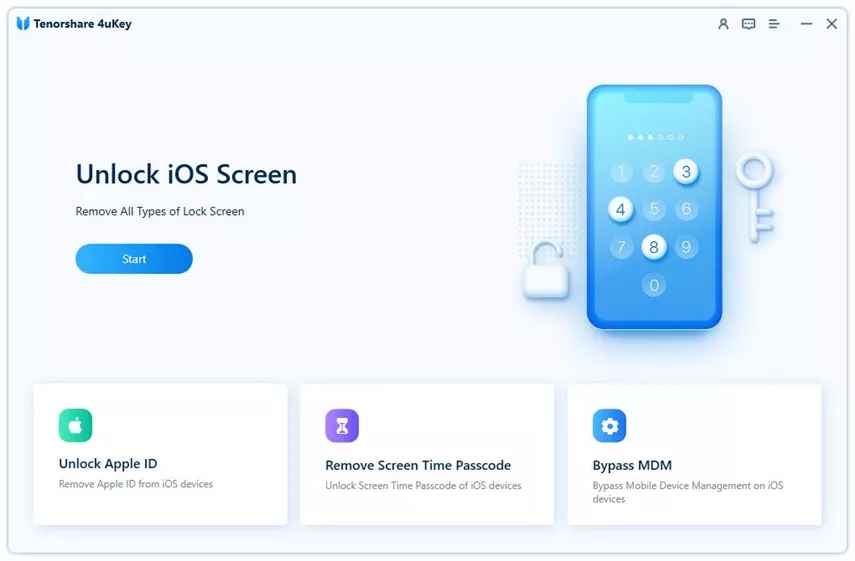
1) The initial step is to download and install 4uKey on Mac or PC from its official website.
2) Launch the software and tap Start.
3) Put your iPhone in Recovery mode
4) Connect your iPhone to the MAC or PC via USB cable.
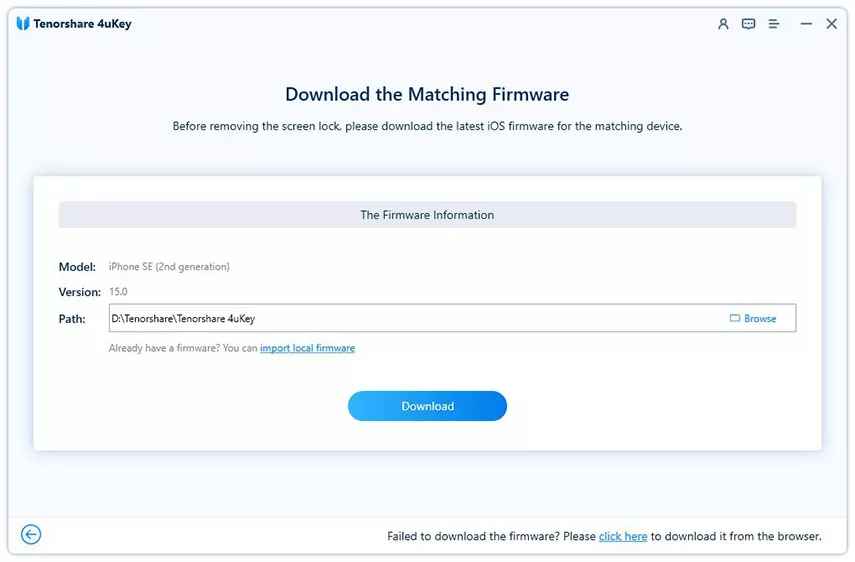
5) After connecting, it displays a screen in which you should click the option Download to get the latest version of iOS on your device. This might take a few minutes.
6) After downloading, tap on the Start to Remove option on the screen.
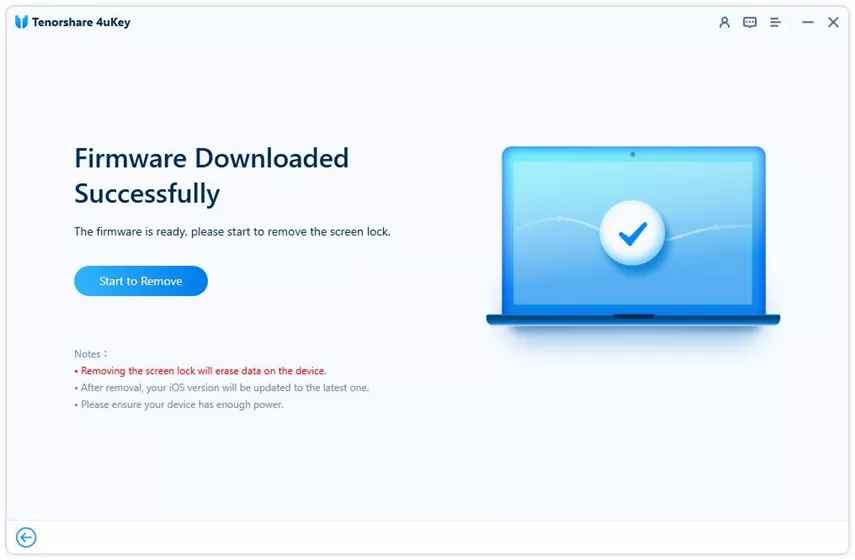
7) The process will be complete within minutes, do not disturb your iPhone until the process is complete.
8) Tap Done.
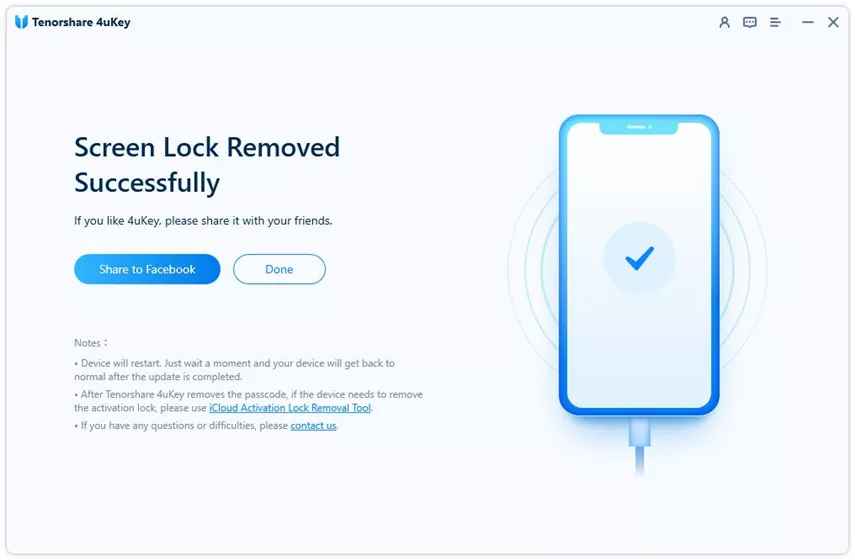
9) Now, you can see the Hello message on the screen. Begin the setup and make sure to restore the backup data.
That’s it. You can follow the guidelines and get rid of the error message. As this process completely wipes all data on your iPhone, make sure to have a backup. If you don’t have a backup, it’s impossible to restore the old data on your iPhone. So, you should back up your iPhone frequently to avoid potential risks. Hope this article guides you to unlock your iPhone. If you are curious to know about interesting tips and tricks of Apple products, follow our blog.