
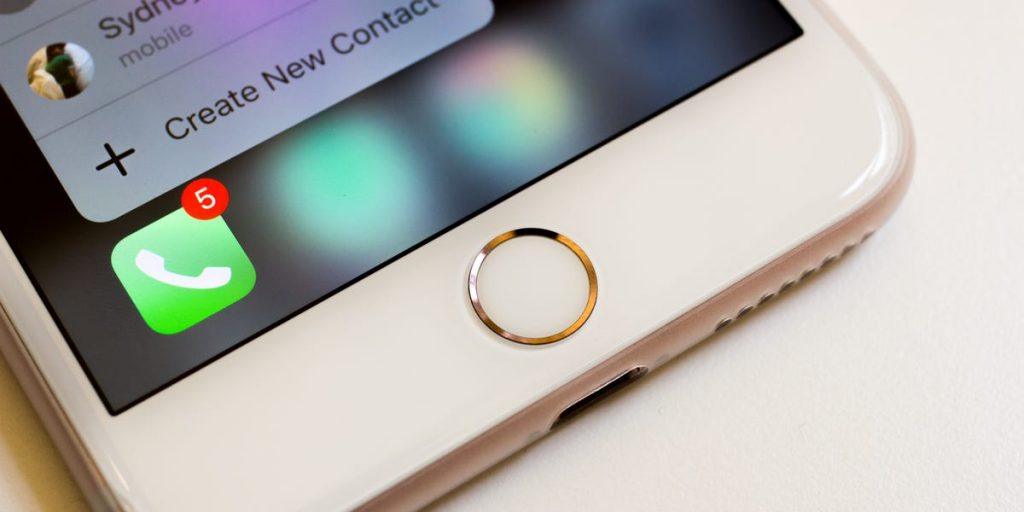
At times, you might come across the iPhone Touch ID not working issue. The Touch ID is a feature on the iPhone that helps you authenticate your identity. It might not be a very common issue, but the Touch ID is reported to have stopped working. The Touch ID sensor is on the Home button of an iPhone. It scans your fingerprint and lets you make purchases. So without it, you can’t use the App Store to add apps and make similar purchases on the device. The latest versions of iPhones, including the iPhone X series, and later don’t have this iconic Home button. However, if you are using one of the previous iPhone versions, you might come across this issue. In that context, let’s discuss a few troubleshooting tips to help you fix a Touch ID that doesn’t work anymore.
iPhone Touch ID Not Working: Best Fixes
There are multiple factors you need to check when the iPhone Touch ID is not working. However, a small change in the factors might have caused the Touch ID to stop working.
1. Clean your Finger and Home button
Sometimes, a little bit of sweat or water on your hand can make it hard for Touch ID to scan your finger. Take a piece of cloth (lint-free) and clean your finger to remove anything unwanted on it. Similarly, clean the Home button in circular motions around its edges. Clean it without exerting much pressure with slow circular movements in both directions.
2. Scan your finger
Now that you have cleaned the finger and the Home button. Try scanning your finger on the Home button. Ensure to cover the Home button with your finger entirely to scan it. Ensure that you are not pressing it too hard on the button. Also, keep the finger there for a few seconds without moving it around to scan properly. If your phone cover is covering the Touch ID by any chance, remove it so that you can scan your finger.
3. Restart your iPhone
Restarting your iPhone is a useful troubleshooting tip to fix issues on your iPhone, including the one with the Touch ID. So, try restarting your device if the Touch ID is not working.
On iPhone 8 and previous versions
1. Press your iPhone’s Volume Down button and Sleep/ Wake button.
2. The Apple logo appears on your screen, indicating that the device iOS turned off.

3. A few seconds later, the iPhone turns on after the restart.
Related: iPhone Internal Storage Empty: 9 Easy Working Fixes
On iPhone X and newer versions
1. Hold down the Volume Up button and release it.
2. Press the iPhone X’s Volume Down button and release it.
3. Long-press the Side button for nearly 10 seconds.
4. The Apple logo appears on the screen, and your device turns off.

5. After a few seconds, your device turns on after the restart.
Try using the Touch ID after the restart by setting a new fingerprint. It might have fixed the issue of the Touch ID not working.
4. Turn Off the Touch ID and Turn it On
Try turning off the Touch ID on your iPhone in case it doesn’t work properly. Further, turn it on and check if it works properly.
1. Go to the Settings app on your iPhone.
2. Select the Touch ID & Password option from the menu.
3. When prompted, enter your passcode.
4. Under Use touch ID for the field, turn off the iPhone Unlock, Apple Pay, and iTunes & App Store options.
With this feature turned off, you can only unlock your iPhone, use Apple Pay and App Store with your passcode.
5. Delete and Add New Fingerprint
You can also delete the existing fingerprint on the device when the touch ID isn’t working. Further, add a new fingerprint and try turning the device on.
1. Open the Settings app from the apps column on your iPhone and tap on the Touch ID & Passcode option.
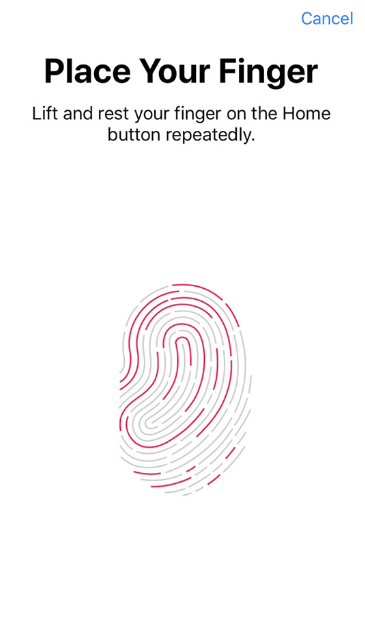
2. Place your finger on the home button so that it identifies the fingerprint.
3. Tap on the fingerprint and the Delete option.
4. Now, you have deleted the existing fingerprint.
5. If you need to add a new fingerprint, launch the Settings app.
6. Tap on the Touch ID & Passcode option, and then on the Add a Fingerprint option.
7. Follow the instructions on your device to add a fingerprint.
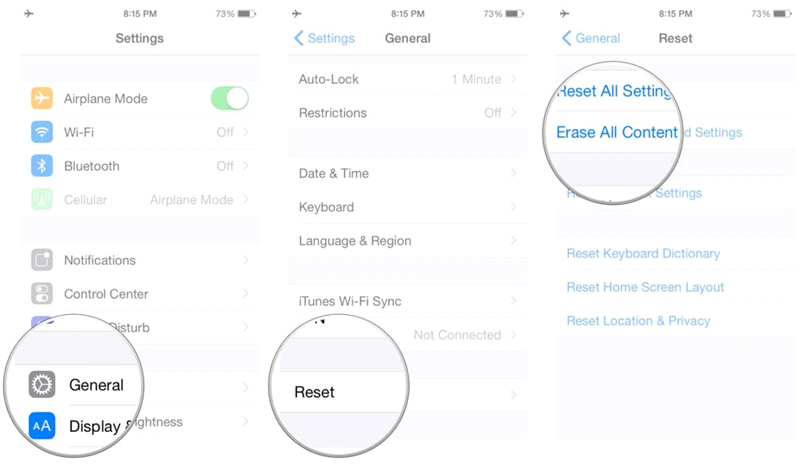
6. Reset your iPhone to Factory Settings
If any of the above troubleshooting tips haven’t helped you fix the issue with Touch ID, you need to reset the iPhone. After the reset, your device goes back to its initial state when you first bought it. A factory reset will fix most issues on your iPhone. However, with a factory reset, you will lose all the settings and content on your device. Go ahead and back up the content of your phone.
7. A Third-Party Tool as a Rescue
We have gone through all the ways to fix the issue with Touch ID on your iPhone. However, if none of them worked as they should have, you need the help of a third-party tool. Here, we shall make use of Tenorshare ReiBoot, which will help you activate Touch ID. It is generally recommended if you had an iPhone screen replacement.
1. Install ReiBoot on your computer and open it.
2. Connect your iPhone to the computer with a USB cable and click on the Repair Operating System option.
3. Select the Fix Now option, and the app detects your device.
4. Click on the Browse option and then the Download option.
5. Finally, click on the Repair now option to start the repair.
6. The repair completes in a few minutes, and you need to click on Done.
7. Your iPhone restarts after the repair.
8. Try using your iPhone to check if the touch ID works.
Related: 10 Ways to Fix iPhone WiFi Calling Not Working Issue
8. Update your iPhone
If you haven’t updated your iPhone in a while, you may likely face glitches and performance issues. So, it is recommended to update your iPhone to the latest version. With this, any bugs or issues get fixed, including touch ID not working.
9. Contact Apple Support
If you cannot access the touch ID, you shall reach out to Apple support to check for any manufacturing defect. It is recommended to visit the Apple authorized service center to find out the cause of the issue to fix it up.
You can try one or all of the troubleshooting tips to fix issues on the Touch ID. After a reset, you can fix the issue on the Touch ID. If these tips weren’t of much help to you, you might need to get them fixed by Apple Authorized Service Provider. You can find more helpful articles on our blog.