
iPhone is a highly secured and trusted smartphone ever in the market. Apple never fails to impress its customers with unique features with every model it releases. iPhone likely brings you errors, bugs, or issues and they are most often resolvable. Many users would have come across iPhone Error 14, aka iTunes Error 14, while updating or restoring the iPhone. With this, you will notice, “The device could not be restored. An unknown error occurred (14).” Nevertheless, it is a big deal yet is an annoying issue for many. While it occurs when upgrading your iOS using iTunes, there are other causes too. You aren’t the only one to get Error 14 iPhone or iTunes Error 14. To help you get rid of this issue, we have listed down the possible causes and various ways to fix them up.
iPhone Error 14 – Possible Causes
Listed below are the possible causes of iPhone Error 14 or iTunes Error 14.
- It occurs when you try updating your iPhone running on iOS 13 with low storage space.
- When you got stuck at the Apple logo screen.
- Due to a faulty USB cable.
- It occurs with a firmware upgrade.
- Due to an unstable wireless network.
- As a result of outdated iTunes.
How to Fix iPhone Error 14 / iTunes Error 14
You can proceed with the below troubleshooting methods to fix the iTunes error 14.
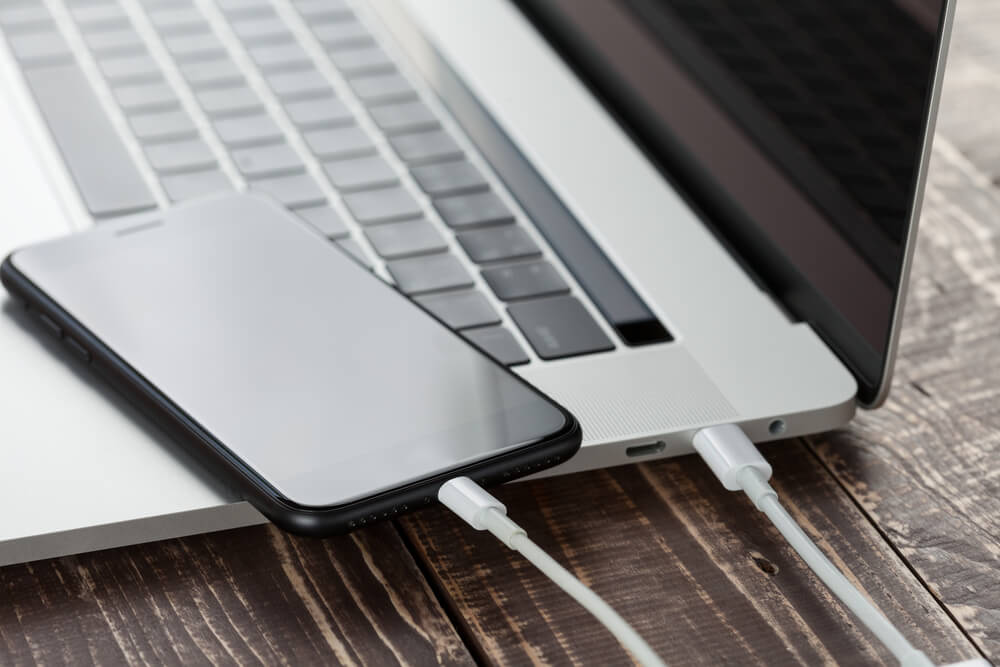
Check USB Cable
Check if the USB cable of your iPhone has any issues. It is mandatory to use the Lightning USB cable by Apple. If damaged, you need to replace the USB cable. You can even switch the USB port and use another one. Alternatively, you shall try using the USB cable of your device in another device.
Update iTunes to Fix iTunes Error 14
iTunes Error 14 occurs while restoring or upgrading your iPhone with iTunes. It may occur due to the outdated iTunes version. In that case, you need to update iTunes with the most recent version. Launch iTunes on your PC and check for new updates. You shall update iTunes and connect your device to check if Error 14 is resolved.
Update iOS
If your iPhone isn’t running on the latest version, you may get iPhone Error 14. To fix it up, you shall update your iPhone from the outdated version to the most recent iOS version. To do the update process, you need to carry out the below steps.
1. Launch the App Store on your iPhone.
2. Scroll down to click on Updates.
3. iPhone will show if there is any new update.
Download the Latest Xcode 8 Version
If you want to avoid or fix iTunes error 14, you shall get the latest version of Xcode 8 for your Mac. You can visit Apple’s Developer website to install the latest version.
Disable Security Software
If your PC has any security software installed, you shall turn it off at first and then update your iPhone. If that doesn’t resolve iTunes Error 14, you can uninstall the security software.
Use Third-Party Software
One of the best ways to fix iTunes Error 14 on iPhone is to use third-party software. With this, you will not lose your data or settings. In this section, we used Dr.Fone.
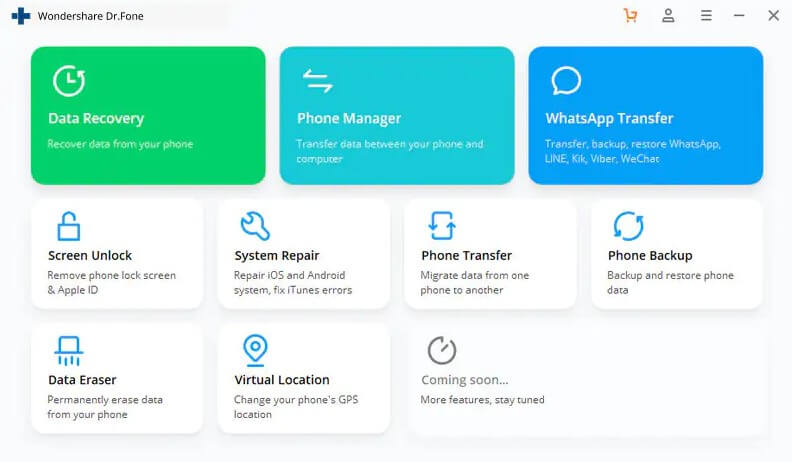
1. Download and install Dr.Fone System Repair (iOS) on your PC.
2. Launch the software and select System Repair tile.
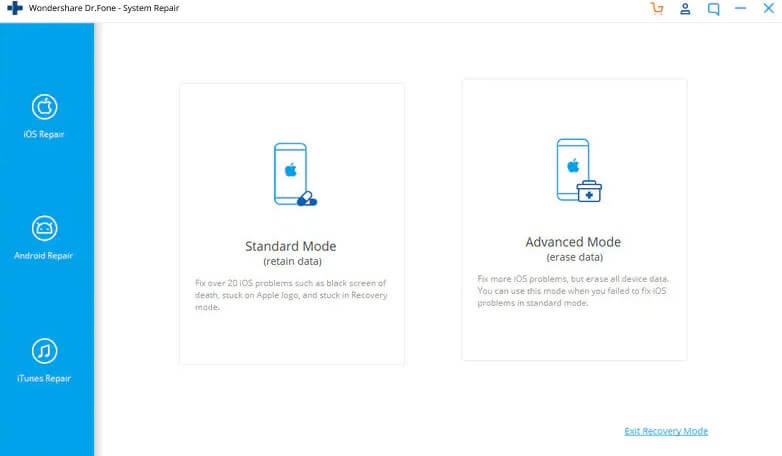
3. Now, connect your iPhone to your PC with the help of a lightning cable.
4. Go ahead and choose Standard Mode.
5. With this, Dr.Fone will detect your iPhone and the latest firmware available for download.
6. Click on the Start button for the download process to take place.
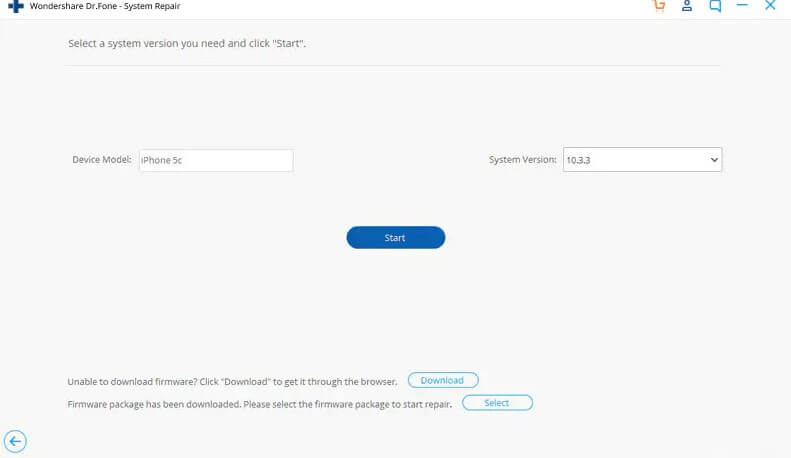
7. Once done, the software will scan and repair your device.
8. Now, check if Error 14 got fixed up.
Claim the Warranty
If none of the fixes mentioned above worked for you to get rid of Error 14, you should take your iPhone to the nearest Apple outlet. You can claim the one-year warranty and exchange your iPhone for a new one.
Related Guide: iPhone Error 4013: How to Fix Easily
Bonus: Use Advanced Fixes for iPhone / iTunes Error 14
You shall proceed with the advanced fixes given below to resolve Error 14 on iPhone.
Hard Reset iPhone to Fix iPhone Error 14
If you don’t mind losing your data or backed them up, you shall hard reset your device to fix Error 14 on iPhone. Resetting your iPhone will revert to factory settings. Go ahead with the below steps to hard reset the iPhone.
1. On your iPhone, you should press the Home and Sleep button simultaneously for 10 seconds or until the screen goes blank.
2. If you see the Apple logo, release the buttons and wait for the iPhone to restart itself.
3. Once done, you shall need to enter the passcode.
4. Now, check if iTunes Error 14 got resolved.
Delete/Remove IPSW File on PC
iTunes uses the IPSW File while updating or restoring the iPhone. If the IPSW file is corrupted, you will face issues like iPhone Error 14. In that case, you need to delete the file or rename it.
To find the IPSW file,
- The IPSW location on Mac – iPhone~/Library/iTunes/iPhone Software Updates
- The file location on Windows Vista/7/8 – C:\Users\AppData\Roaming\Apple Computer\iTunes\iPhone Software Updates
- On Windows XP – C:\Documents and Settings\Application Data\Apple Computer\iTunes\iPhone Software Updates
1. After finding the IPSW file, you shall exit out of iTunes.
2. Now, relaunch iTunes again.
3. To delete the IPSW file, you should navigate on the below location.
4. Go to System Drive > User > your Username > App Data > Apple Com > iTunes > iPhone Software Update.
5. You shall restore or upgrade your iPhone and check if error 14 got fixed.
These were all the fixes you could try to resolve iTunes Error 14 or Error 14 on iPhone efficiently. It is recommended to try the fixes in the given order as there is a high chance of resolving the issue at the earliest. To read more tips and tricks, you shall visit our blog.