
Zip files refer to a compressed file or collection of files. It is the most convenient way to transfer files between devices. People find it easier to organize their backups in the form of zip files. You might have more than one reason to convert files to zip on your device. If you have a Mac PC, you don’t need to visit the web or add third-party apps to compile files to a zip file. It is because Mac itself is capable of compressing multiple files as a zip file. So, you can easily convert files or folders to zip files on your Mac. Get into this section for details on how to zip a file on Mac.
How to Zip a File on Mac using Archive Utility
If you have files or folders to compress, here is a simple guide for you.
1. Choose the files you wanted to compress. If they are at multiple locations, bring them to a single folder if necessary.
2. On your Mac’s Dock, click on Finder and locate the files or folder.
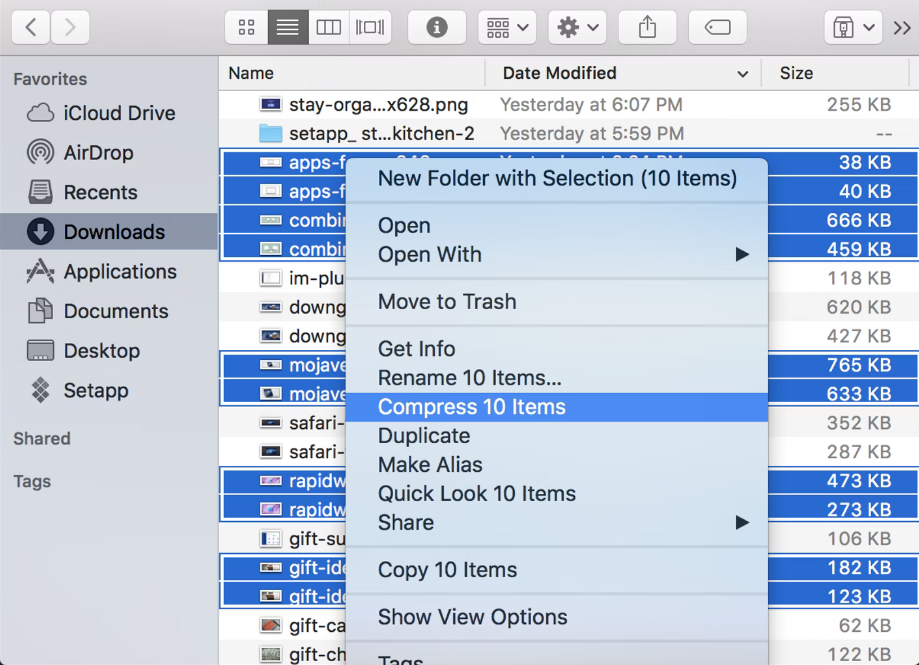
3. If you have to zip a single file or folder, right-click on it.
4. If you have more than a single file, select all of them and then right-click on them.
5. Next, click on the Compress (filename) option or Compress (no.of.items) on the drop-down.
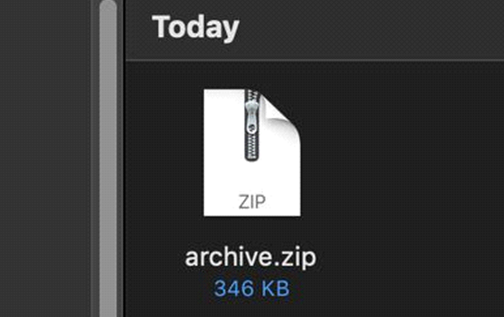
6. It will compress your files as a zip file, and you can find it along with the original files in the same folder.
7. If you choose only one file to compress, the name of the zip file will be the same as the original file.
8. If you choose more than one file to compress, the zip file will be named Archive.zip.
How to Zip a File on Mac using Terminal
If you’re not interested in the above way to create a Zip file, you can use the command line on the Terminal to compress a file.
1. Launch Terminal on Mac.
2. Type the Tar command and click Enter.
3. Now, type the command listed below. You should enter your folder name in the place “filename“
% tar -czf filename.tgz filename
4. After entering the command, tap Enter.
5. That’s it. You’ve successfully compressed your files using Terminal.
How to Encrypt Zip Files using Terminal
1. Open Terminal on Mac and type the command “cd desktop“. Then, tap Enter.
2. Now, type the command zip -e filename.zip. (Enter your compressed Zip name on the place “filename“)
3. Tap Enter and assign a password for the Zip File and verify it.
4. Now, you need to enter the password to open the Zip file.
Related: How to Select Multiple Files on a Mac
How to Unzip Files on Mac
Follow the steps given below to unzip files on Mac.
1. Firstly, locate the zip file on your Mac.
2. Double-click the zip file.
3. This will unzip the file automatically.
4. You can find the files decompressed in the same folder.
5. Finally, tap and view the unzipped files.
Bonus: Use Third-Party Apps to Zip Files on Mac
We can also employ third-party apps to zip files on a Mac. The below-listed apps are the top 3 apps that make your work easier.
1. WinZip
WinZip is a cool app for your Mac that performs multiple functions. You can employ this app for other functions like converting files to PDF. It is the world’s most preferred tool to zip, unzip, share, and protect files. With bank-level AES encryption, your files are highly protected.

2. CommanderOne
It is a useful file manager application for a Mac. CommanderOne on Mac is available on the Mac App Store and it is considered the best app for archiving files on your device. It has a dual-pane interface, slick navigation, search methods, etc.
Related: How to Open Task Manager on a Mac
3. Archiver
The Archiver app on Mac can zip and unzip files on your device easily. It is very useful as it supports nearly thirty formats of files. It is an easy-to-use app that has smart drag and drop, lightning-fast archive decompression, etc.
Now, you know how to zip and unzip a file on your Mac. Using the native Archive utility on Mac is an effective method to compress files. If you’ve any queries, leave your thoughts in the comments section.
Frequently Asked Questions
Click Finder >> Locate and double-click the Zip file to decompress it.
Locate the Zip file on your Mac and double-click the file to extract it. To know more about the steps, refer to the blog.