
Apple Pay by Apple Inc. is a digital payment system introduced in 2014. It is a service you can send money and make purchases. The payment service allows users to pay for products and services remotely over the internet using Near Field Communication (NFC). With Apple Pay on Apple Watch, you can easily make payments without reaching your iPhone or when your phone is unreachable. There are more than 500 million Apple Pay users worldwide. But most iPhone users are only aware of the wallet feature. Some of them are not aware of the Apple Pay feature in the Apple Watch. Learn how to set up and use Apple Pay on Apple Watch by getting into this section.
How To Use Apple Pay on Apple Watch
Before you start using Apple Pay on watchOS, you should set it up. The below section covers both setting up and using steps in brief.
Steps to Set Up Apple Pay on Apple Watch using iPhone
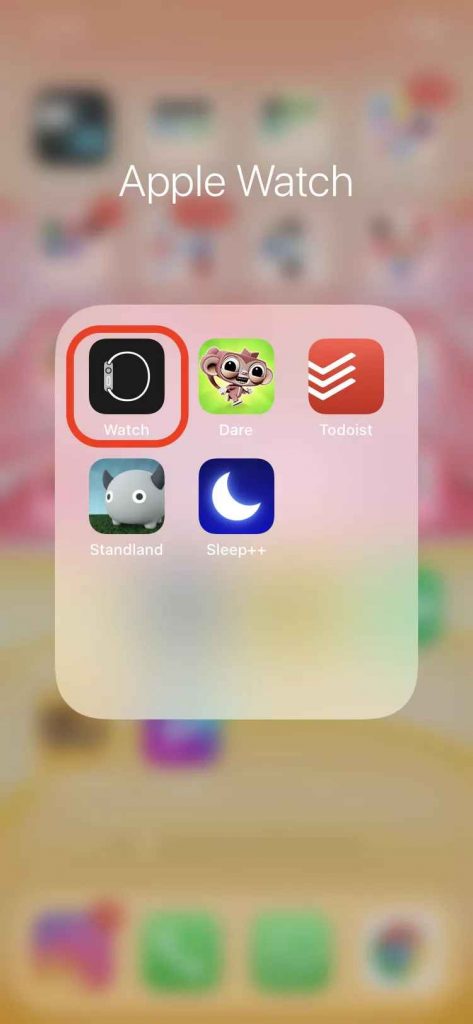
1. Launch the Watch app on your iPhone.
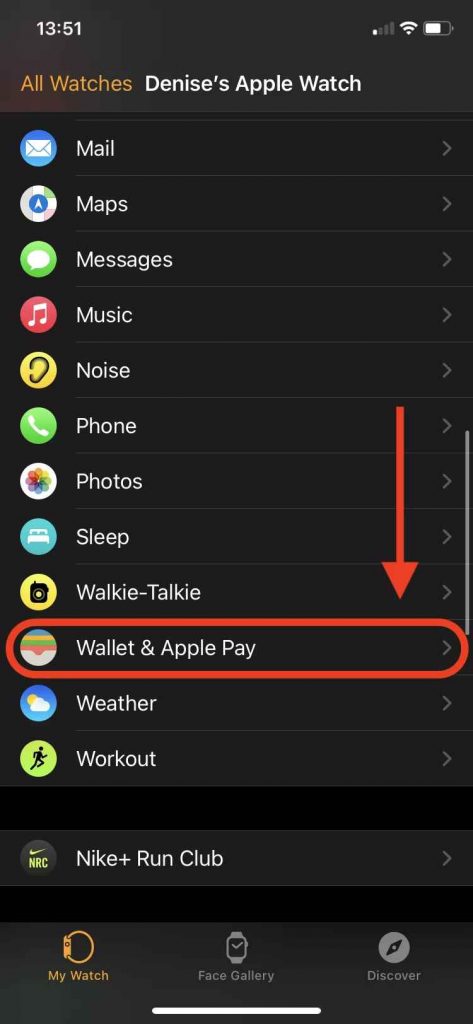
2. You will find the My Watch tab at the bottom of the page. Tap on it.

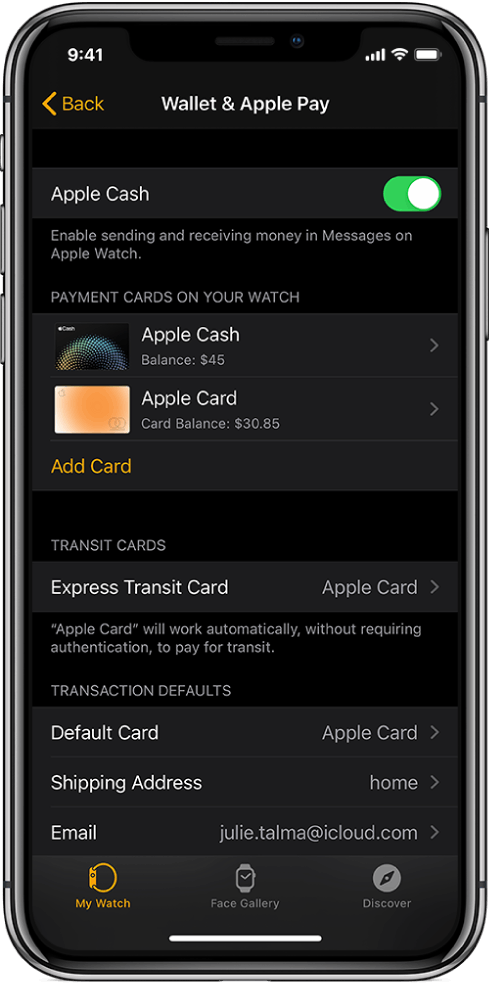
3. Navigate to click on the Wallet and Apple Pay option.
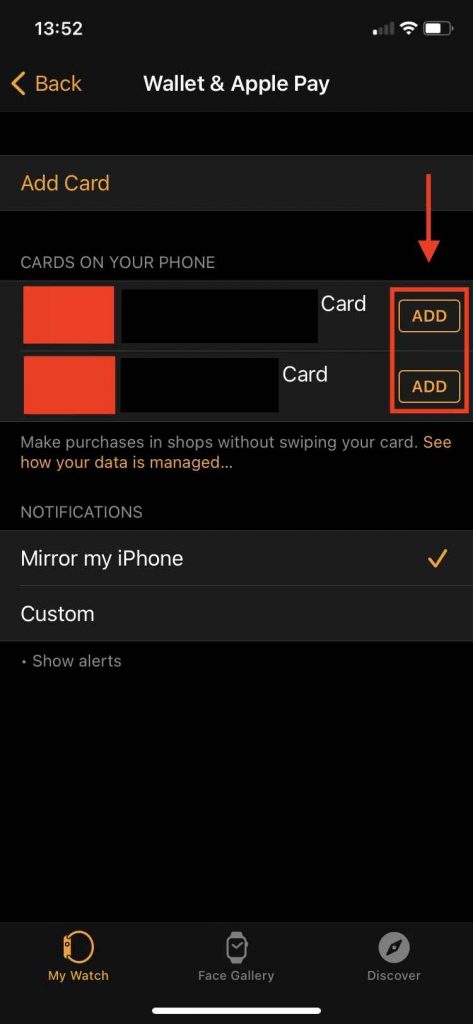
4. If you have added your Debit or Credit card already, you may be able to see them on the screen. Or you can add them using the Add option.
Note: You can also mirror the notification on your iPhone to Apple watch using Mirror My iPhone option below the Add Cards option
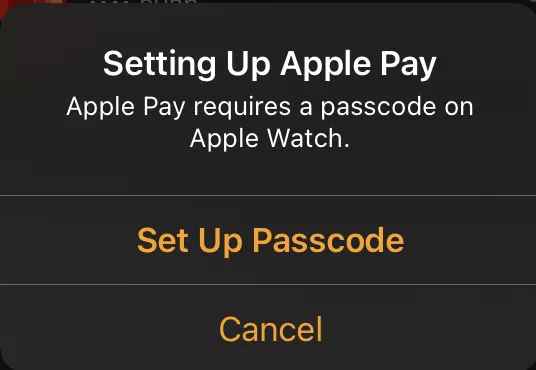
5. As Apple Pay on your Apple Watch requires a passcode to access. You should create a new passcode if you did not have created one for your Apple Watch.
6. Now, you will need to enter the CVV number located on the backside of your Debit or Credit card.
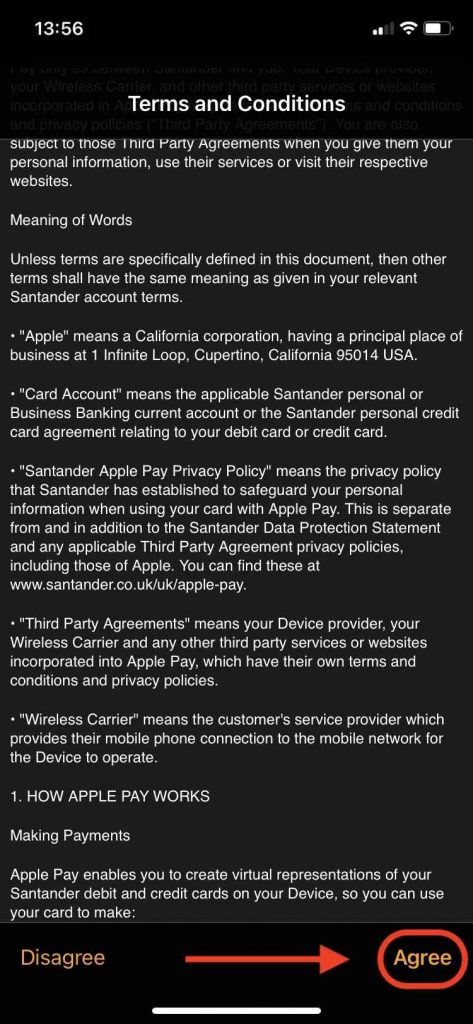
7. Terms and Conditions page will appear on your screen. Go ahead to read and accept it.
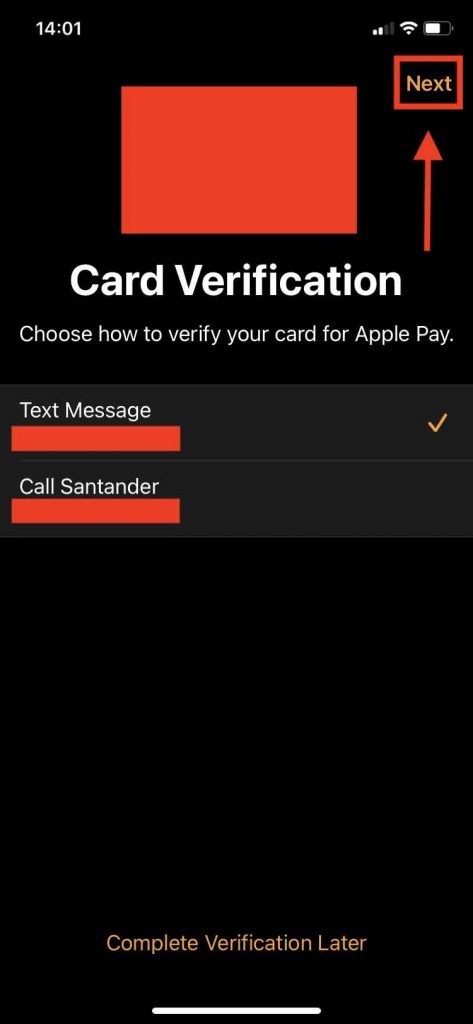
8. The last step is to verify your card details by entering the verification code sent to your mobile.
9. Now you have set up Apple Pay.

Related: How to Use Siri on Apple Watch in the Best Way
How to Use Apple Pay On Apple Watch
1. Turn on your Apple Watch. To Pay in the Apple Pay accepted store, click the right button twice on your Apple Watch to pay on your default card. If you want to pay using a different card, Swipe left till you reach the desired card.
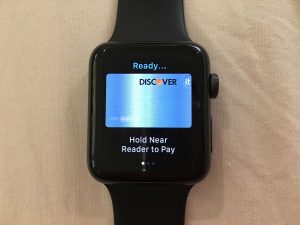
2. Hold your Apple Watch on the contactless reader until you hear the tapping sound.
3. Based on the payment amount, you will be required to enter your PIN or sign a receipt.
4. To change the default card, go to the Wallet and App Pay page on the Watch App using your iPhone and scroll to the Transaction Defaults section. Select the default card and switch a card that you want to be the default on that page.
5. In case you have lost your Apple watch, put your device in lost mode.
6. Go to appleid.apple.com and sign in with your Apple ID to remove your card details.
How to Set Default Card on Apple Pay
1. Open the Settings app on your Apple Watch and select Wallet and Apple Pay in the menu.
2. In the Wallet and Apple Pay section, select the Default Card option.
3. Select one of the cards that you have added to Apple Pay to make it default.
How to Remove a card on Apple Pay
1. In the Wallet and Apple Pay section, click on the card your want to delete.
2. Then, use the Edit option to delete the saved card.
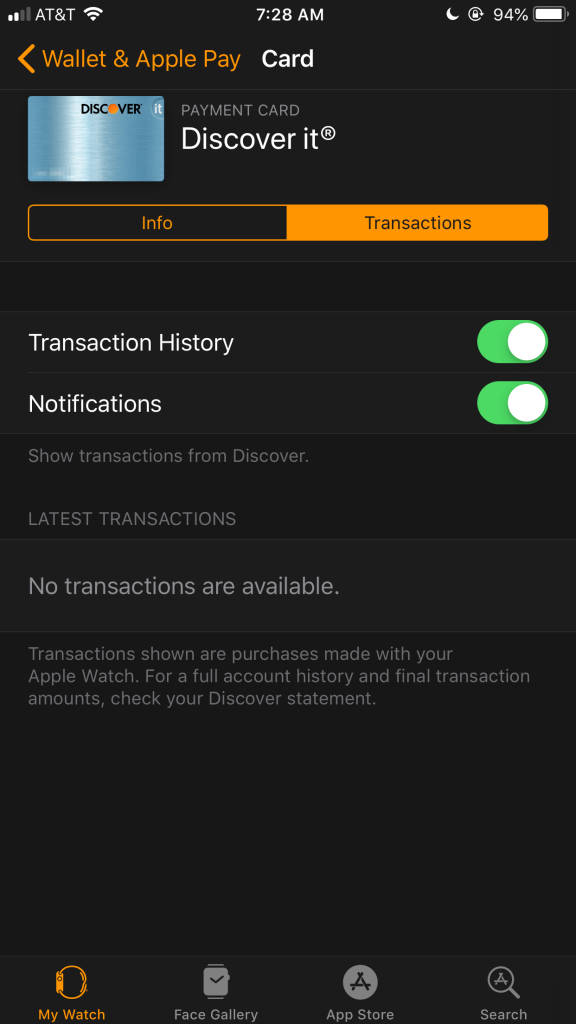
How to Check Transaction History on Apple Pay
1. In the Wallet and Apple Pay section, tap on the Card that you want to see the transaction history.
2. Check if you have turned on your transaction history. Otherwise, you will not have access to see it.
3. Authorized Initial amounts are only shown on the transaction history. You have to check the bank statement to check the Final transaction amount.
How to Report a Transaction on Apple Pay
1. Click on Wallet and Apple Pay in the Settings and click on the card you want to report.
2. In the transaction history, select the Specific transaction that you want to report. You will have an option to report this transaction.
3. Select it and mention the type of issue with this transaction, and you will get a response from customer support within a period of time.
These are steps to use Apple Pay on Apple Watch. We hope that you have gained useful knowledge about Apple Pay on Apple Watch. For more such useful article updates, you shall visit our blog.