
Like any device, you may notice that your iPad is running out of storage space. Your iPad will notify you that your storage is low on the notification section. If you come across such situations, you need not worry. You can free up the iPad storage by transferring photos to your computer. As images consume a lot of storage space, you may have to transfer them to other devices at some stage. You also have an option to store the images in your iCloud account. But it will also reach its limit at some time. So alternatively, you can transfer images to other devices. The procedure is simple, and the below section clearly explains how to transfer photos from iPad to computer.
How to Transfer Photos From iPad to Computer
There are different approaches in which you can transfer your photos from your iPad to your PC.
Transfer Photos From iPad to Windows PC using Photos App
The step-by-step procedure to transfer Photos from iPad to windows are as follows:
1. Connect your iPad to your Windows computer and unlock your iPad to make your device recognizable.
2. Then, download iTunes from the Microsoft Store and install it on your computer. You should launch iTunes and connect your iPad.

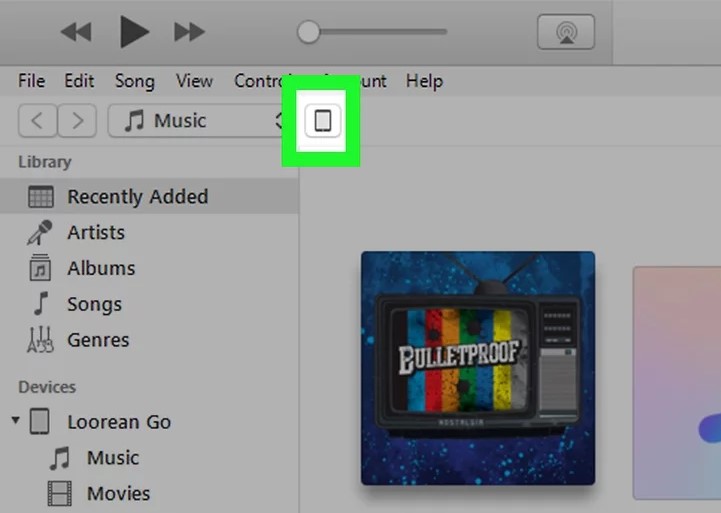
3. An iPad symbol will appear on the top of your screen on your iTunes app. Accept the request to connect your iPad to iTunes.
4. Then, click on the Windows or Start symbol at the left bottom of the screen.

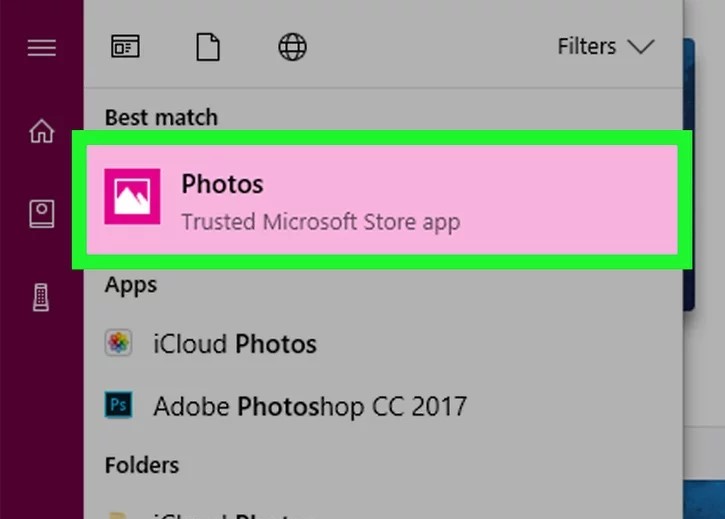
5. In the search bar, search for the Photos application and open it.
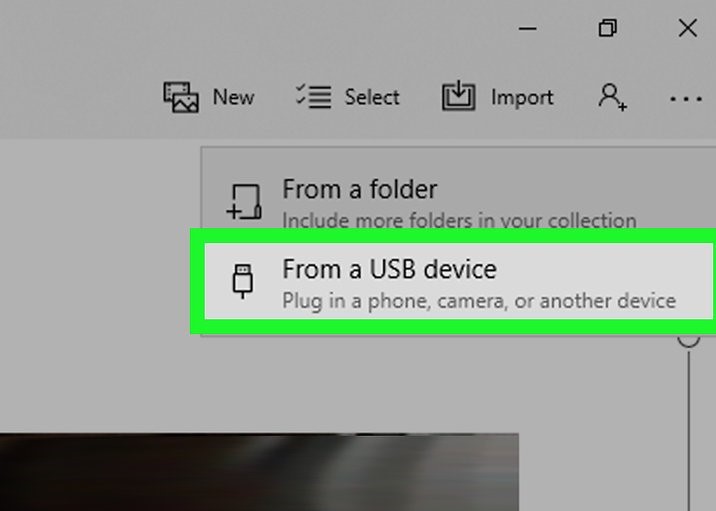
6. Click on the Import tab at the top right of your screen and choose import From USB devices.
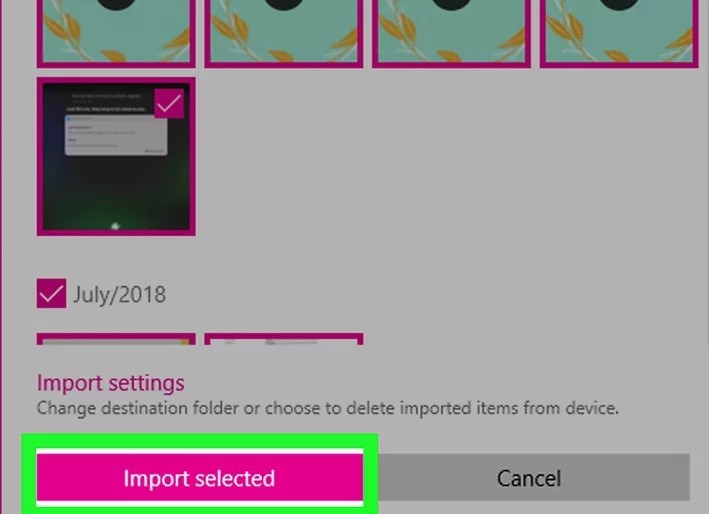
7. All the photos from your iPad will appear on your screen. Select the photos that you want to transfer and select the import selected option.

8. Uncheck the Delete items from my device after I import them. With this, the photos will not be deleted.

9. Finally, click on the Import Selected button to transfer the photos from your iPad to your Windows. Windows will notify you once the process is complete.
Related: How to Unlock iPad Passcode Without Computer [Working]
Transfer Photos From iPad to Windows Computer using File Explorer
1. Connect your iPad to your Windows computer using a USB. Unlock your iPad to make your device recognizable by the computer.
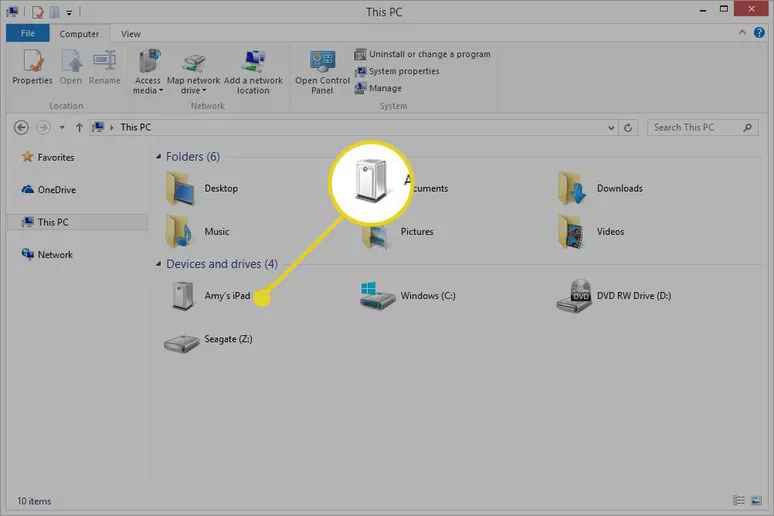
2. Open the File Explorer and select This PC. The drives and the devices that are connected will be listed. Select your iPad.
3. Open the Internal Storage and go to the DCMI folder.

4. Select the images and use the mouse to right-click on the images. A popup menu will appear on the screen. From there, select the Copy option.

5. Select the location from where you want to paste. Then right-click to paste the images on your windows computer.

6. Finally, the images will be saved on your computer
Related: How to Transfer Files from PC to iPad in 7 Easy Ways
Transfer Photos From iPad to Mac Computer
1. Connect your iPad to your Mac, and unlock it and make your device recognizable.
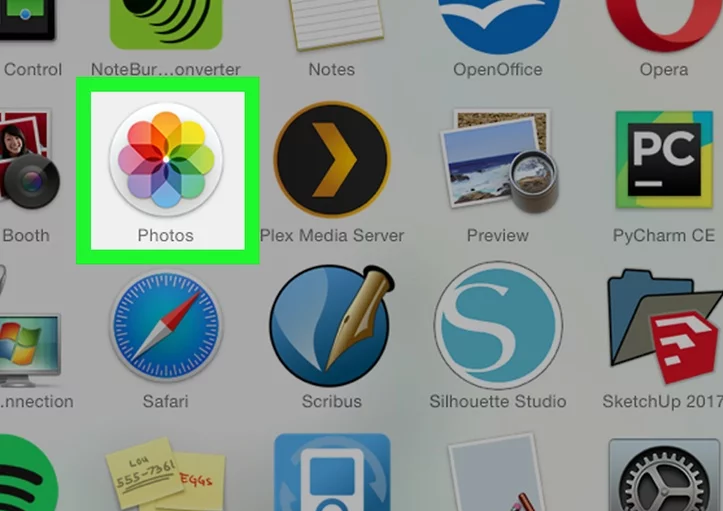
2. Open the Photos App using the finder on your Mac.
3. Select the device you are connected to, and the images stored in the iPhone get displayed on your screen.
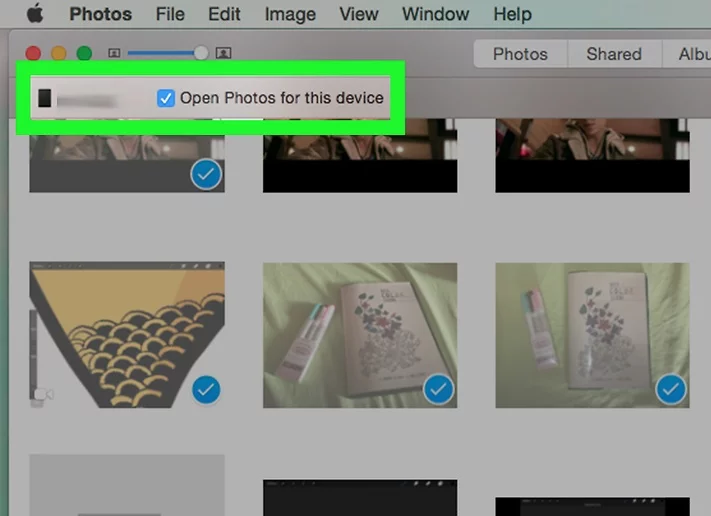
4. Select the image you want to transfer to your Mac and select the Import option on the top right side of your screen.
5. The images that you have selected will be imported to your Mac within a couple of minutes.
These are the ways that you can use to transfer photos from your iPhone to your computer. Hope you found this section helpful and interesting. For more such useful article updates, you shall visit our blog.