
NordVPN is one of the leading VPN services in the market. Ever since its launch in 2012, Nord VPN has been consistent and works as a reliable VPN service. With servers from all around the world, NordVPN provides fast and secure connections for its clients. Nord VPN has very impressive privacy settings with the no-log policy. With a VPN service like this, you can access all the geo-redistricted content from all the major media streaming platforms. Nord VPN has the most affordable subscription packages compared to its peers. If you’re looking for a VPN for your Apple TV, NordVPN is the best one to choose.
How to Add NordVPN on Apple TV
There is no direct way to get NordVPN on tvOS. Hence the below section covers some of the possible alternative ways in which you can use Nord VPN on Apple TV.
Method 1: Using SmartDNS
If your primary aim is to overcome the geographical restrictions, this is the method for you. By using the SmartDNS, you can access content from multiple streaming platforms like Netflix, Hulu, Prime Video, or Sling TV on your device. Before starting, you should sign up for a Nord VPN account and get the best subscription plan that suits you.
1. As the first step, Whitelist your IP address (IPv4) on your profile.
2. On your Apple TV, go to Settings and tap the option, General.
3. Then, click on Network.
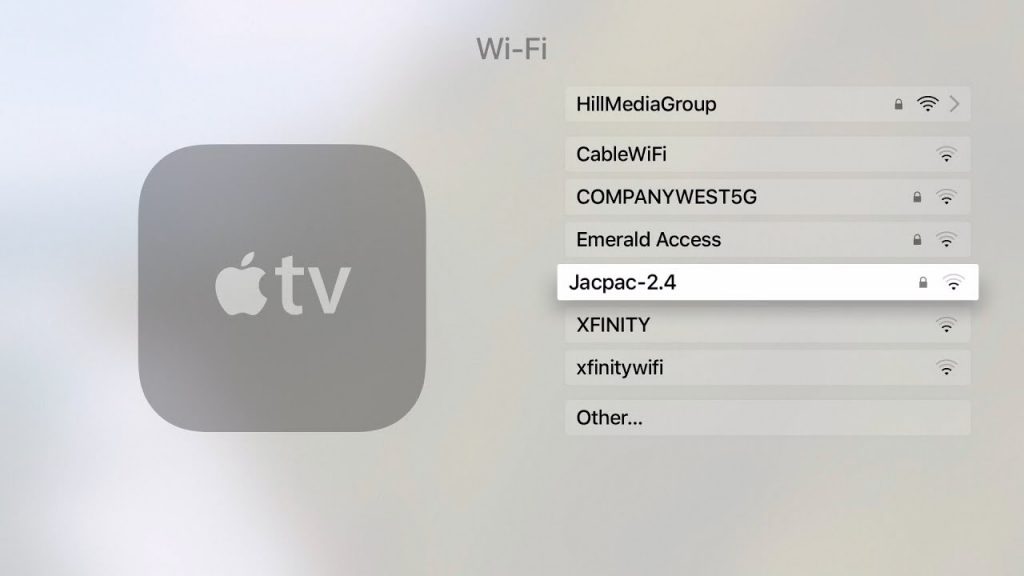
4. Choose your Wi-Fi network.
5. Further, click on the Configure DNS option and then Manual.
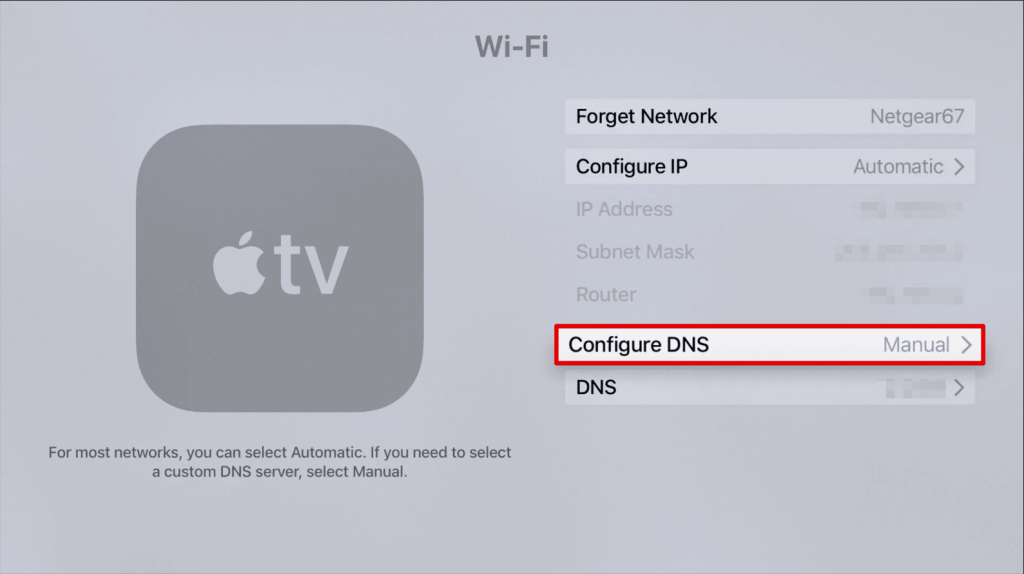
6. Enter the credentials for Nord VPN Smart DNS servers in the field provided. Set the values as follows.
- Primary DNS – 103.86.99.103
- Secondary DNS – 103.86.96.103 (if provided)
7. Once you are done entering the provided DNS, click on Done.
8. Restart your Apple TV.
9. Watch geo-restricted content on your favorite streaming platforms using Nord VPN.
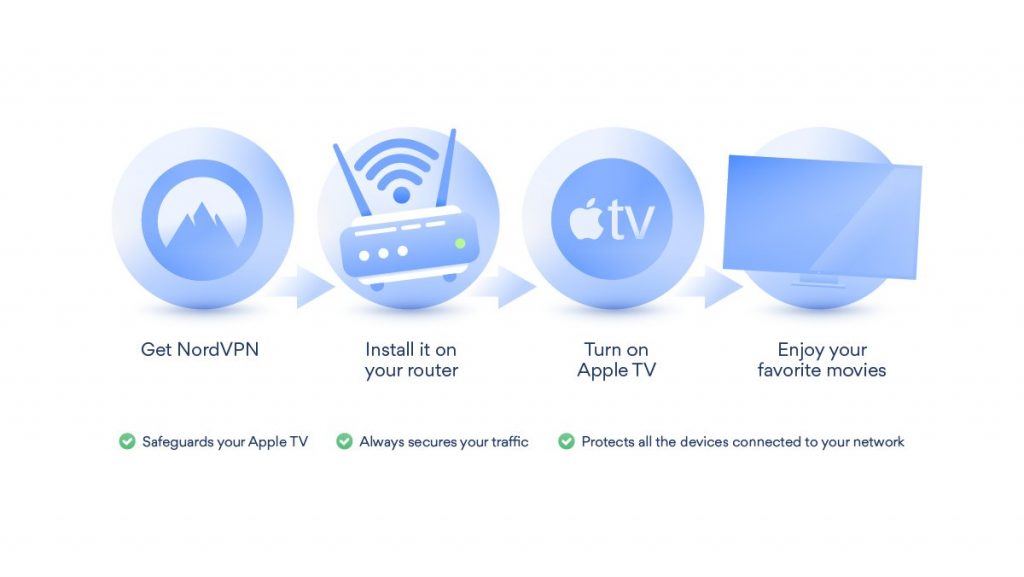
Method 2: Set Up a VPN on your Router
The simple method to add a VPN on tvOS is by using router. It is one of the easiest ways to configure Nord VPN for Apple TV. For this method to work, you will need a pre-configured router that is compatible with VPN connections.
- The first thing to do is to Log into your router’s dashboard. You can do this by typing in either 92.168.1.1 or 192.168.0.1 and then sign in using your Router Credentials. If you are not sure about the credentials, contact your Internet Service Provider.
- In your router’s dashboard, you will see an option in the settings where you can set up a VPN connection.
- Once you configure your router, you can use Apple TV with Nord VPN.
Method 3: Using AirPlay
You can use the protection of Nord VPN on one of your iOS devices like an iPhone or iPad and use AirPlay to cast the content to your Apple TV. With this method, evading geo-restrictions is a walk in the park.
1. Firstly, you have to install Nord VPN on your smartphone and connect the VPN server to your desired location.
2. Connect both the iOS device and your Apple TV to the same Wi-Fi network.
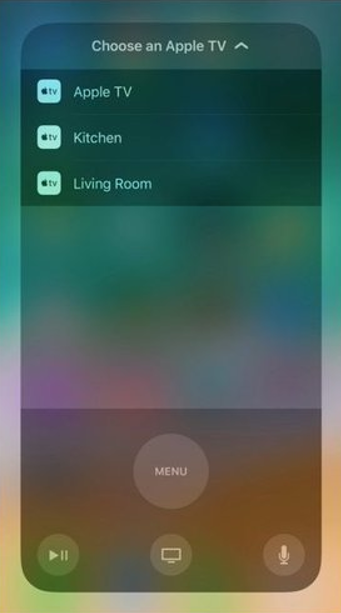
3. Open the Control Center on your iOS device and then tap on the Screen Mirroring icon.
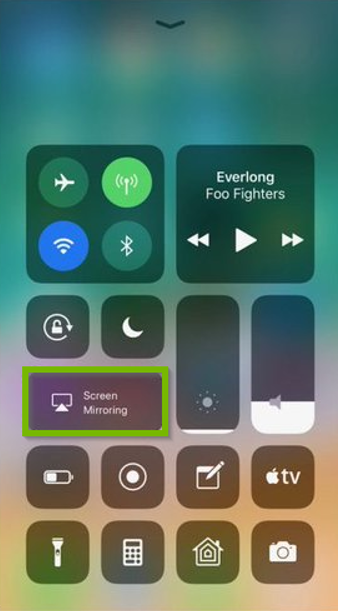
4. From the list of devices that appear on your screen, choose your Apple TV device.
5. Now, your iOS device screen will be mirrored to Apple TV.
6. Launch any app on your iOS device and start streaming it on your tvOS.

Related: How To Connect iPad To Apple TV.
Method 4: Set Up VPN connection on a Virtual Router (Windows)
Using a Virtual Router, you can use NordVPN on Apple TV. It is a hassle-free process, and the only thing you need is a strong Wi-Fi connection. This method consumes very little time to configure the router. In this method, we can use a virtual hotspot on a Windows PC and then share Nord VPN on the Apple TV. Follow these steps to get the work done.
1. Firstly, turn on your Windows PC and open the Network & Internet menu on it.
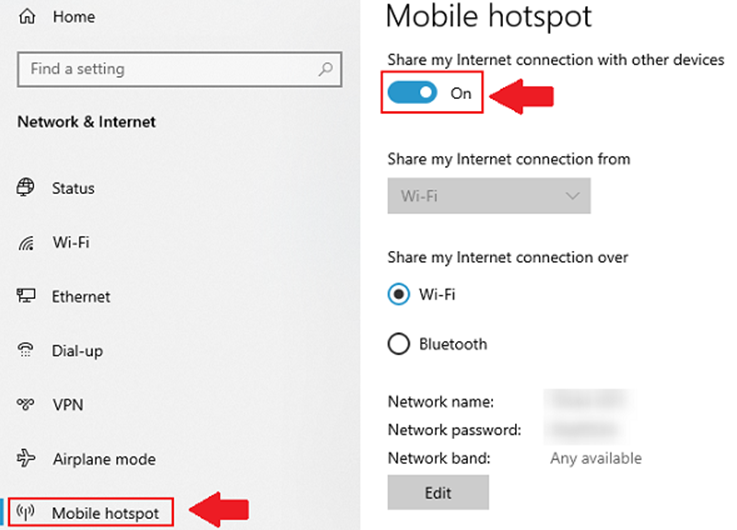
2. From the menu, select the Mobile hotspot option.
3. Further, choose Wi-Fi and then enable the Mobile hotspot using the toggle. Then, enter the name, password for your virtual router.
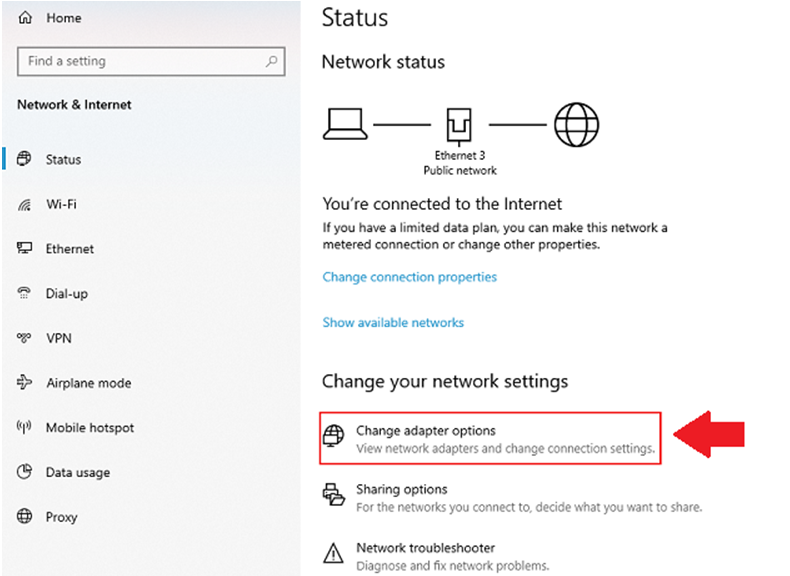
4. Scroll down and navigate to Related Settings at the bottom. Click Change adapter options.
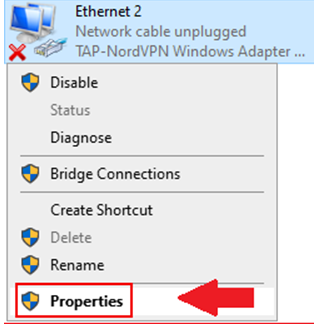
5. Navigate to the TAP– NordVPN adapter and then right-click on it and then select Properties.
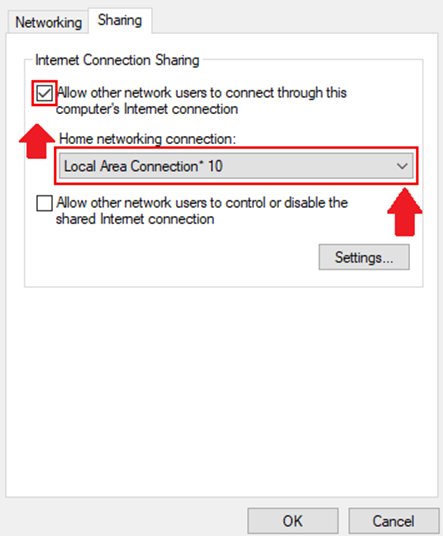
6. Next, select the Sharing tab and then select the Allow other network users to connect through this computer’s internet connection.
7. Tap the option Local Area Connection from the drop-down menu and click OK.
8. That’s it. your new virtual hotspot is ready.
9. On your PC, launch NordVPN and then connect it to a server of your choice.
10. Finally, you shall connect your tvOS to the virtual hotspot and share the NordVPN connection with the Apple TV.
Method 5: Using Ethernet Cable
In this method, let us employ an Ethernet connection and share it on your TV. First, you need a NordVPN subscription. Also, install NordVPN on the PC from which you share the Ethernet.
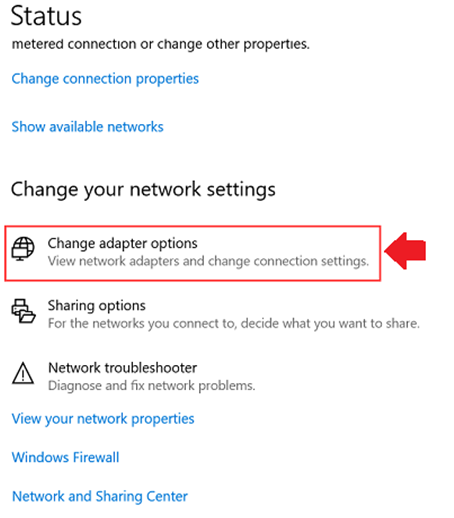
1. Firstly, launch Network and Sharing Center on your PC and then select Open Network & Internet settings.

2. Next, select Change adapter options.
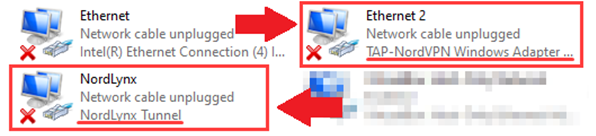
3. Navigate to NordVPN Tap Adapter and then right-click on it.
Related: How to Install and Stream Paramount Plus on Apple TV
4. Further, select the Properties option.
5. Next, select the Sharing tab and then select the box next to the Allow other network users to connect through this computer’s Internet connection option.
6. Under Home networking connection, select Ethernet and then click OK.
7. Further, connect the PC to your Apple TV with an Ethernet cable.
8. Launch NordVPN on your PC and then connect it to any server.
9. Finally, stream your favorite video content without any geographical restrictions.
That was everything you need to know about the multiple ways in which you can use NordVPN on your Apple TV. Installing the DNS Servers on your TV is the best option to enjoy continuous access to everything Nord VPN provides. But if one of the alternative methods appeals to you better, go for it.
Frequently Asked Questions
Yes. There are five ways to use Nord VPN on Apple TV. To know more, refer to the blog.
If you’ve not configured the settings properly, you’ll face this issue. To overcome this problem, follow the above listed steps without skipping it. If the problem persists, try rebooting your Apple TV.