
If you have a Mac, you probably know about the built-in software Time Machine. It is a preinstalled software in every Mac, and it is used to backup your important files or the entire Mac itself. But first, you have to enable Time Machine from the Settings. Then, you can connect an external drive to store all the Time Machine backup files. Using an external drive to back up your Mac is a useful method as you can restore your Mac with ease. The Time Machine can take a backup of your Mac weekly, hourly, or a day-by-day preference. You already know that backing up our data is vital in our everyday life. You shall back up your important files if you know how to use Time Machine on Mac. If you don’t know what is Time Machine and related information, you shall get into this article.
How to Use Time machine on Mac
Aforementioned, Time Machine is a built-in software for your Mac. So, you don’t need to install third-party software to back up your Mac. However, you need to set up Time Machine to use its features.
How to Set Up Time Machine
1. Connect an external hard drive to your Mac.
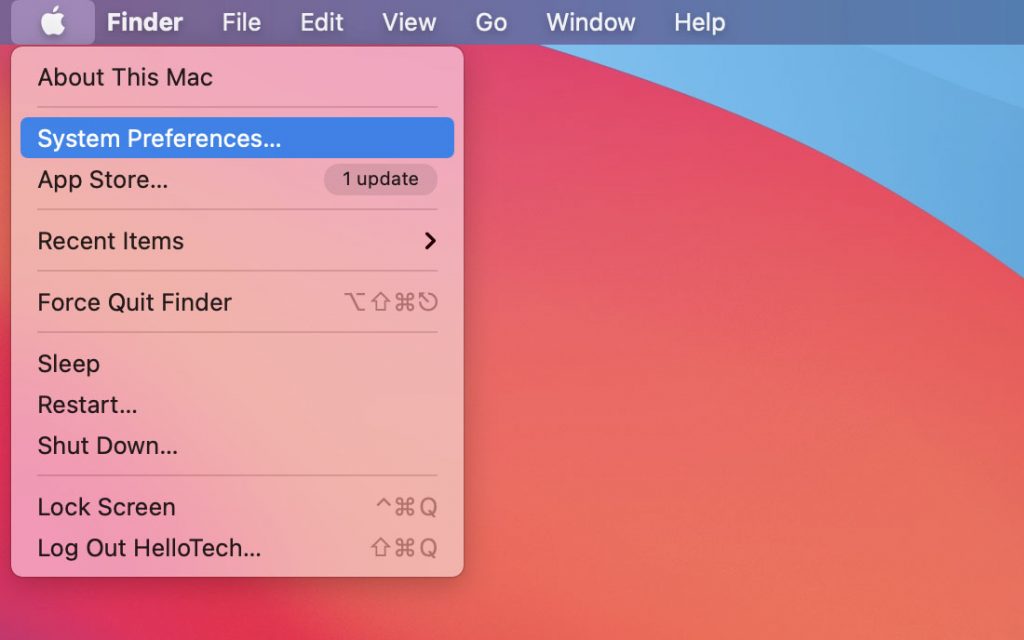
2. Click on the Apple icon from the upper left corner and select System Preferences.
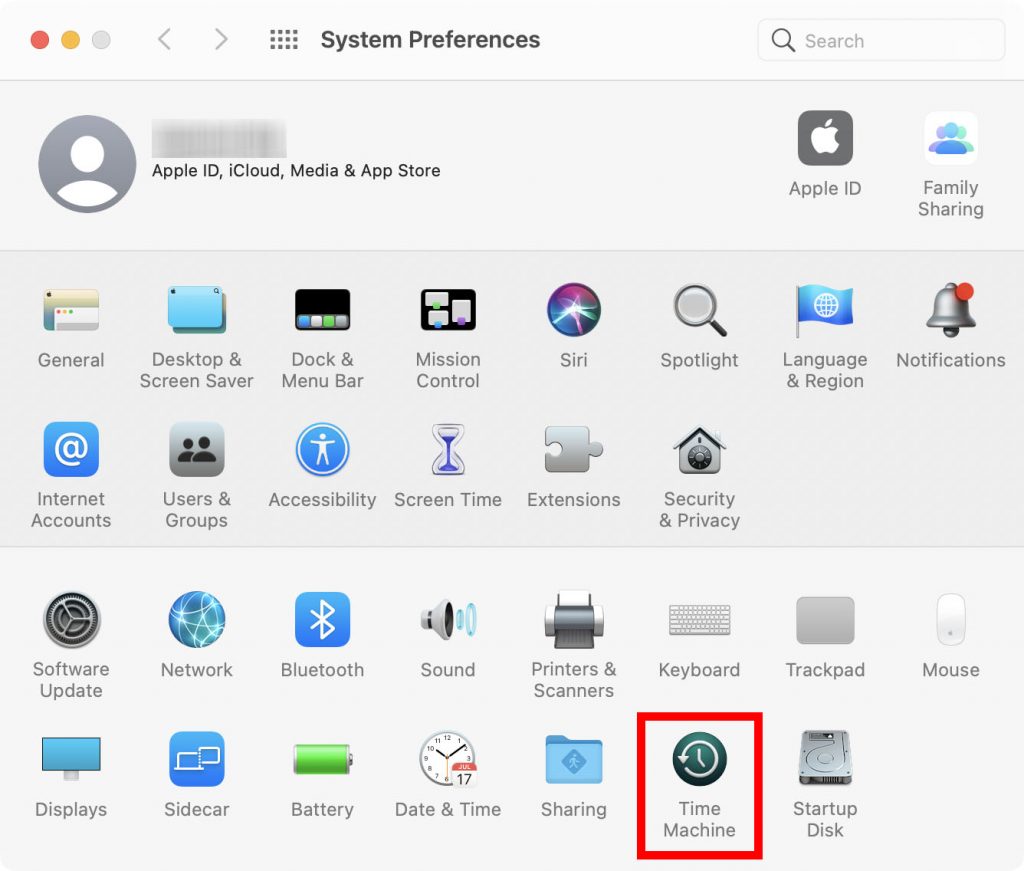
3. Select Time Machine from System Preference.
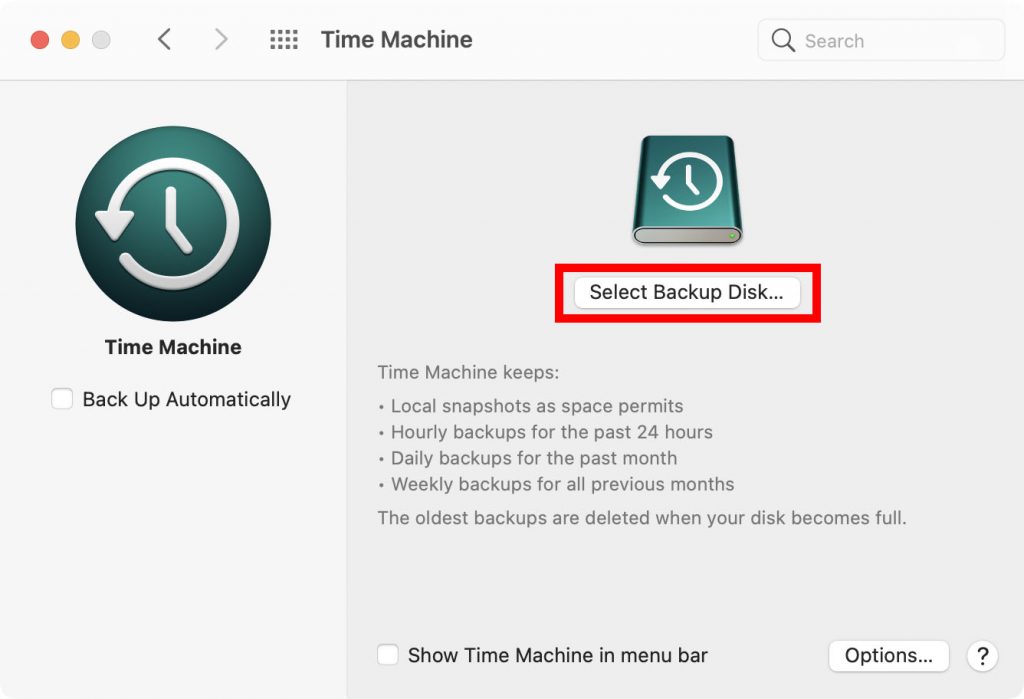
4. Now, click on the Select Backup Disk button.
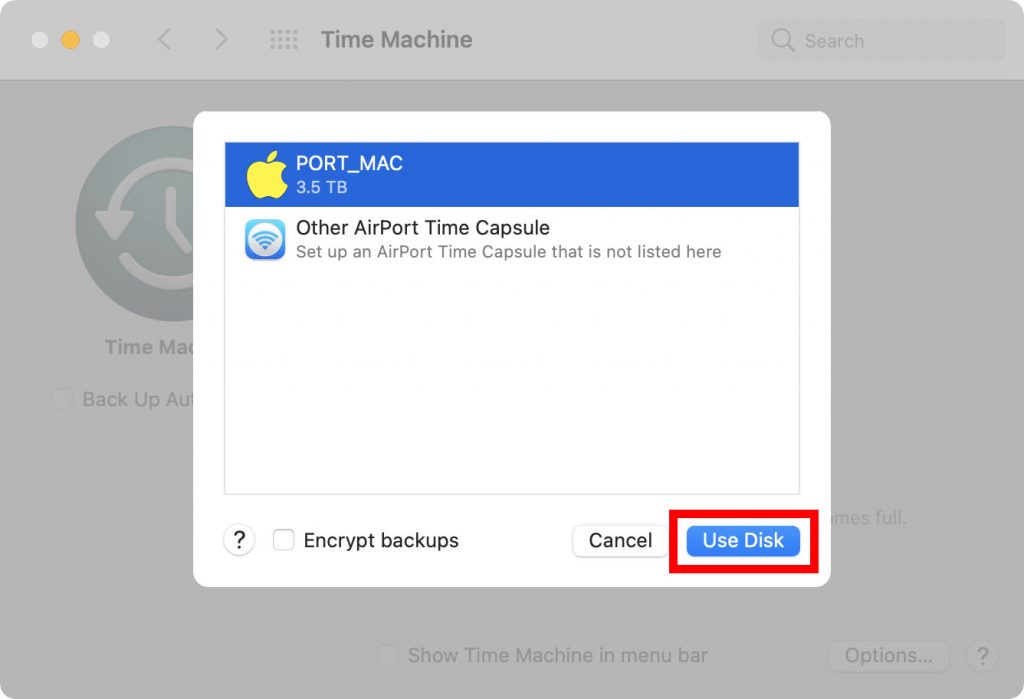
5. Go ahead to choose the disk in which you want to store the backup files.
6. Click on the Use Disk button.
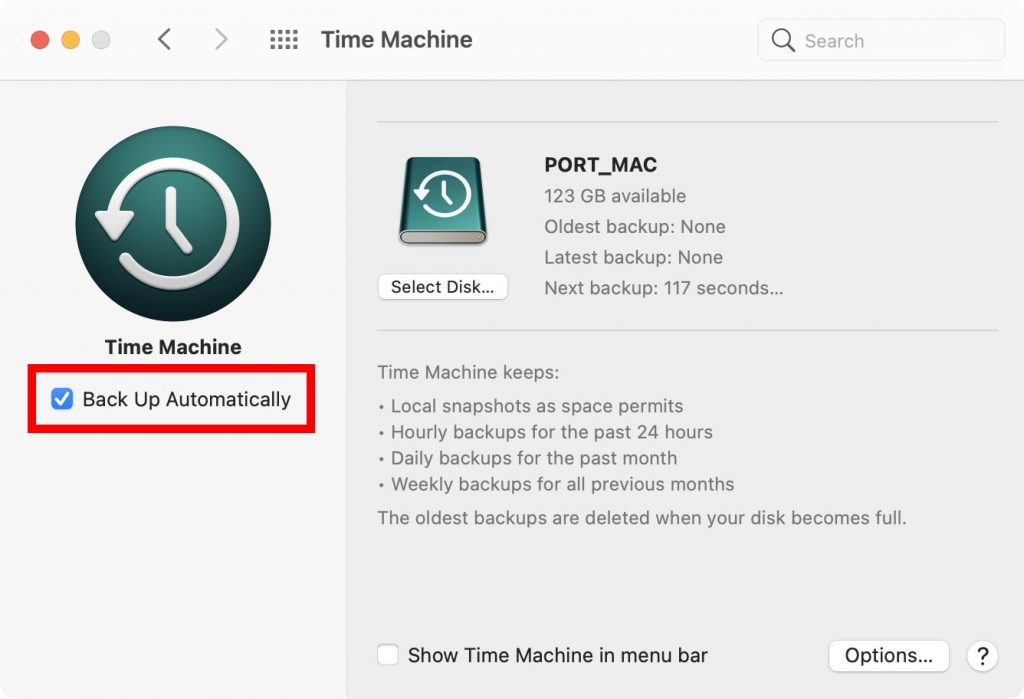
7. Tick on the checkbox next to Back Up Automatically.
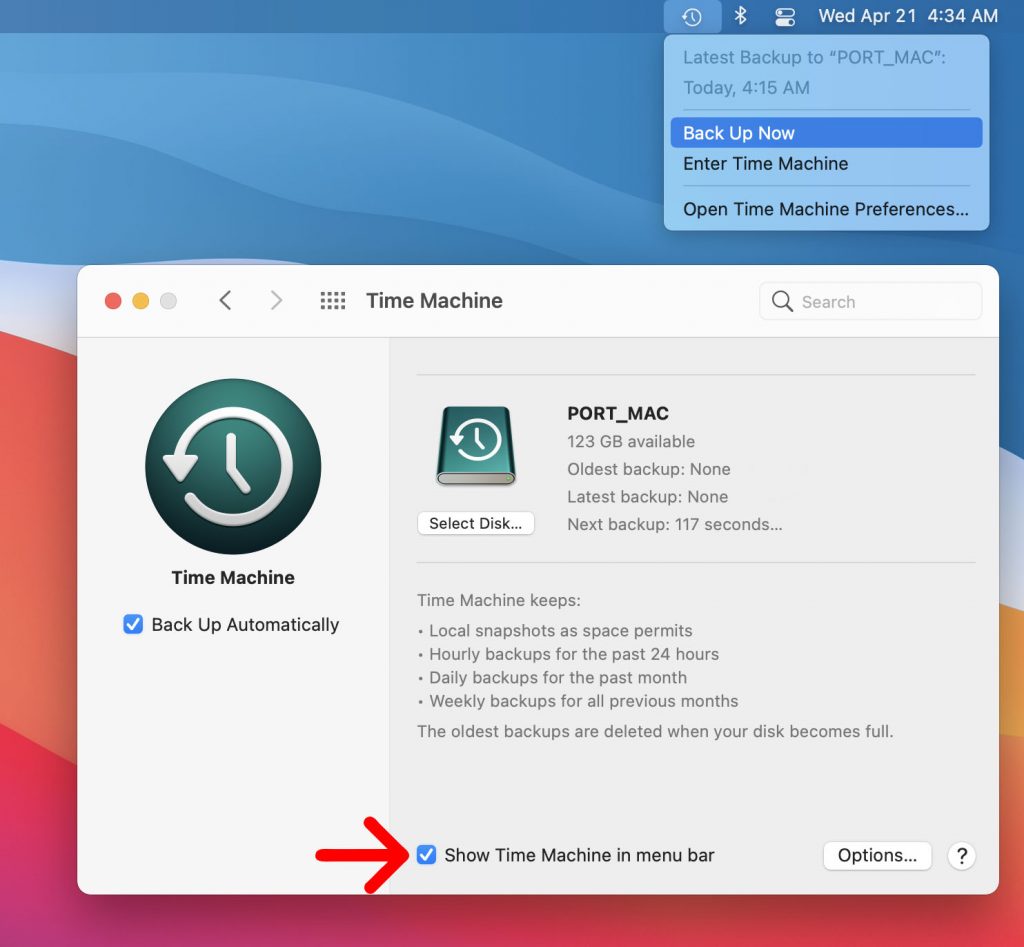
8. Tick on the checkbox next to Show Time Machine in the menu bar.
9. Now, the Time Machine icon gets displayed on the home screen of your Mac.
10. Click on the Time Machine icon and click on the Backup Now to backup your Mac immediately.
Related: How to Add Guest User on Mac & Set Parental Controls
How to Exclude Files from Time Machine
You can decide either to backup or exclude a file from backing up. To exclude a file from backing up, follow the steps below.
1. Select the Time Machine from the System Preference.
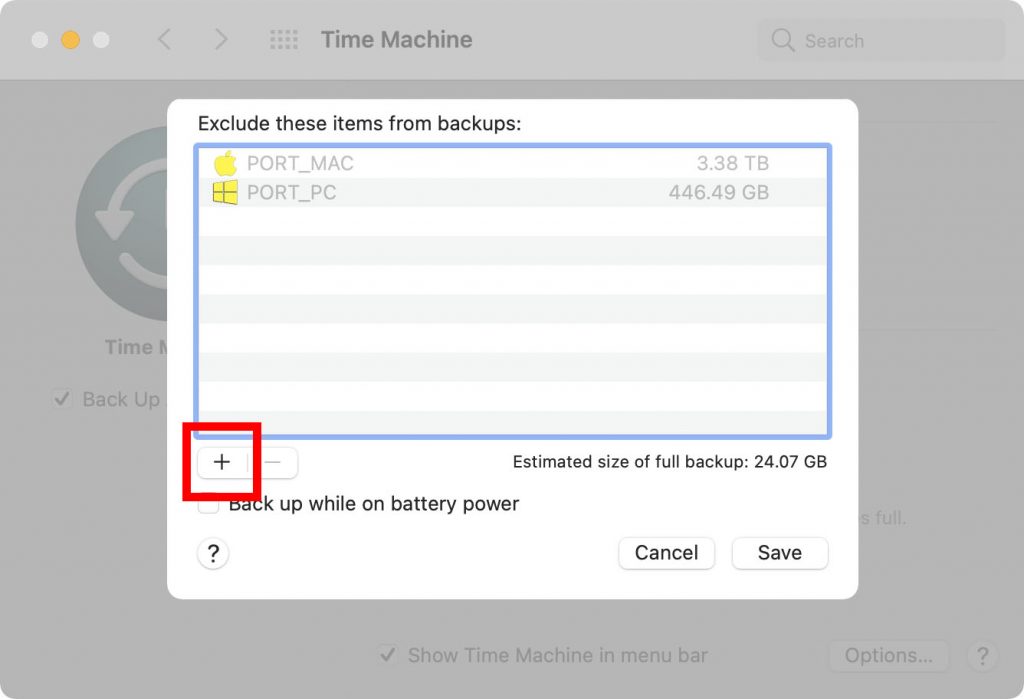
2. Click on the Options button from the lower right corner of the interface.

3. Now, click on the + button from the lower-left corner.
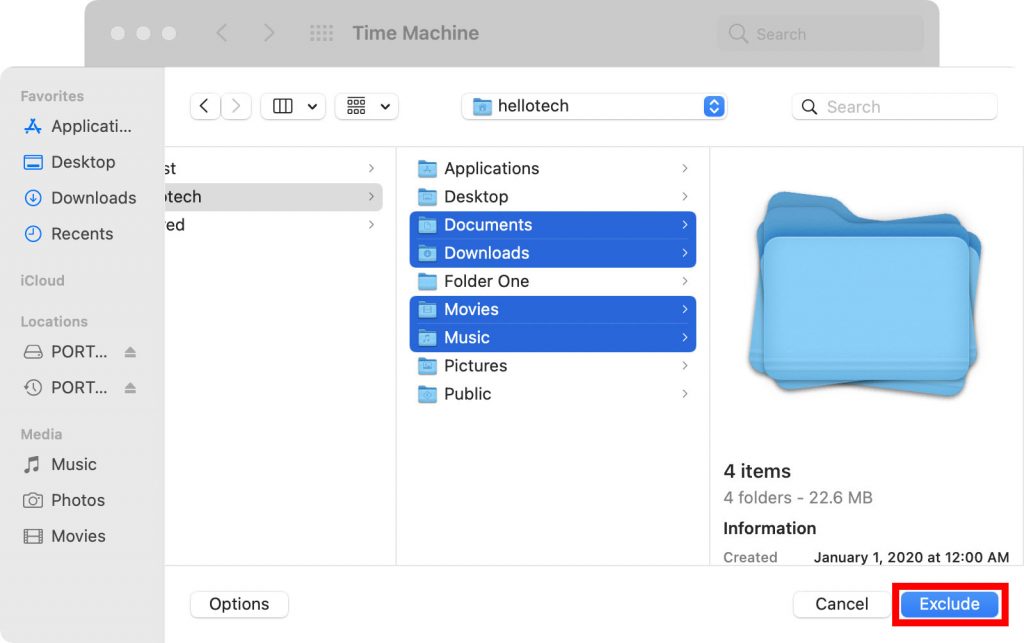
4. Choose any file or folder you don’t want to backup.
5. Click on the Exclude button from the lower right corner.
6. Now, click on the Save button.
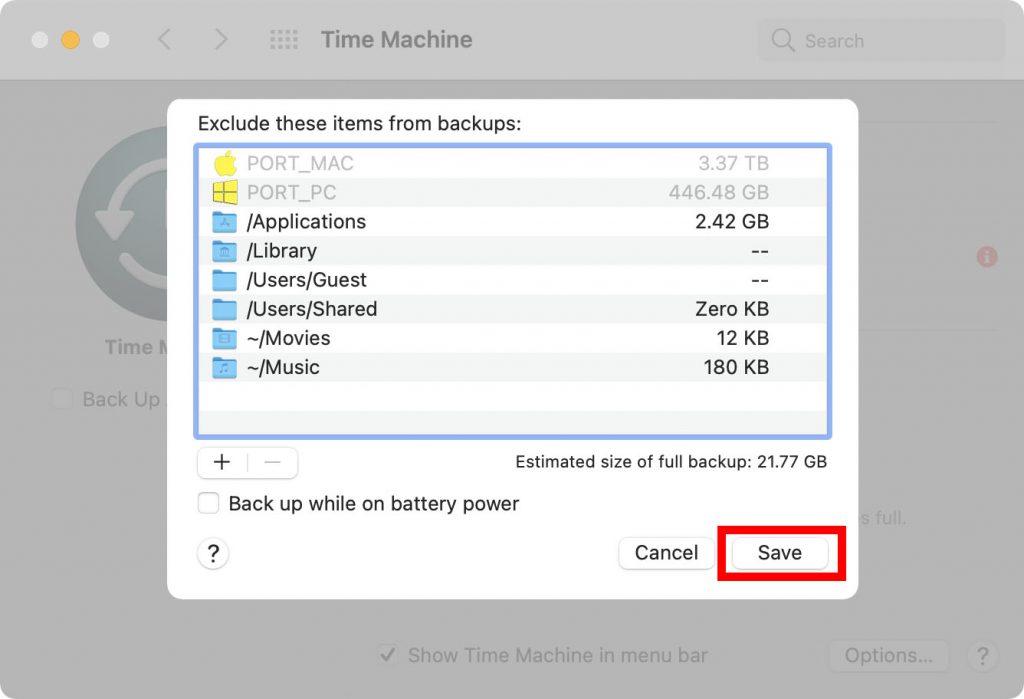
7. Now, the Time Machine will not back up the selected File or folder.
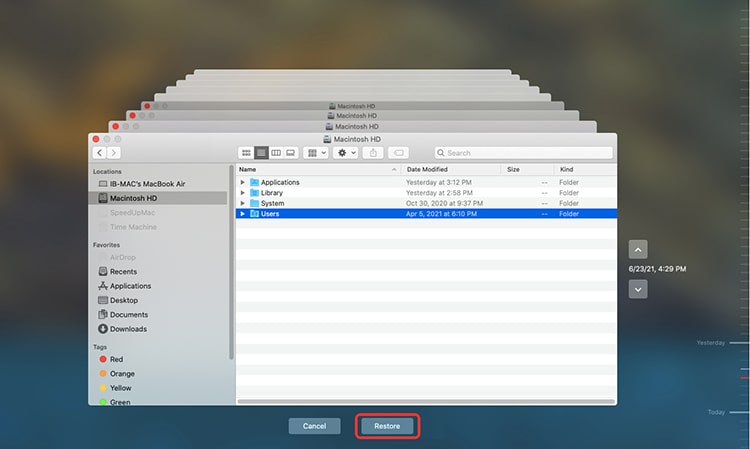
How To Restore Specific Files using Time Machine
1. Click on the Time Machine icon from the menu bar of the home screen on your Mac.
2. Select Enter Time Machine.
3. Now, you can choose any file or folder that you want to restore.
4. Click on the Restore button to restore the selected files or folder.
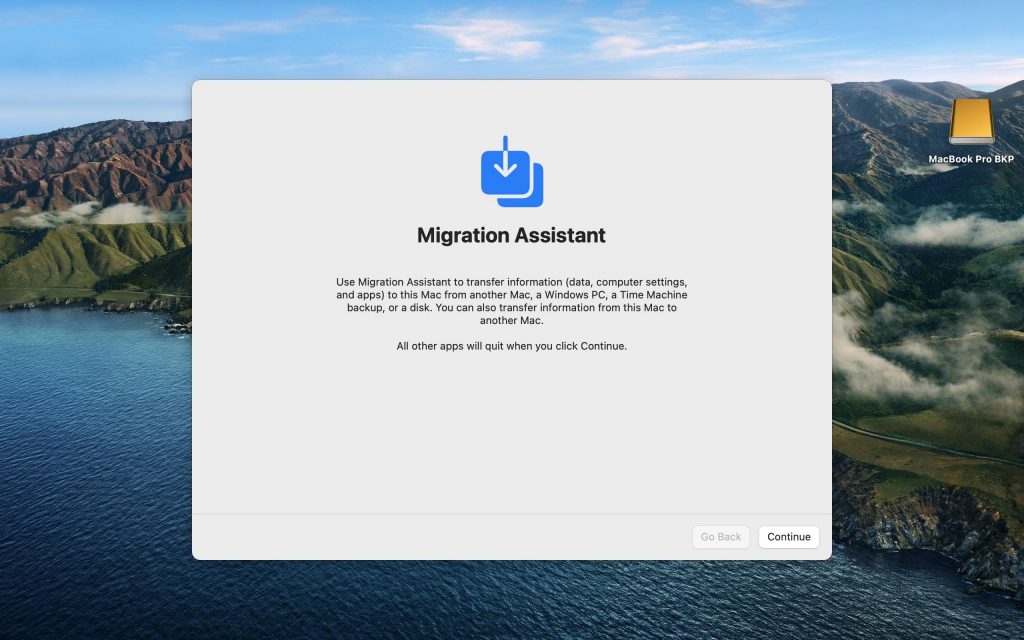
How to use Time Machine to Restore Files [All Files]
If you have reinstalled your macOS, you can restore all the data from the external drive where the Time Machine backup is stored.
1. Connect an external hard drive that contains the Time Machine backup.
2. Press and hold the Command+Spacebar to open the Spotlight.
3. Search for Migration Assistant and open the application.
4. Click on Continue.
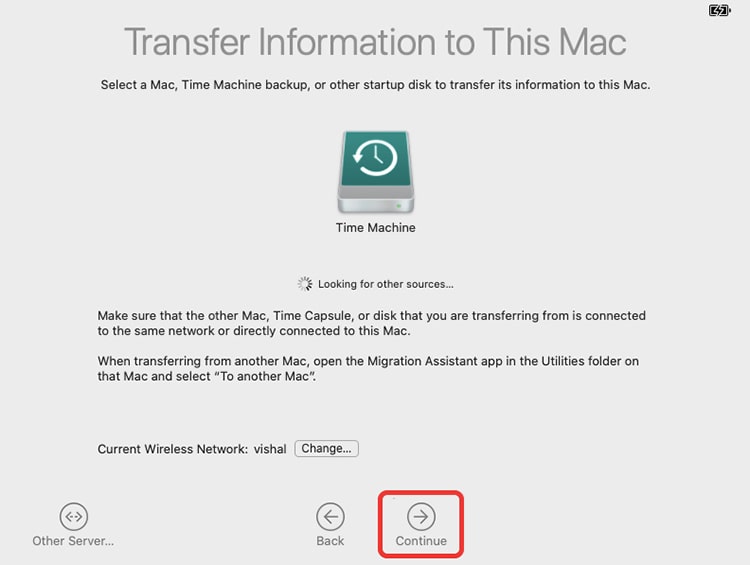
5. Select From a Mac or Time Machine backup or startup disk.
6. Click on Continue.
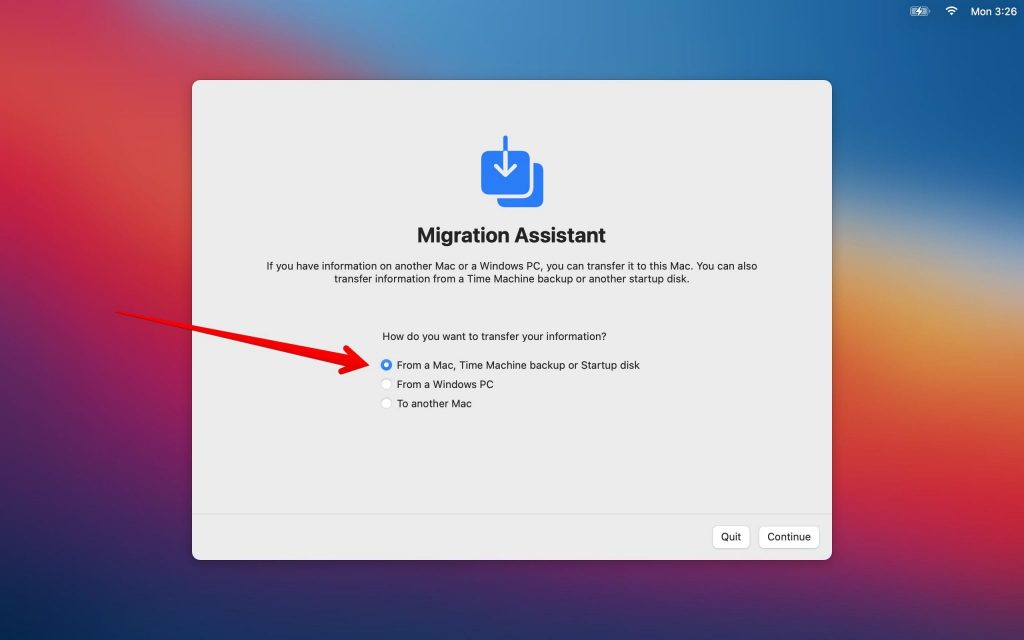
7. Then, choose the Time Machine backup to transfer your data. Click on Continue.
7. Select the files to begin the transfer. It may take a couple of hours based on the size of the files that you are transferring.
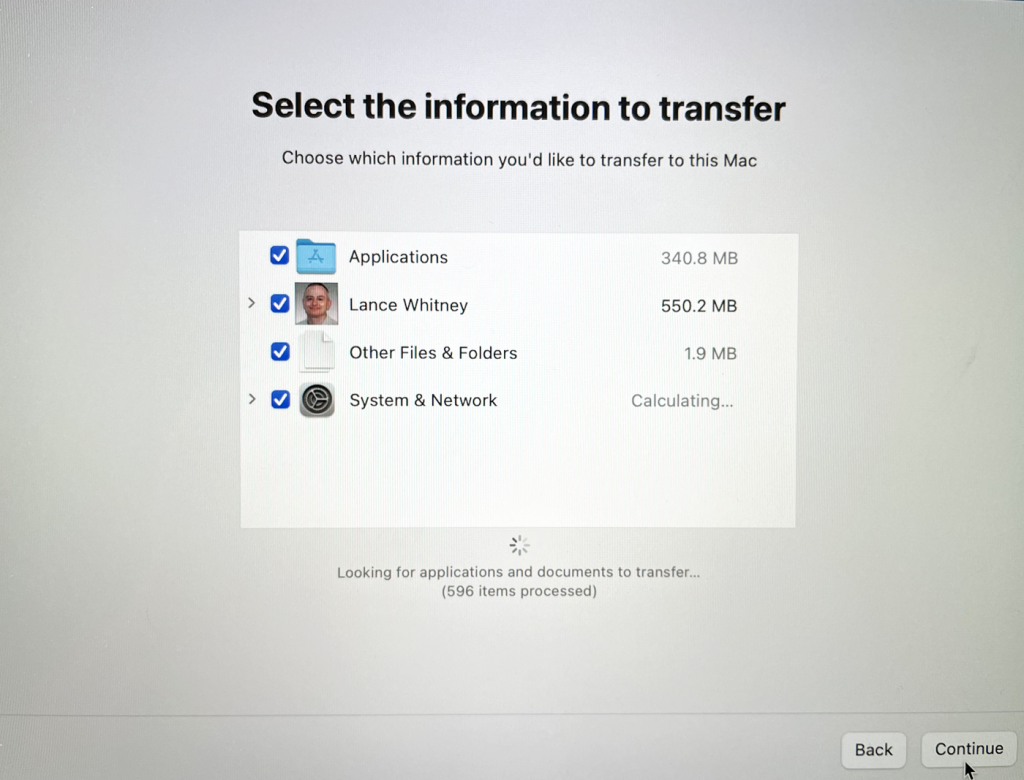
Now, you have restored all your data to your Mac.
Related: How to Switch Users on Mac in All Possible Ways Effortlessly
How To Restore Entire Mac using Time Machine Backup
If you doubt does time machine backup everything, then the answer is Yes. You can backup your macOS and restore it effortlessly.
1. Restart your Mac and Immediately hold Command+R keys.
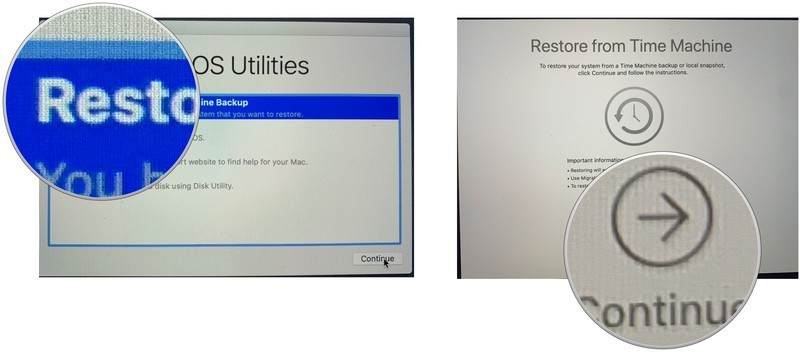
2. Now, you have entered into macOS Utilities.
3. Select Restore from Time Machine Backup.
4. Click on Continue.
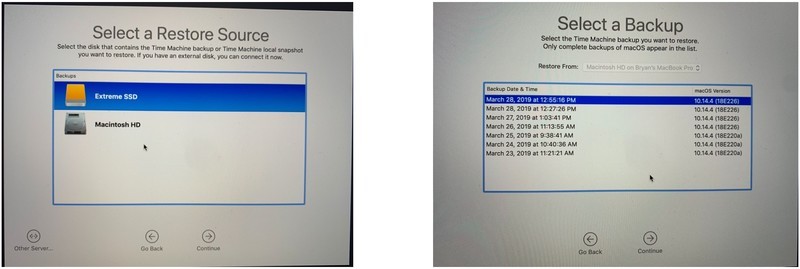
5. Select the Drive that contains the Time Machine backup. At the same time, you can connect an external drive that contains the Time Machine backup to restore your Mac.
6. Select the recent backup and click on Continue.
7. Now, your Mac will restart and will be restored.
So, you can backup all of your vital data by following the methods given above. You may have been in need to store an important file on your Mac, and there are possibilities for you to reinstall your macOS. So, with the built-in software Time Machine, you can back up specific files or the entire Mac and restore it anytime you want. So, for more tips and tricks, you can follow our blog.