
There are lots of times in which you need to capture the photo and the same can be done from your Mac. The display quality on the Mac is brilliant. And the quality with which it captures pictures is second to none. Whether it is using the webcam to take pictures or capturing an image of the screen via screenshot Mac gives you premium results. In this article, we are discussing all the ways to take a picture on Mac.
How to Take a Picture on a Mac
There is a multitude of ways in which you can capture the picture on your macOS. All of them are as discussed in brief.
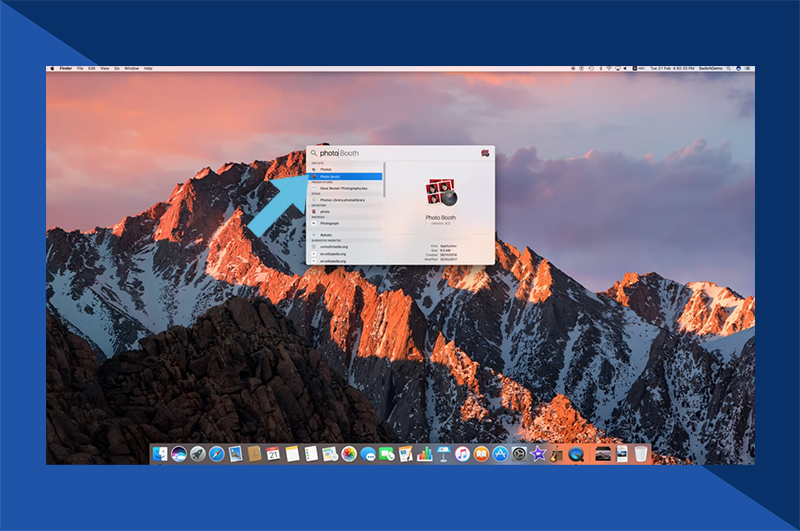
Take a Picture using PhotoBooth

1. Open the Photo Booth app from the Application folder on your Mac.
2. This will open the Photo Booth App window and access your webcam. When you are ready to capture a picture, click the Red button to take a picture.
3. The screen will flash white, and Photo Booth will capture the image.
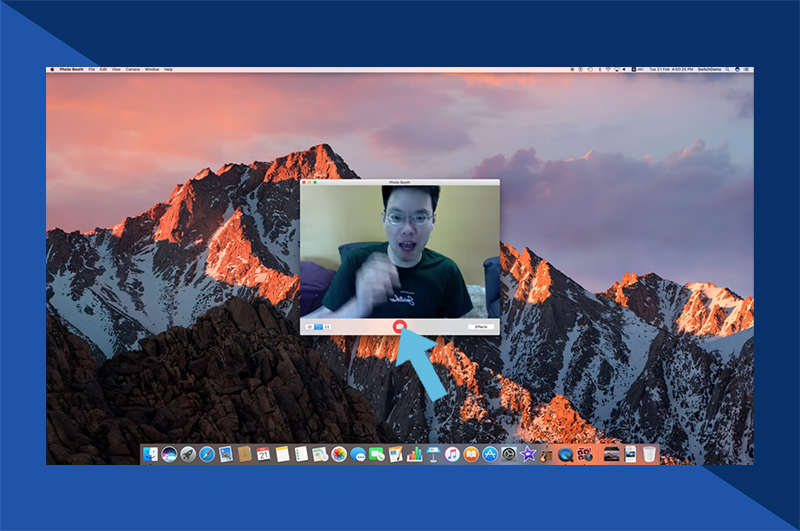
4. On the bottom right corner of the window, you will see the Thumbnail of the image you have just taken. Click on it to Save or Share it.

How to Take a Picture on a Mac using Third-Party App

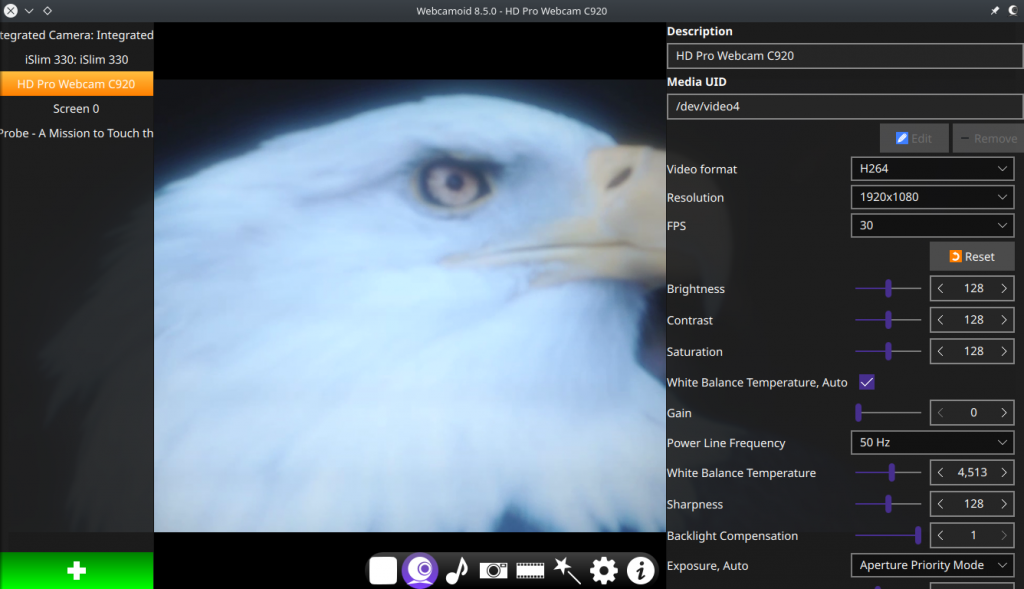
Webcamoid is a Third-Party app that allows you to take pictures using your webcam. This app has cool filters that can make your picture look fantastic. A lot of people consider this a better alternative to Photo Booth. It is a free app that you can install on your Mac and have fun clicking pictures. Once you open the app, you can take pictures and videos to your heart’s content. It also supports screen recording, which is a plus.
Related: iPhone Photos Not Showing Up on Mac – Best Possible Fixes
How to Take a Picture on a Mac: Screenshot
You can use Screenshots to capture any image that is on your computer screen or even captures the screen as a whole.
To Capture the Entire Screen
- Press Shift + Cmd/⌘ + 3. It will capture a screenshot of the screen as a whole. The screenshot will appear on your desktop.
To Capture a Specific Window
1. Press Shift + cmd/⌘ + 4.
2. Then press the Space bar. This will change your mouse pointer into a camera icon.

3. Click a Window to capture a picture of it. The screenshot will appear on your desktop.
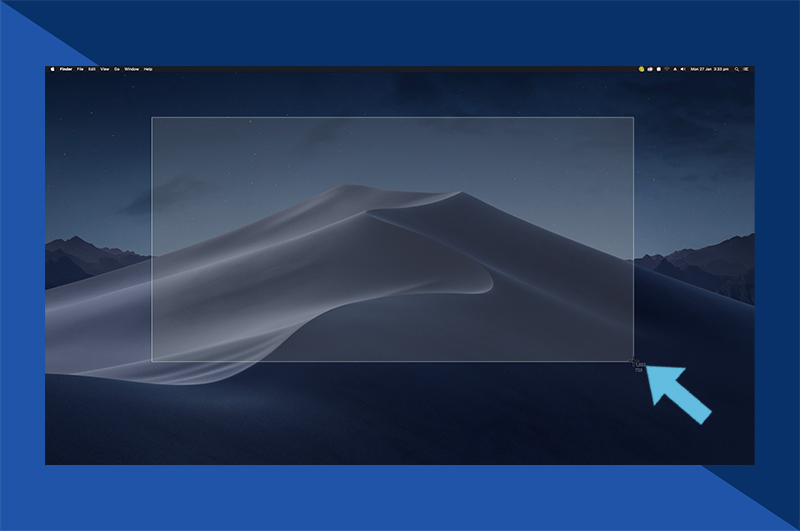
To Capture a Section of the Screen
1. Press Shift + cmd/⌘ + 4.
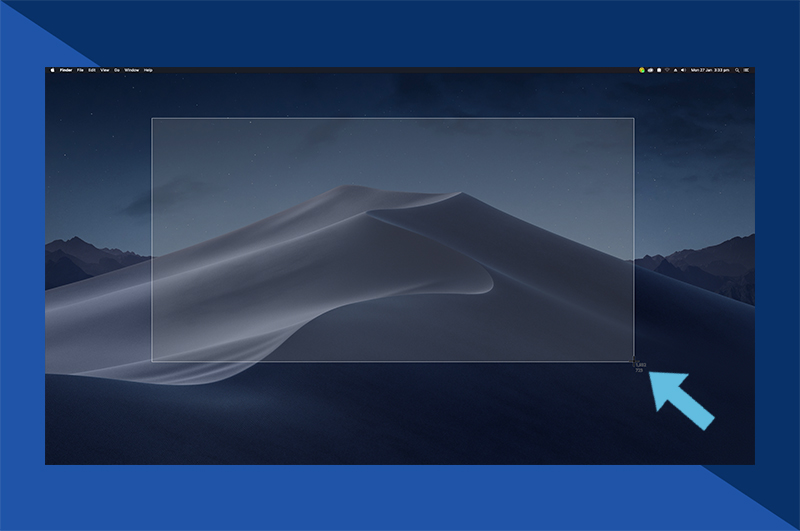
2. Click and drag your mouse over the portion of the screen you’d like to capture.
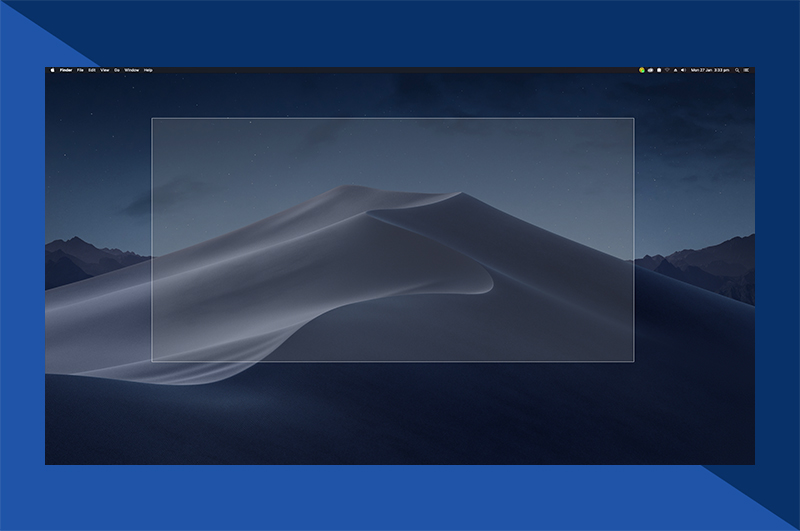
3. Release the click to capture a Screenshot. The screenshot will appear on your desktop.
Related: How to Undo and Redo on Mac | Top Easy Ways
To Conclude
We have talked about multiple ways in which we can take a picture on Mac. I hope you find this article useful, and it has answered all your questions when it comes to capturing a picture on Mac. If you still have further questions, you can visit Apple’s support site. For the latest article updates, you shall stay tuned to our blog.