
There are lots of attractive features you could make of while sending an Email. One of the noteworthy options is that you can send Auto Reply or out-of-office emails. It might be of great use to you when you are in many situations. For instance, say you work in an office and decide to go on a vacation. Unfortunately, it is quite hard to notify every one of your clients and colleagues about your vacation. Once you are out of the station, people unknowingly mail you and wait for your response. To handle this situation better, you should set out-of-office messages on your iPhone. By turning on the Auto-Reply feature, you can let them know that you are not on duty that day when they mail you. Like adding an email to iPhone, you shall learn how to set up an auto-reply or out-of-office on iPhone for an email.
You should consider the fact that not all email providers have the auto-reply feature. Most often, providers like Gmail and Outlook have this feature, while many other providers completely lack auto-reply.
Note: Gmail on iPhone supports setting up out-of-office emails. With Outlook, you will find additional options, and you can send out-of-office messages for Office 365, Exchange, Outlook.com, etc.
How to Set Up Auto Reply in iPhone for Email
Follow these simple steps to enable the Auto-Reply feature on your iPhone.
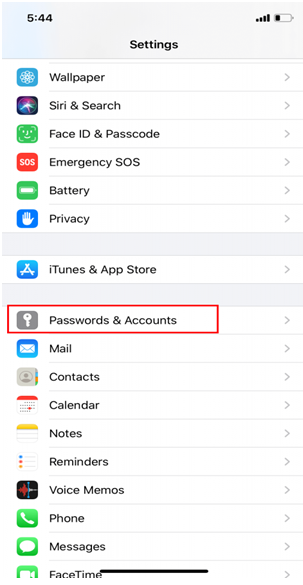
1. Firstly, launch the iPhone Settings.
2. Further, scroll down the menu and click on the Passwords & Accounts option.
3. Go ahead to tap the Microsoft account on your iPhone.
4. Finally, hit the toggle to turn on Automatic Reply.
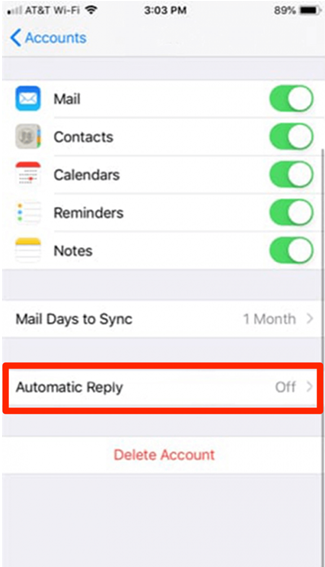
5. Further, mention the End Date.
6. Tap the Away Message option and then type down the message you intend to send.
7. On completing the text, tap Save.
8. Finally, auto-reply is all set. Now, automatic emails will be sent to anyone who emails you on your Microsoft account.
Note: It is possible to set up and use voicemail on iPhone, and it can be used to share messages with those who don’t pick up your call.
How to Auto-Reply in Gmail on iPhone
Follow these instructions to set up an auto-reply on Gmail.
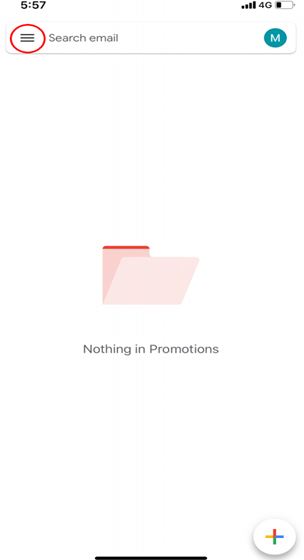
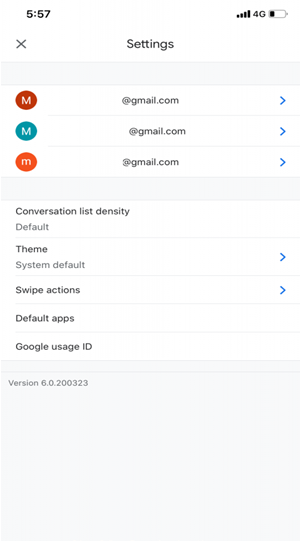
1. On your iPhone, open the Gmail app.
2. On the top-left corner, tap on the menu icon.
3. Next, tap Settings.
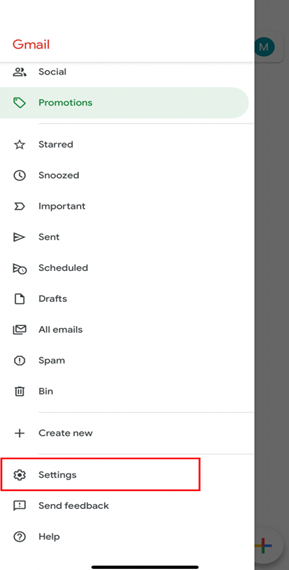
4. Select the one you will send auto-reply on if you have logged into more than one account.
5. Next, tap the Out of Office AutoReply option and turn it on using the toggle.
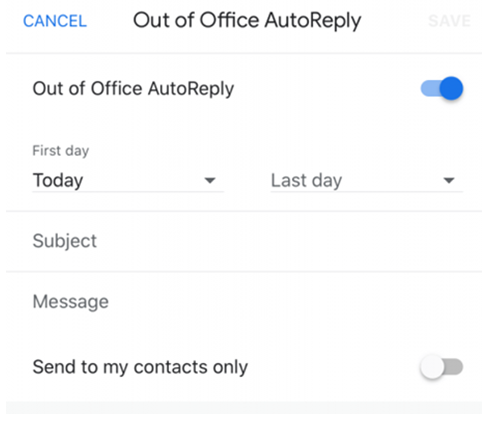
6. Further, enter details including the First Day, Last Day, Subject, and the message of the auto email reply.
7. Choose the contacts to send the mail to by clicking on Sent to my Contacts if necessary.
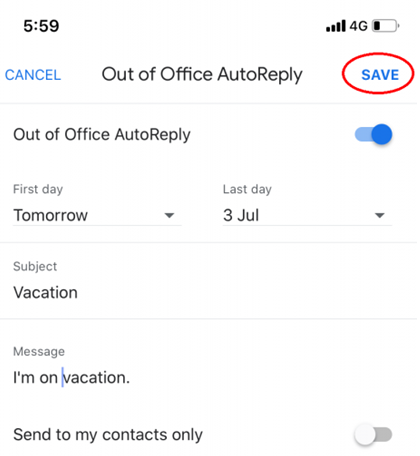
8. Further, click on the Save button on the top-right corner.
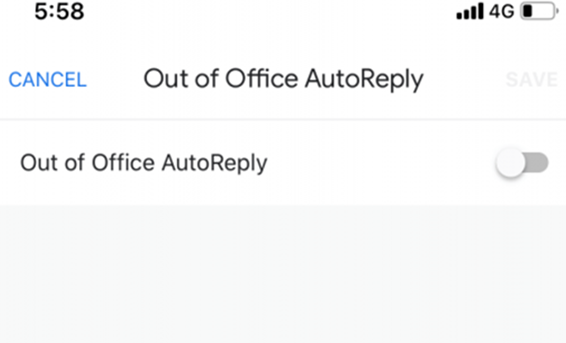
10. To turn it off, use the toggle to turn off the Out of Office Reply.
How to Set Up Automatic Email Reply on iPhone on iCloud
It is possible to set an automatic reply to incoming emails from your iCloud. The most important thing is it works even if you transfer your iCloud mail to one another email account.
1. From the mail on iCloud.com, you shall click on the Settings icon that is available on the Mailboxes list.
2. Choose Preferences and select Auto-Reply.
3. Further, click on the Automatically reply to messages when they are received option.
- You can deselect the option if you don’t want to send the auto-reply.
4. Go ahead to type the details about the out-of-office message you want to send.
5. Optionally, you shall choose a date range and click on Done.
FYI: If someone sends you multiple emails during your absence with the out-of-the-office message setup, then they will receive only one auto reply in 24 hours.
It is easy to change iCloud account on iPhone if you are about to delete the current account and create a new one.
Now, you know how to set up auto-reply or out-of-office replies from your iPhone Email. So, you can now send customized emails to the ones who mail you when you are inaccessible. With this, they don’t have to wait for you to respond, which is a way helpful when in an emergency.
Frequently Asked Questions
Yes. You can follow the steps below to set up an out-of-office message on your iPhone 11.
It can be done on iPhone Settings or Gmail preferences.