
The screenshot is one of the most used utility tools in today’s time. Capturing a screenshot is the most efficient way of sharing whatever is happening on your screen with others. During your binge session, it may be a crazy moment that you want to add to your Instagram story or capturing that error message that pops up that you want to send to tech support. The need for capturing your screen is endless. So it is when you look for ways on how to take a screenshot on Mac.
Thankfully, your Mac has an inbuilt tool dedicated to capturing your screen. The inbuilt screenshot tool for Mac has a very simple layout and is very user-friendly. Before the release of Mojave, you need to remember all the keyboard shortcuts to take the right screenshot. Now, with the help of the inbuilt tool, you can capture the screen with the click of a button. For a complete guide on how to take a screenshot on Mac, you shall follow the below guide.
How to Take a Screenshot on Mac
You can learn to capture the screenshot on your macOS with the simple guide given below.
Grab the Entire Screen
1. Firstly, open the Screenshot tool by pressing the shortcut Shift + Command + 5. Go to Launchpad > Other > Screenshot to open it.
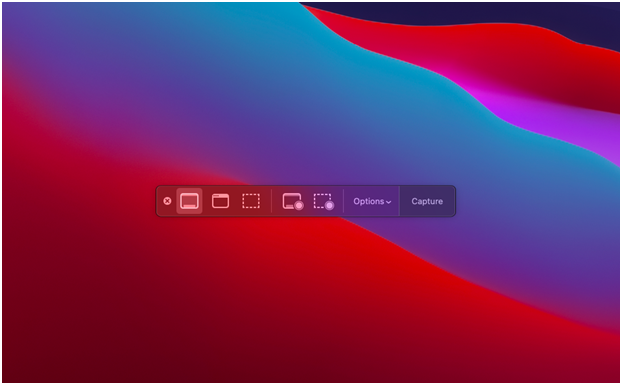
2. Click on the Capture Entire Screen button in the screenshot toolbar, and click on the Capture button to capture the whole screen. The same can be done using the keyboard shortcut: Shift+Command+3

Capture a Custom Selection
1. Open the Screenshot tool first, use Shift + Command + 5 or go to Launchpad > Other > Screenshot.

2. Click on the Capture Custom Selection button on the toolbar, or use the shortcut Shift + Command + 4. It will make your mouse pointer change to a cross-hair. Now, click and drag the pointer on the desired area of the screen to capture the selected area.

Related: How to Use Universal Control on Apple Devices [Guide]
Capture a Window or Menu
1. As usual, open the Screenshot tool first, use Shift + Command + 5 or go to Launchpad > Other > Screenshot.
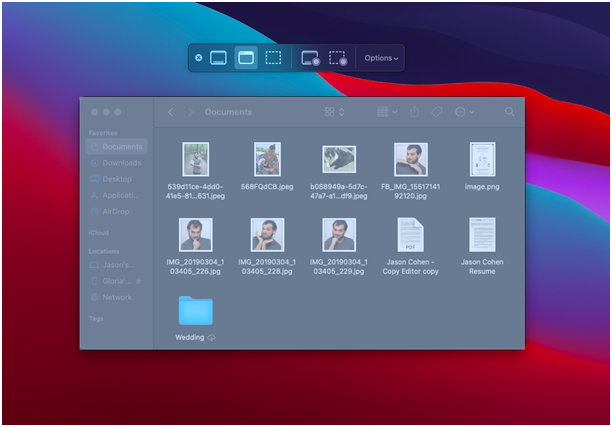
2. To take a screenshot of a specific window or menu, the Capture Selected Window option is in the toolbar. It will change the mouse pointer into a camera icon.

3. Move the mouse over the desired window or menu and click on it to capture the window.
Take a Screenshot of the Touch Bar
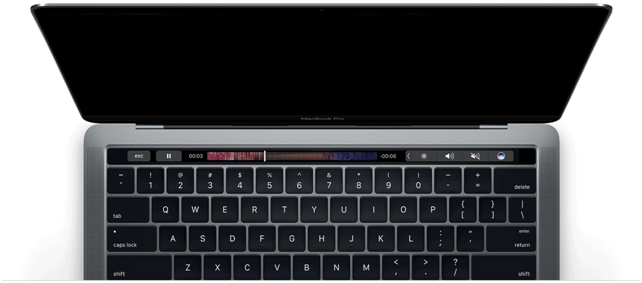
If you have Touch Bar access on your Mac, you can take a screenshot of it by pressing Shift + Command + 6. Unfortunately, it is only available for Macbooks with a touch bar and does not work on other Macs.
Change your Screenshot Saving Location
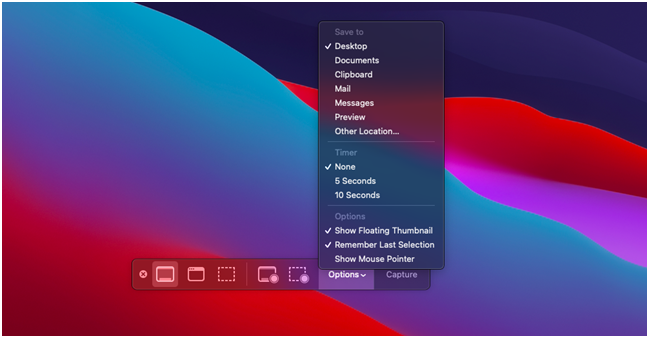
By default, the screenshots are saved to the desktop. You can change this and choose any custom location you want to screenshots.
1. As always, open the Screenshot tool first, use Shift + Command + 5 or go to Launchpad > Other > Screenshot.
2. Click Options > Save to and select a new default location. You can either choose the given common locations or click on Other Location to choose a specific folder that you have in mind.
Snappy (Third Party App)
Snappy is one of the best screenshot apps available for Mac. Its rich features such as annotation, sharing, iCloud sync, and password encryption stand out. If you look for a third-party app, look no further Snappy fulfils all your screen capture requirements. You can download Snappy from their Official Website.
Related: How to Change Wallpaper on Mac in 3 Ways Effortlessly
Hope this article was effective in bringing you all the Screenshot options you need to know. For more detailed user guides for your Apple devices, visit our blog.