
Apple’s iPhone is one of the most powerful smartphones to hold unique characteristics. It is widely loved for the professional camera-like features it is offering. iPhone delivers the pictures in the best resolution and quality. It’s not just limited to capturing, and iPhone supports editing functions as well. With the launch of the iPhone 12, you can capture and edit pictures in RAW using the ProRAW app. Sometimes, the photo captured via iPhone requires crop and resizing. The crop function is mandatory to use if you have taken a screenshot. With this, you could enhance it for frame-ready with the right size. Nevertheless, it is complex to crop a photo on the iPhone. The section below deals on how to crop a picture on iPhone in different ways.
How to Crop a Picture on iPhone?
You need to rely on the Photos App of your iPhone to crop any picture. There are two ways in which you can crop an existing photo available on the Photos App.
Note: The same steps will work on all the iPhone and iPad models.
- Automatic Crop or Standard Preset Ratio
- Manual Crop or Customized Ratio
Also, see How to Delete a Playlist on iPhone / iPad in 3 easy methods
Crop a Picture on iPhone using Photos App Automatically
In this method, you don’t have to alter the ratio manually. We will guide you to crop the photo to the standard preset ratio on the Photos App.
1. On your iPhone, launch the Photos App.
2. Choose a photo you want to crop.
3. Hover to the top and press Edit.

4. Click on the Crop (square with two arrows circling) button available on the bottom right.
5. Tap on the Crop box (three rectangles overlapped) from the upper-right corner.
6. Select the Aspect ratio to which you want to crop the photo.
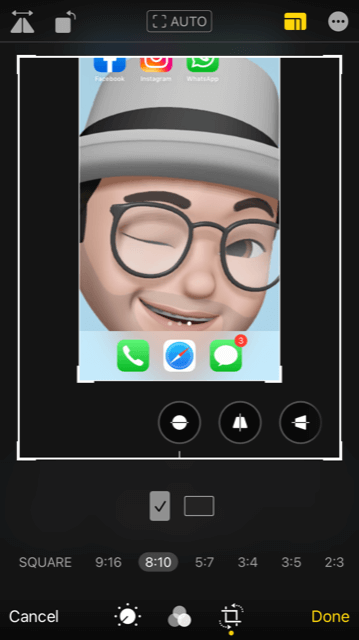
7. Choose between a vertical or horizontal crop. Optionally, you can use the Auto icon to let the Photos App choose its ratio.
8. Select Done from the bottom right.
Note: The cropped image will save over the original version. You can restore the original photo if you change the crop ratio back to the original.
Crop a Picture on iPhone using Photos App Manually
If you prefer setting your own ratio, the Photos app lets you do that manually.
1. Open the Photos App on your iPhone.
2. Choose any of the photos you need to crop.
3. Hover to the top-right to tap Edit.
4. Click on the Crop icon that resembles a square with two arrows circling it.
5. Now, press and drag the white box with defined edges and corners of the photo to enclose the area you want in the photo.
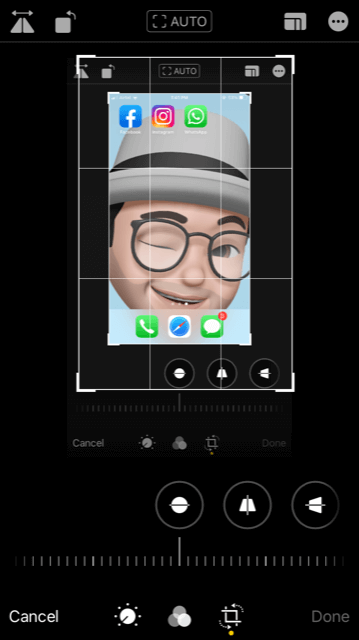
Note: When you drag the defined corners, a 3×3 grid will appear on the image. Use the grids to decide and center the image for a better crop.
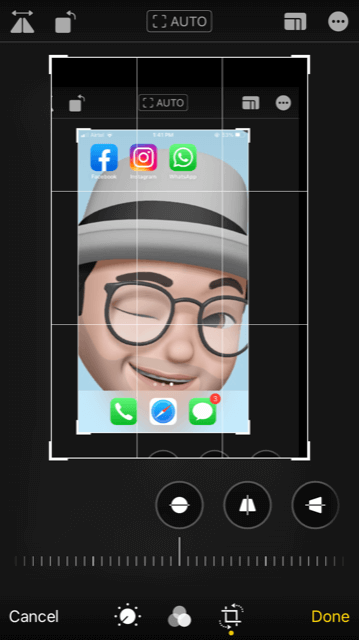
6. If you have finished cropping an image to your preferred ratio, press Done to save the image.
Note: To get back to the original photo, press Edit and click on the Revert.
Important: You can capture your iPhone screen as a screenshot. Just press the Power and Volume Up or Home buttons. It gets saved to your Photos App of your iPhone. Open it and drag the blue border around the photo to position it to crop. When you are done, press Done to save it.
Also, see how to unlock iPhone with Apple Watch easily
Now that you have learned to crop a picture on your iPhone using different ways. For more such useful tips and tricks, visit our blog.