
Apple Watch is the most advanced wearable that can be used for fitness, health tracking, and many other purposes. The most exciting thing about watchOS is that it supports customization options in and out. In precise, Apple Watch lets you swap the wristband that matches your style. You don’t have to use the same wrist band throughout the watchOS life cycle. There are plenty of bands in different designs, colors, and textures. You will also find more stylish third-party bands that go well with your Apple Watch. Whether your existing band is damaged or replaced with the latest design, you can swap it with a new one. If you aren’t sure how to change the Apple Watch band, this section is all about it.
Note: Apple Watch band designed for the 1st generation and watchOS Series 1, 2, and 3 will fit Apple Watch SE, watchOS Series 4, and later. i.e., Those bands with 38mm and 40mm cases will be compatible with each other. Similarly, 42mm and 44mm cases will be compatible with each other.
How to Change Apple Watch Band?
Follow the section below carefully to change the watchOS band with ease.
Pre-Requisite
It is vital to remove the existing band from the watchOS. Carefully follow the instructions.
1. Place a soft micro-fiber or lint-free soft cover on the table or any other surface.
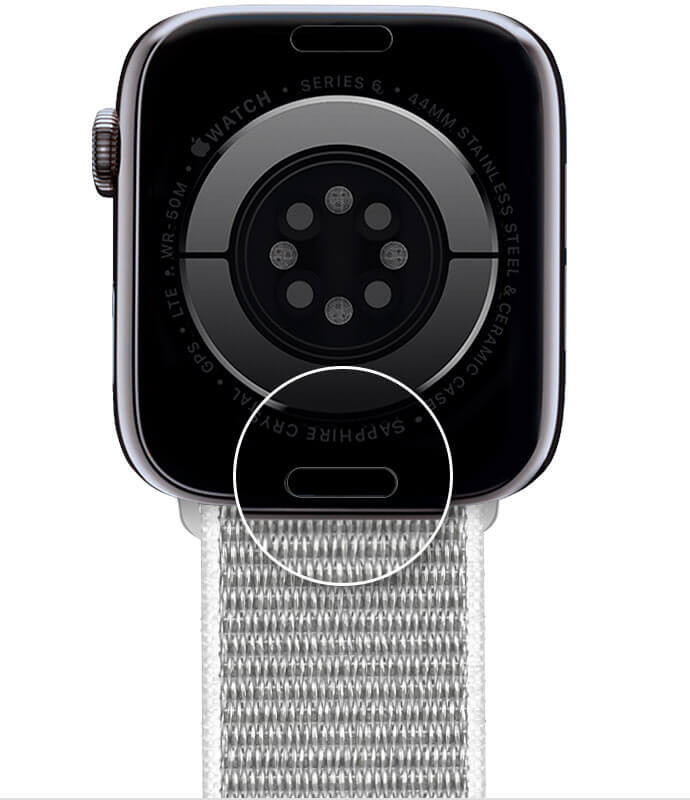
2. Turn your watch, place it down on the soft cloth, and hold the watch firmly.
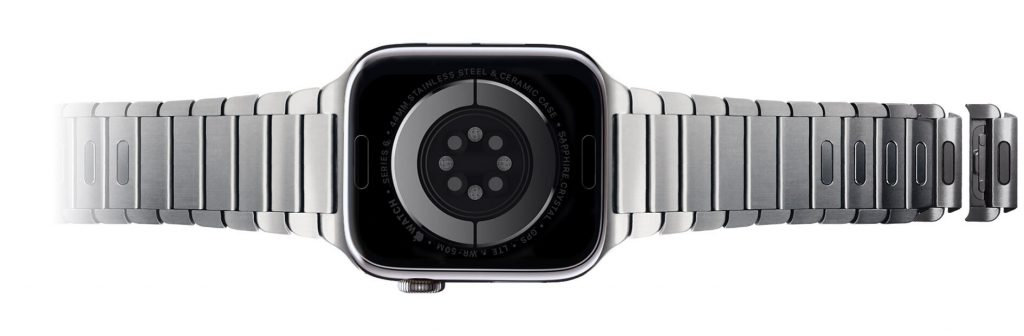
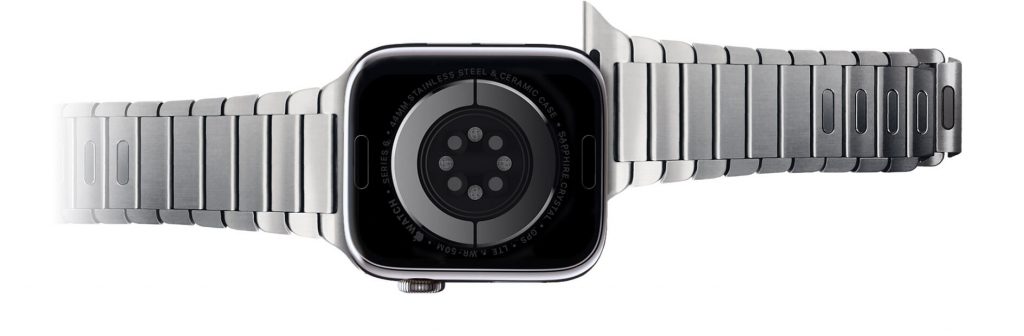
3. Press and hold the quick release button on either side and shift the band to the right or left. (It should separate into two pieces)
4. If that doesn’t slide out, you shall gently press the release button once again and ensure you hold it down.
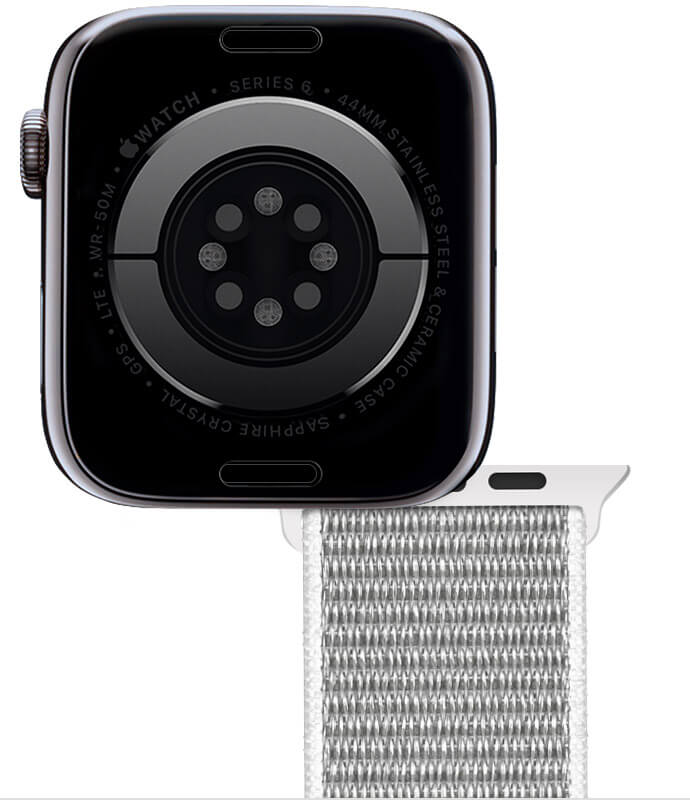
5. You can repeat the same process, whichever worked on the other side of the Apple Watch to remove the existing band.
You might also be interested in how to use FaceTime on Apple Watch in 2 Easy Ways
On Link Bracelet
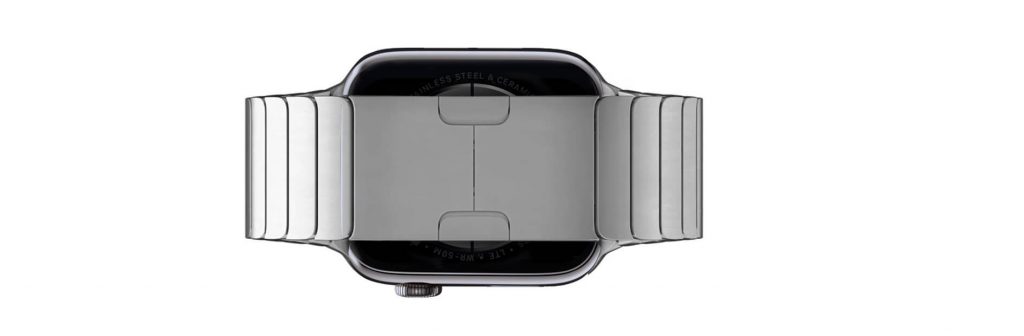
It is mandatory to separate the Link Bracelet into two before removing the band from the watchOS. Make sure you aren’t forcing the band or wrist.
1. Fold the butterfly closure if it is open on the side, and you will hear a click.
2. Press the quick-release buttons inside of the bracelet and hold down.
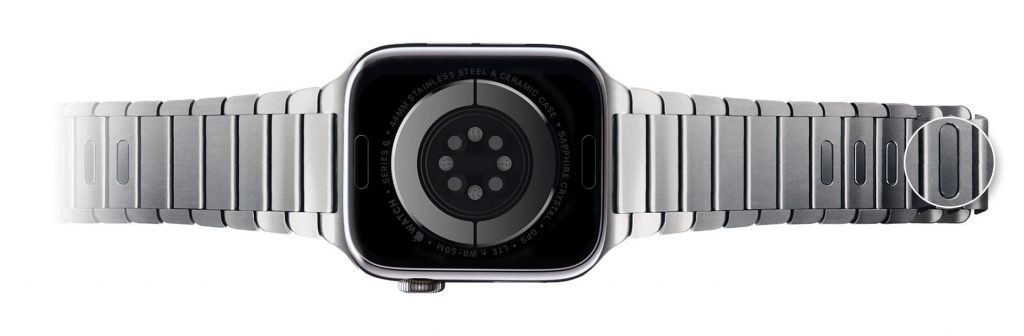
3. Now, hold the quick-release button and pull the bracelet. It separates the band into two before removing the band.
4. Hold the band release button and slide the band across to remove it.
FYI: Some models require the press of the button, and few others will be stubborn and require greater effort.
How to Connect New Band on Apple Watch?
The steps to insert a new wristband on the watchOS are a lot easier than removing it.
1. You should position the new band in such a way you see the small text on the back of your watch.
2. Now, tilt the new band, so it corresponds to the angle of the strap’s slot.
3. Slide the new wrist band in and release it when you hear a soft click.
4. You can repeat the same steps on the other side to insert the new band.
Bonus!
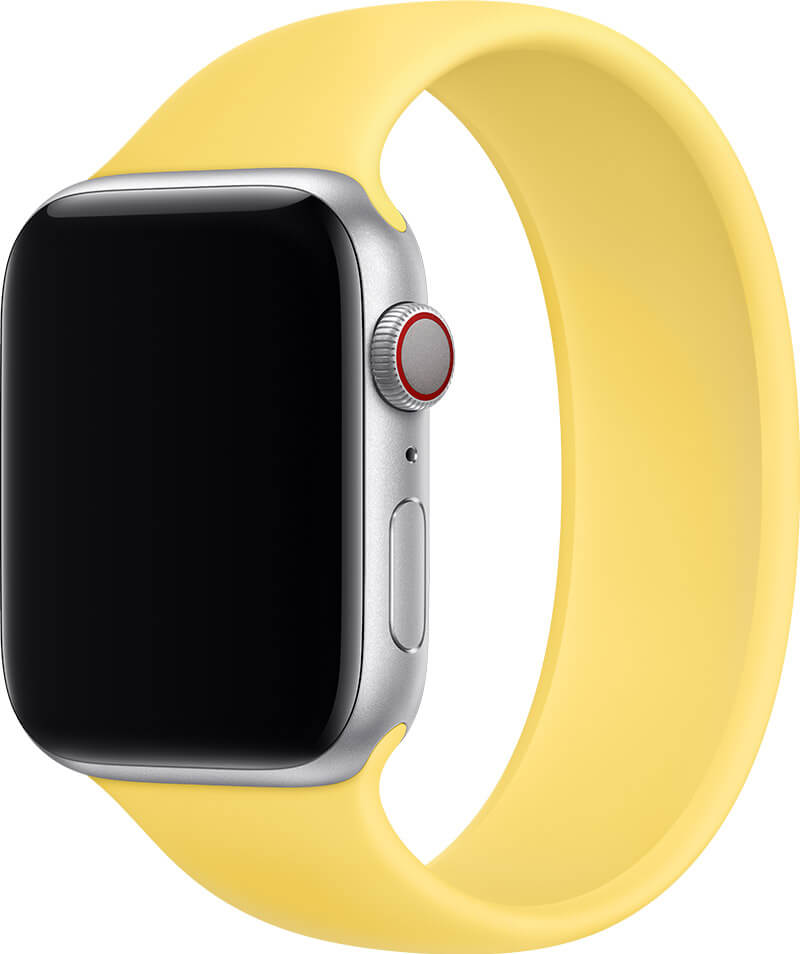
Solo Loop or Braided Solo Loop: Pull the band from the bottom to stretch it over the wrist to insert or remove.
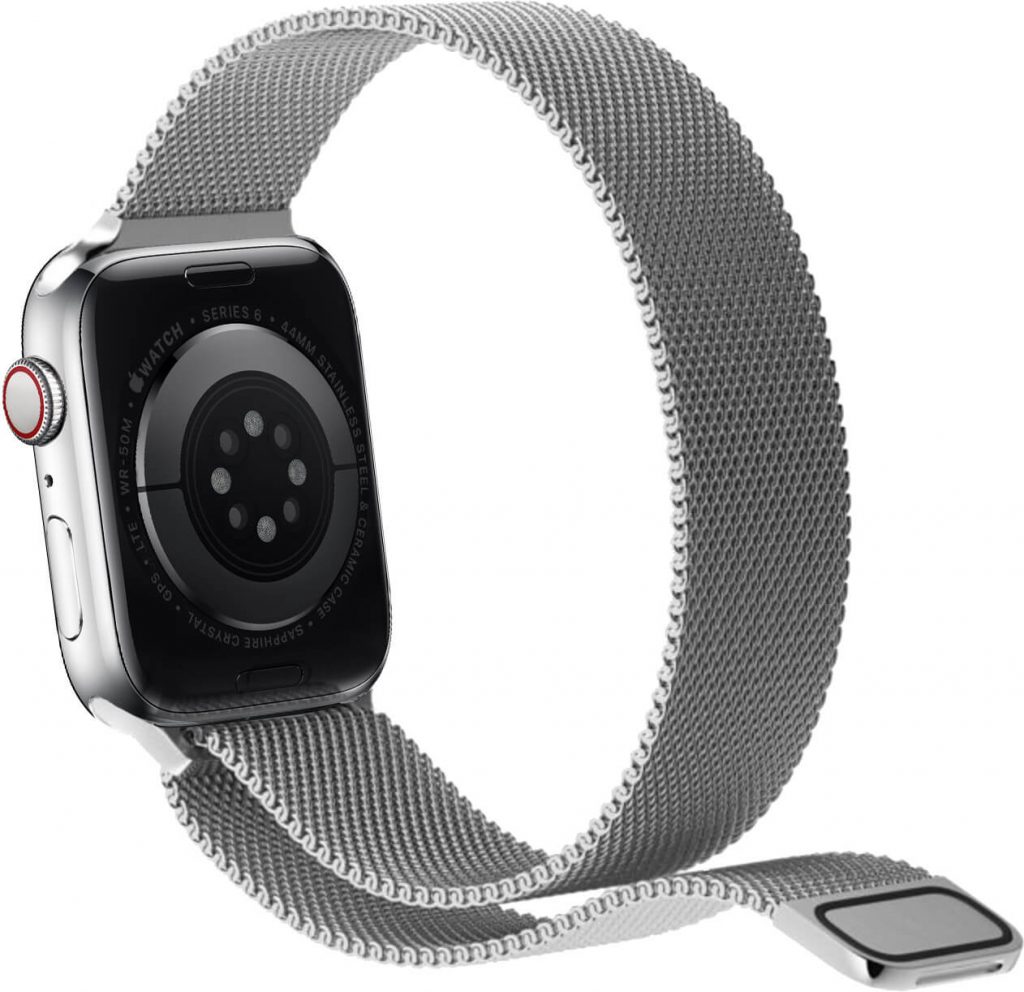
Milanese Loop: You need to slide the magnetic closure through the band connector or lug in the latest model. The closure will not slide through if you have the oldest Milanese loop models.
Related: How to Unlock iPhone with Apple Watch Easily
Things to Remember!
Make sure you have the following things done on your Apple Watch for better benefits.
- Your watchOS should fit closely to your wrist, and it needs to be in contact with your skin. With this, the sensors will work properly and give optimized performance.
- Ensure to tighten your watchOS during the workout sessions and loosen it post-workout.
- You should wear the Apple Watch as like your normal watch and on the top of your wrist.
These were all the info we have got you about changing and inserting a new band on your Apple Watch. You can even take advantage of the bands that are sold by others. For more such useful tips and tricks, visit our blog.