
Apple’s iPad is very convenient for doing various tasks. You can use the iPad to read books, watch videos, play games, browse the web, and more. The Dock feature in the iPad allows you to access your favorite apps quickly, making multitasking very easy. The Dock has a collection of your favorite app icon at the bottom of the screen, and you can access them with a single swipe. i.e., you can launch the app to use it quickly. Further, you get the advantage of working with more than one app simultaneously with Dock. You can add any number of apps in the Dock to use. By adding the most used apps in the Dock, you can save your time as you need not search the particular app on several screens. In this section, let’s discuss in detail using Dock on iPad.
How to Add Apps to the Dock
You can access the Dock on your iPad from the bottom of the home screen. You can see the most recently opened apps. On the left side, you can see the customized favorite apps.
In the latest versions of iOS for iPad:
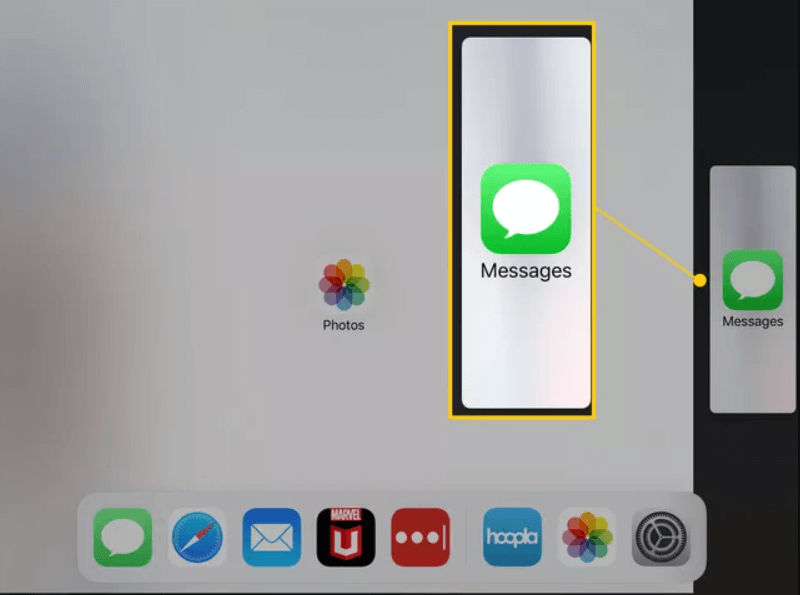
1. Keep your finger on the app you want to move to your Dock.

2. Drag it to the Dock, and it will make space for the app.
In the old versions of iOS for iPad:
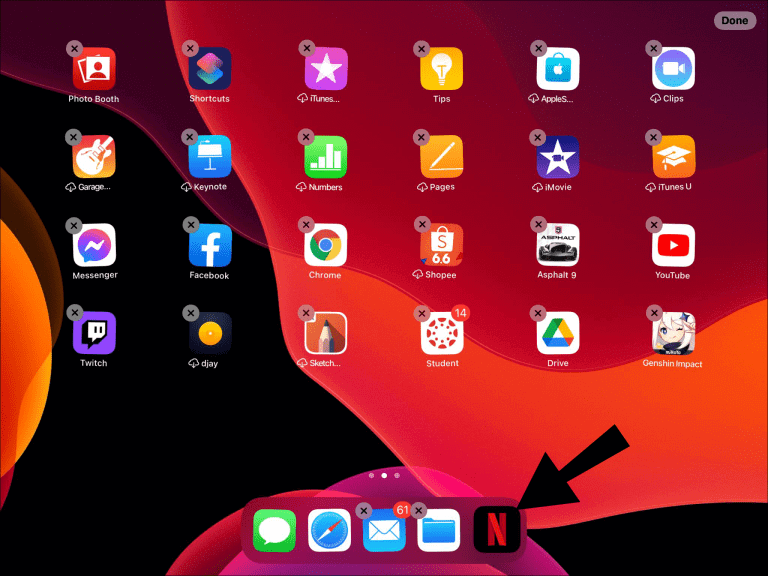
1. First, navigate to the app you wish to add to your Dock from your home screen.
2. Long press on any app’s icon until you get a small menu.
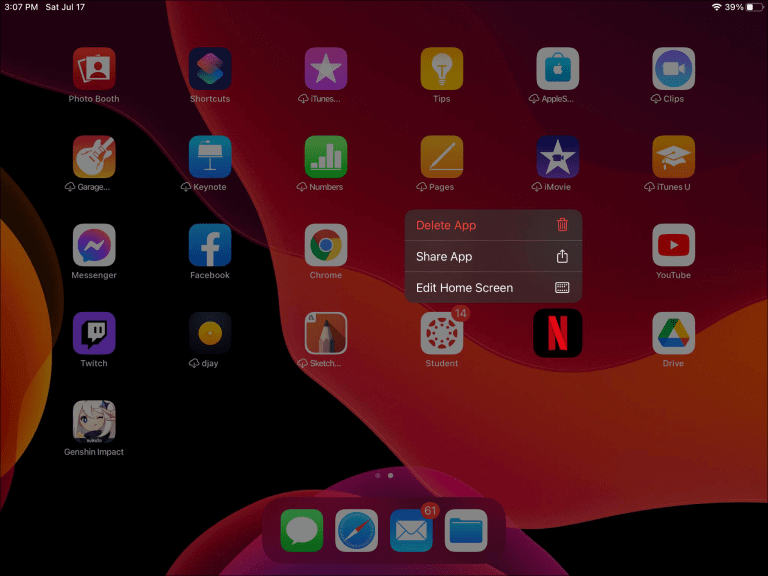
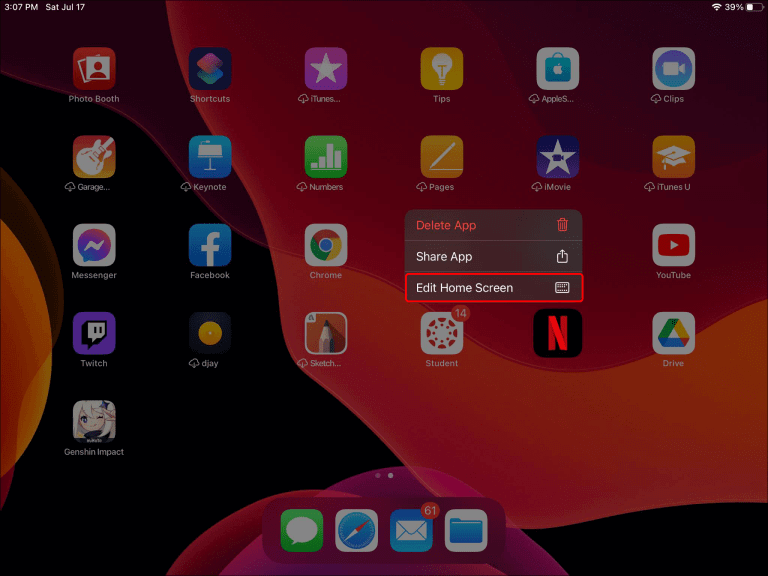
3. From that, select the Edit Home Screen option.
4. Now, you will see X in the top-left corner, which shows you you are in edit mode.
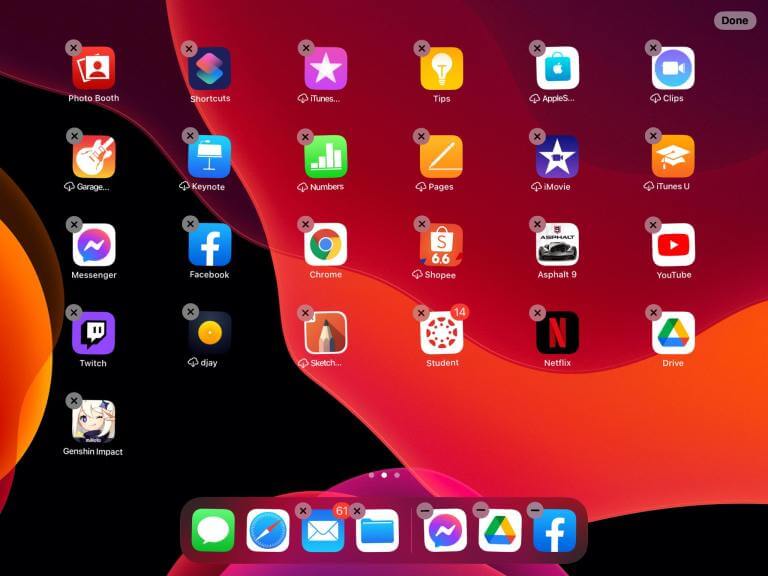
5. Further, select the app you want to add to Dock and drag it towards the Dock.

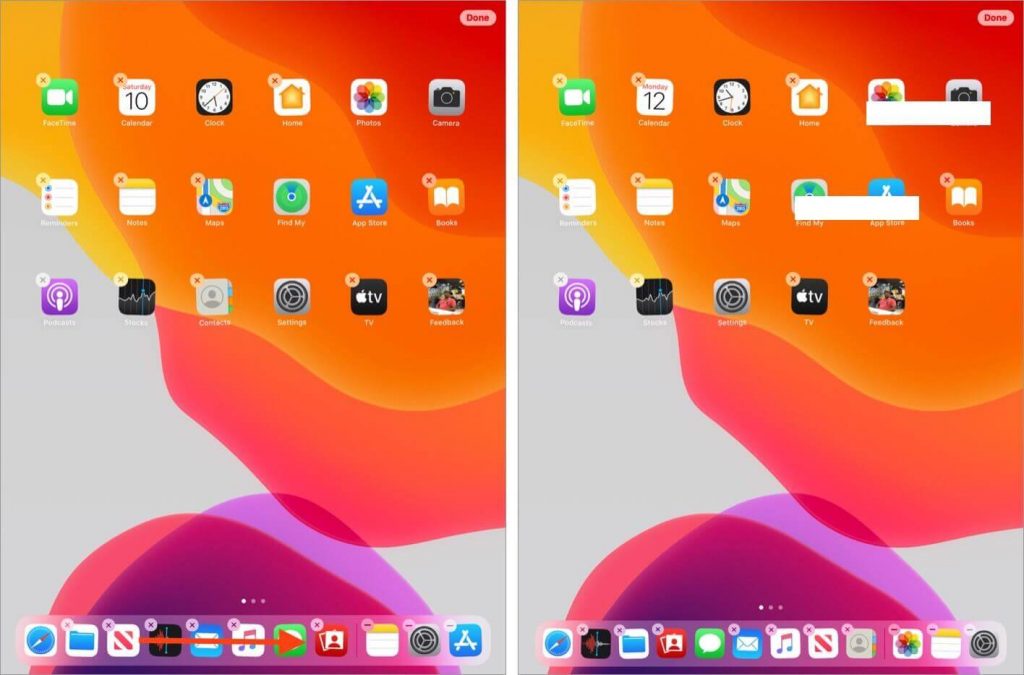
To Move Apps Around the Dock (Rearrange)
1. From the Dock, choose the app icon you want to move.
2. Hold and drag it to the new position on your Dock and release the app.
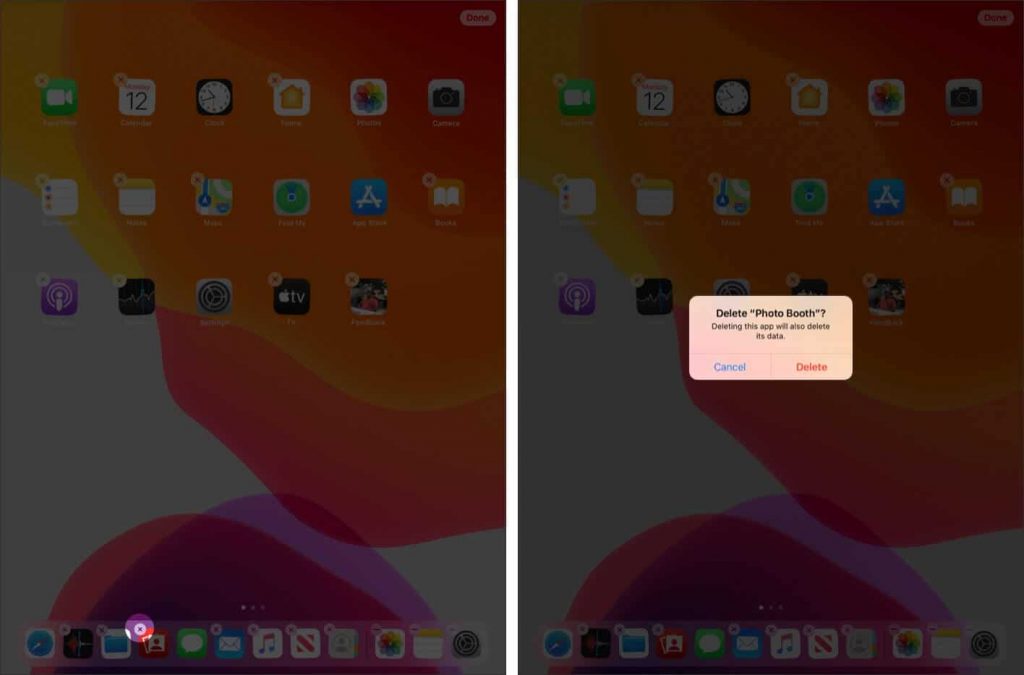
To Delete the Apps on the Dock
1. Press and hold the app you want to delete, and you will be able to see the X icon on the app.
2. Tap the X icon and hit the Delete option to remove the app from the Dock.
To Remove Apps from a Cramped Dock
1. Long press on an icon in the Dock to open the pop-up menu.
2. Choose Rearrange Apps, and the icon will start to jiggle.
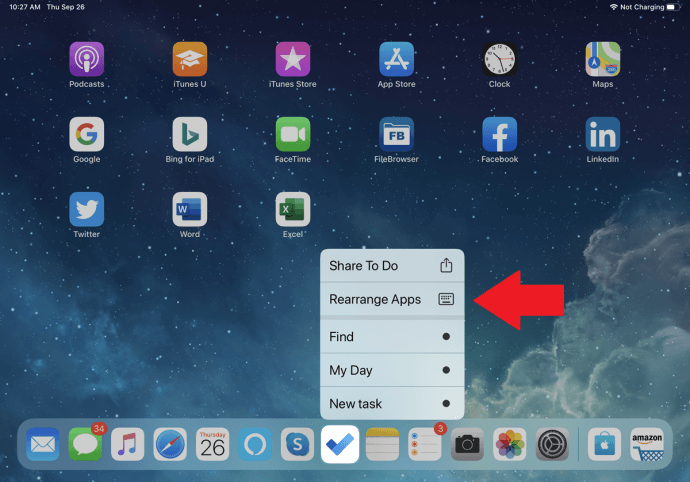
3. Now, hold down the icon that you want to remove and drag and drop it to the home screen.
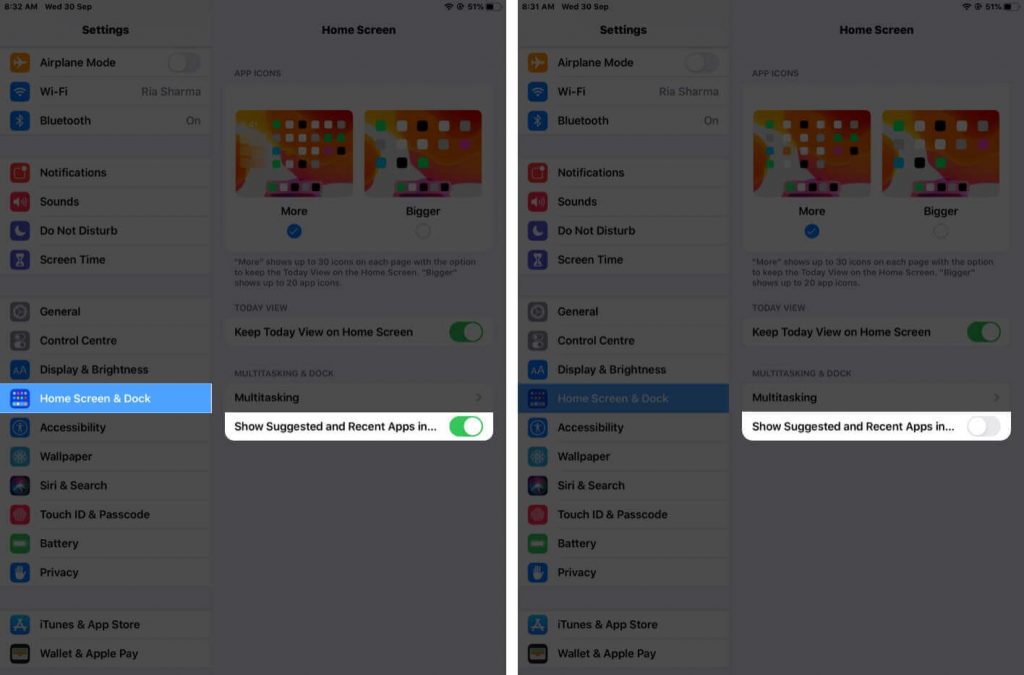
To Manage Recently Used Apps in Dock for iPad
1. From the Settings app, go to Home Screen & Dock.
2. There, you will see an option like Show Suggested and Recent Apps in Dock.
3. If you want the apps to be visible, toggle the switch on. Otherwise, toggle the switch off.
How to Access Recent Files using a Shortcut
With an in-built Files app on iPad, you can access all the files you have stored in DropBox, iPad, and anywhere else. With the Files app in your Dock, you can access the files without opening the app.
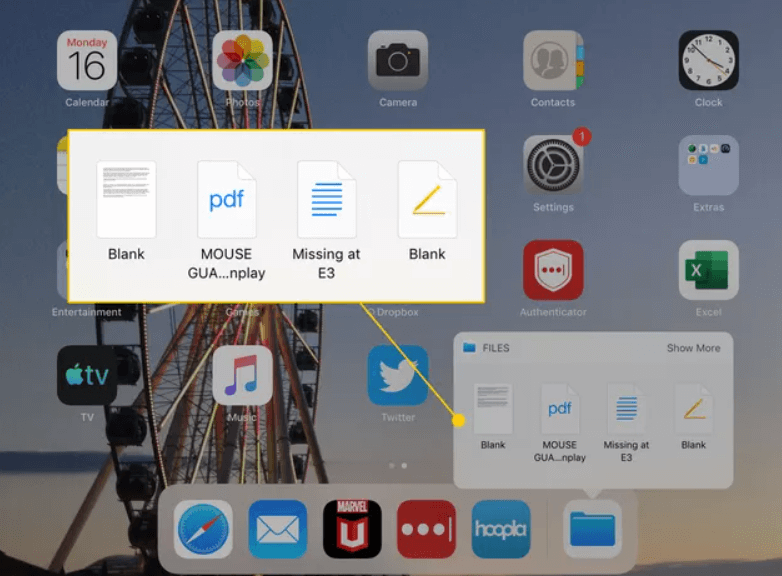
1. First, add the Files app on your Dock and press and hold the Files icon.

2. Now, you will see the window with four recently opened apps. You can tap on the files that you want to open.
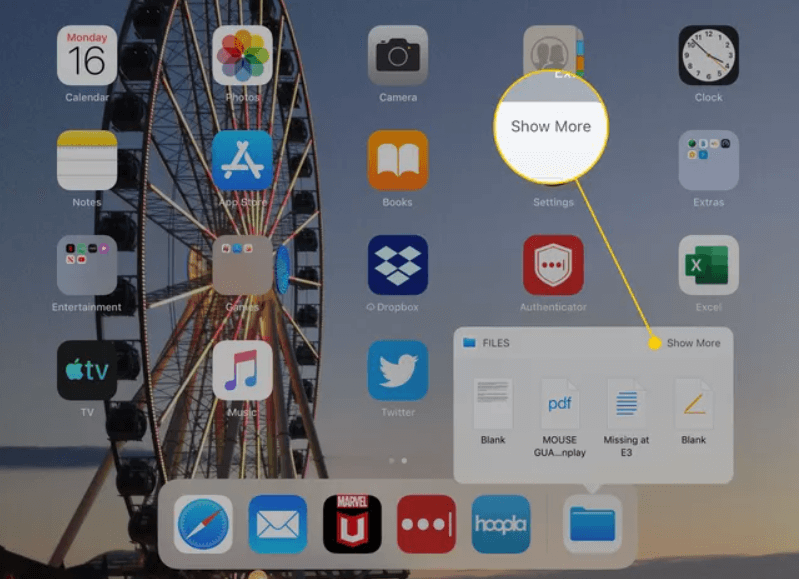
3. If you want to access more files, click on the Show more option.
If you want to disable recently used icons,
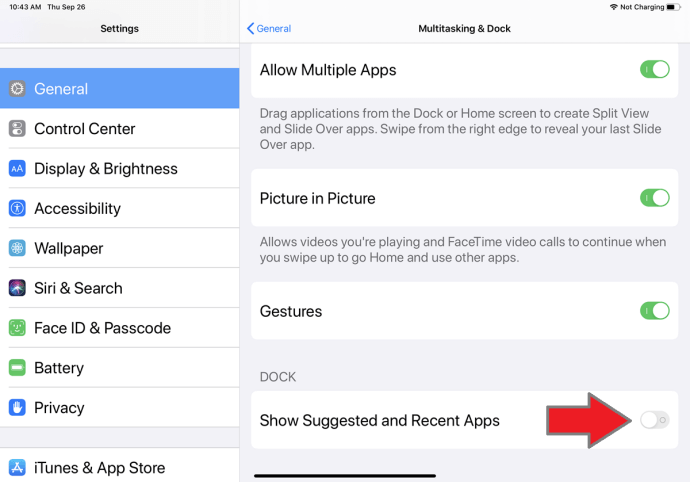
1. On your iPad, go to Settings and then select Multitasking & Dock option.
2. Scroll to the bottom portion and Turn Off the Show Suggested and Recent Apps option.
3. Now, you won’t see the recent app on your Dock on iPad.
Slide Over and Split View Mode with Dock on iPad
Sometimes, you may need to use more apps on the iPad without changing the screen that you are using. You can do this with slide-over and split view mode. And it is possible only if you have only two apps in the Dock.
With Slide Over
1. First, add two apps on the Dock and open the first app you want to use.
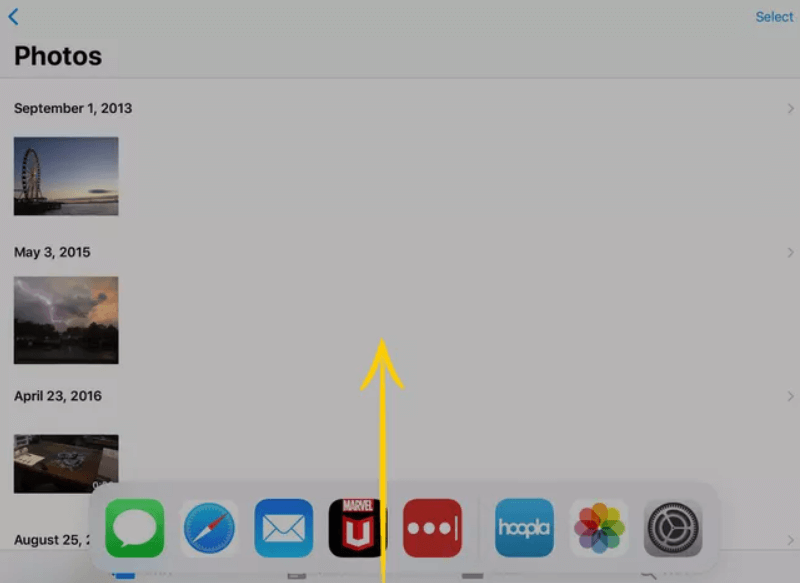
2. Then, swipe up from the bottom of the screen to view the Dock.
3. Now, drag the second app towards the center of the screen and then drop it.
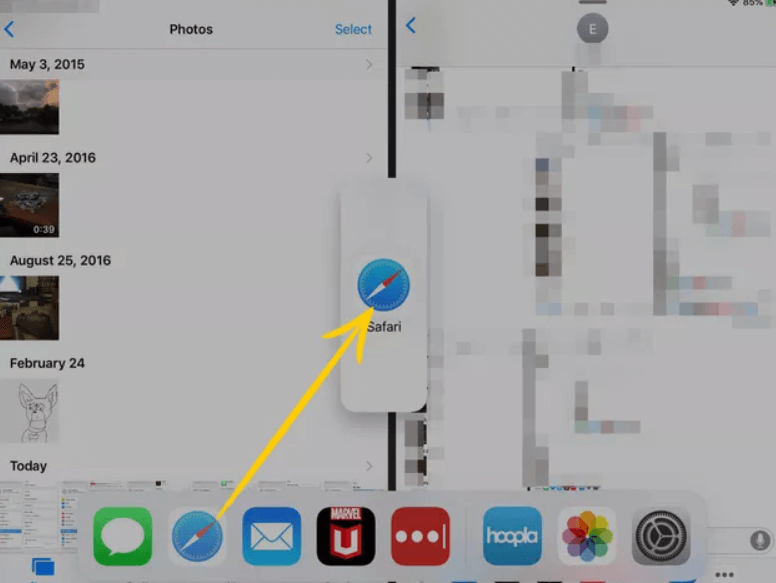
4. Once done, the second app will open in a small window on the edge of the screen.

5. If you want to close the slide-over window, swipe it off the edge of the screen.
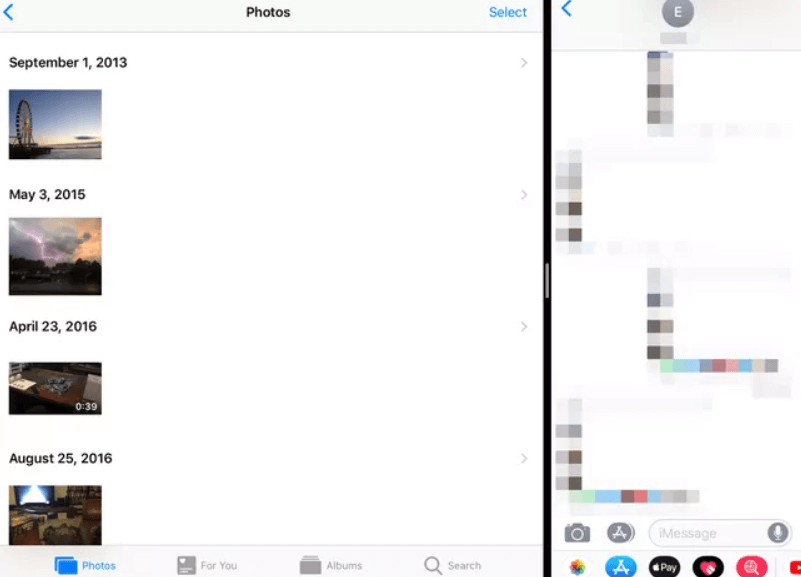
With Split View
Split view mode lets you divide the screen into two sections for each app.
1. Launch the first app that you want to work with and swipe up from the bottom of the screen.
2. Then, drag the second app to the left or right edge of the screen.
3. Release the app into the black space on the edge of the screen to open it in split view mode.
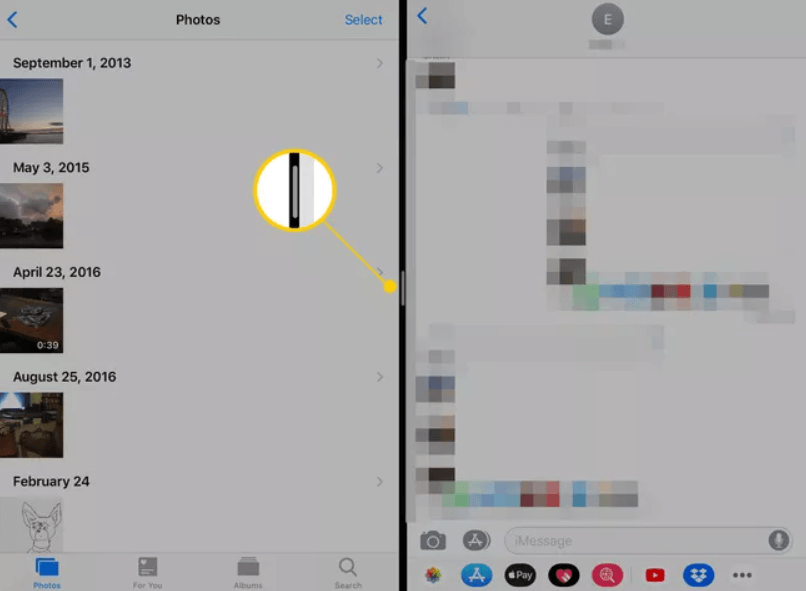
4. You can use the divider to divide space for both apps.
Related: How to Remove Split Screen on iPad [2 Effective Ways]
How to Enable Dark Mode on Dock
At last, you can enable Dock dark mode on your iPad. To do so,
1. Launch the Control Center on your iPad.
2. Press the control for brightness.
3. Now, choose the Dark Mode button to turn on.
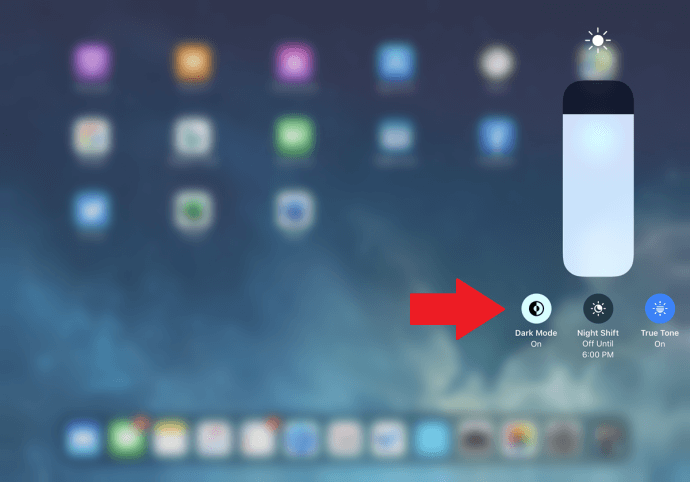
4. Then, close the Control Center, and you can see the dark mode.
Using dock on iPad is simple and straightforward. The Dock is a more helpful feature available on the iPad. Moreover, it helps you to do multitask on the iPad. We hope the procedure given above is very clear to use Dock on iPad.