
Audacity is an open-source audio editing software suitable to work on Mac. The software is entirely free and equipped with various features. In addition to editing, the user can also perform multiple functions like mixing sounds, converting audio formats, adding effects, merging audios, etc. Audacity supports all kinds of audio formats (MP3, WAV, FLAC, OGG, etc.). The tool supports 24-bit depth sound recording. There is plenty of paid software out there for Mac devices. Sometimes, it crashes or doesn’t have features that the user needs. But Audacity provides more features at no cost. Editing audios on Mac with this power-packed tool is easy and quick to do. The blog guides on installing Audacity on Mac, and you shall check it out.
How to Download Audacity on Mac
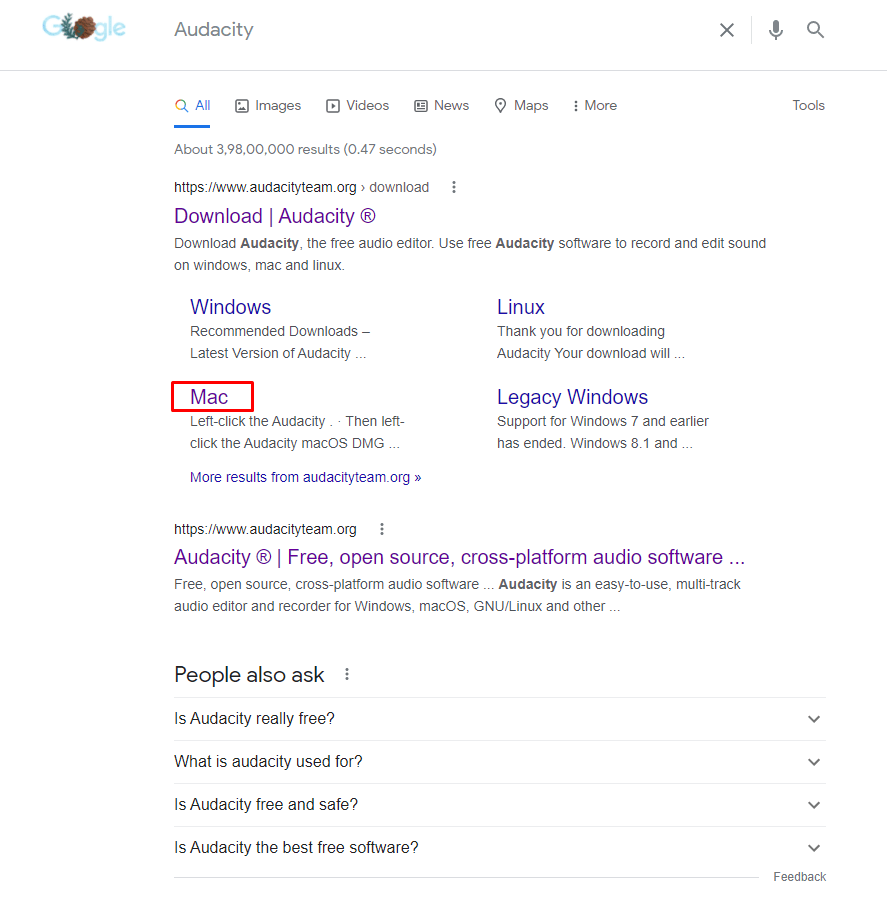
1) Launch a web browser on Mac.
2) Type Audacity in the search panel or visit audacityteam.org
3) Click on the Mac option.
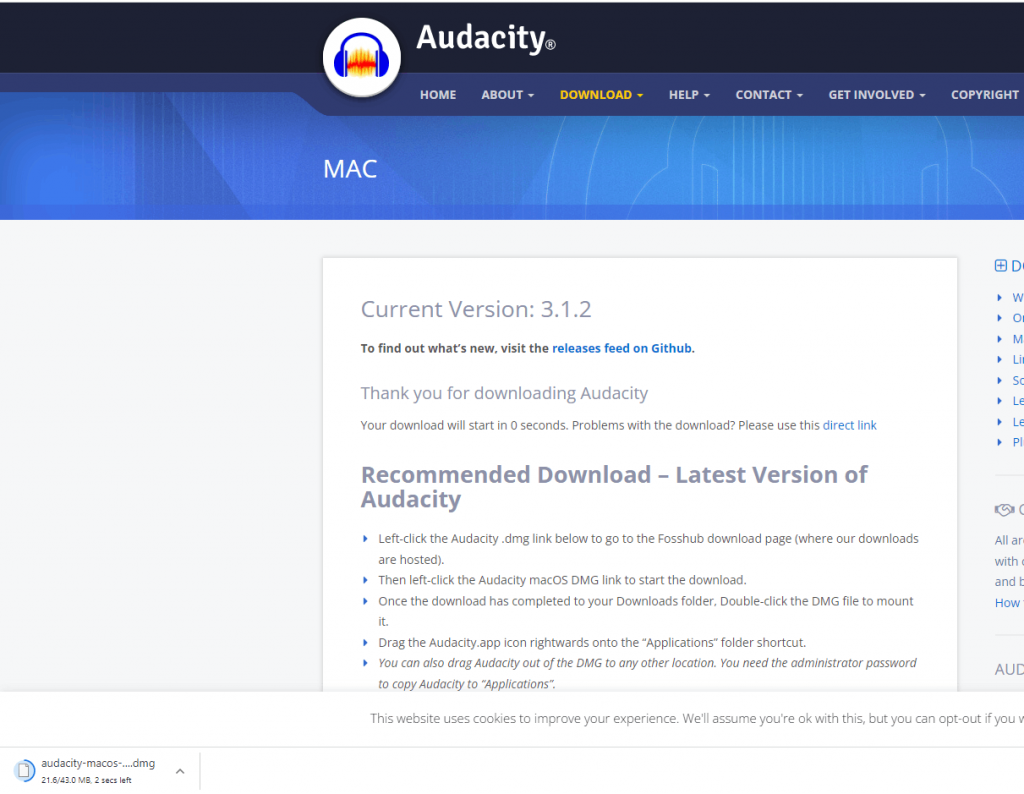
4) You’ll be directed to a new screen, where the software begins to download automatically.
5) If the software isn’t downloading, click on the direct link.

6) After downloading, click on the installer file on your screen or navigate to the download tab on your Mac.
7) Now, double click the .dmg file you downloaded to mount the audacity folder on your Mac.
8) Open the Audacity folder and select the Audacity icon.
9) Drag and drop the audacity icon into the Application folder.

10) Double-click the icon to launch the software and follow the on-screen instructions.
How to Update Audacity on Mac
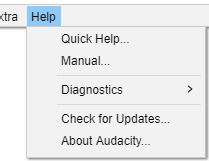
1) Open Audacity and select the Help tab.
2) A list of options appears, in which click on Check for Updates.
3) You’ll be redirected to a download screen. Here, you can check for updates.
4) To check your current version of Audacity, tap the option Help > About Audacity
5) Compare the features of both versions and make a decision about updating the software.
Related: How to Use Time Machine on Mac [A Detailed Guide]
How to Use Audacity on Mac
You can import, record, edit, and export audio with Audacity on macOS. The below section covers the entire thing in brief.
Import Audio
To import audio files from your Mac to Audacity, refer to the steps below.
1) Click on the File menu and tap Open.
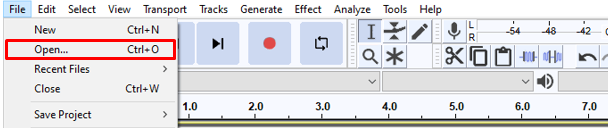
2) Select your audio files and click Open. Your audio files will be imported to the editing space.
Record Audio
1) To record audio in Audacity, tap the record icon (red dot).
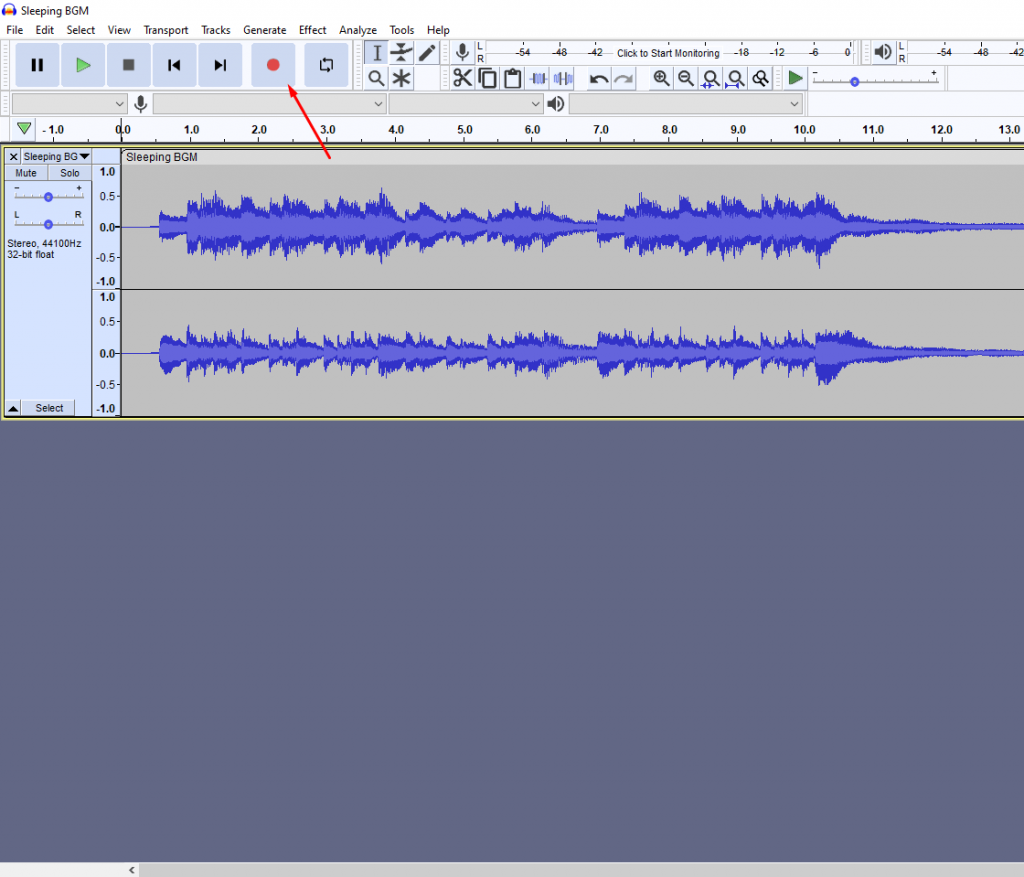
2) After tapping the record icon, start speaking.
3) Your audio will be recorded and displayed as frequencies in the editing space.
Edit and Export Audio
To edit audio, you should import your files from Mac or edit the recorded audio. You can cut, trim and merge audios. In addition to this, there are plenty of special effects you can add to your audio. To Access it, Go to the Effects tab. To export audio, follow the steps given below.
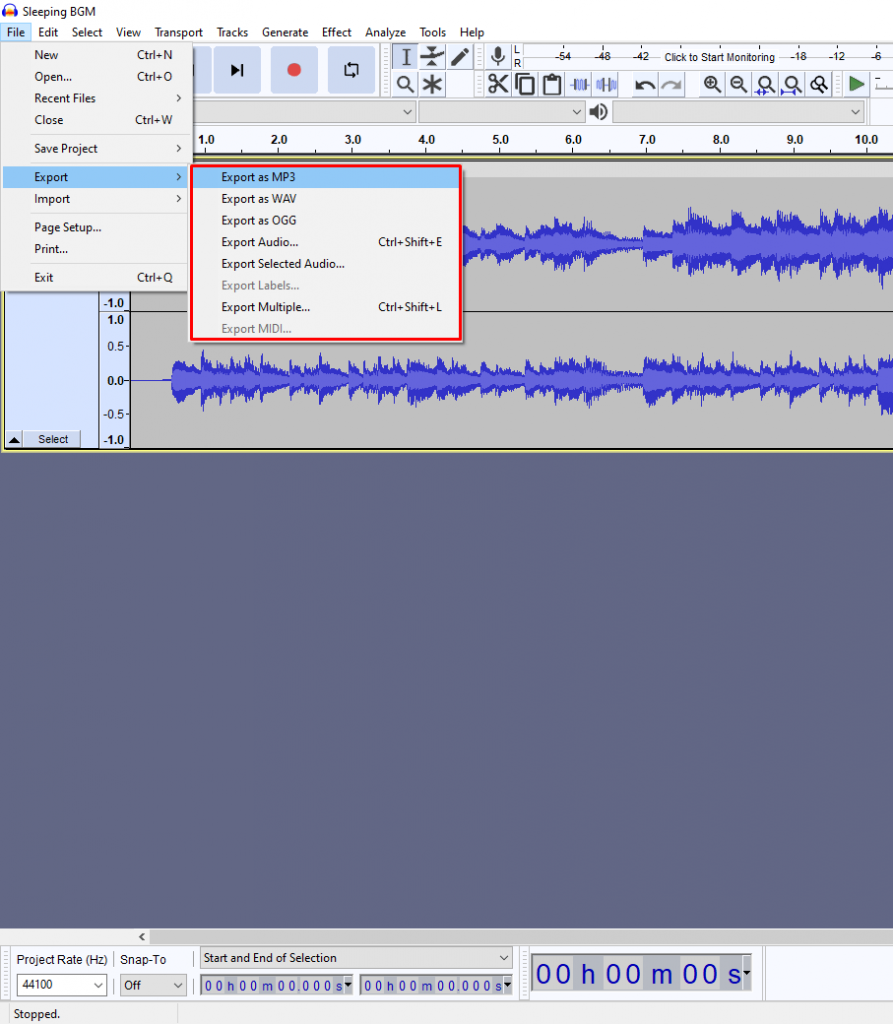
1) After editing your audio files, click on the File menu.
2) And then tap the Export Audio. Choose your desired audio format.
3) On the screen that displays, type the file name and choose the location on your Mac to store the exported audio, then tap Save.
4) A screen pops up in which you should fill in the necessary details like the artist’s name, track tile, etc.
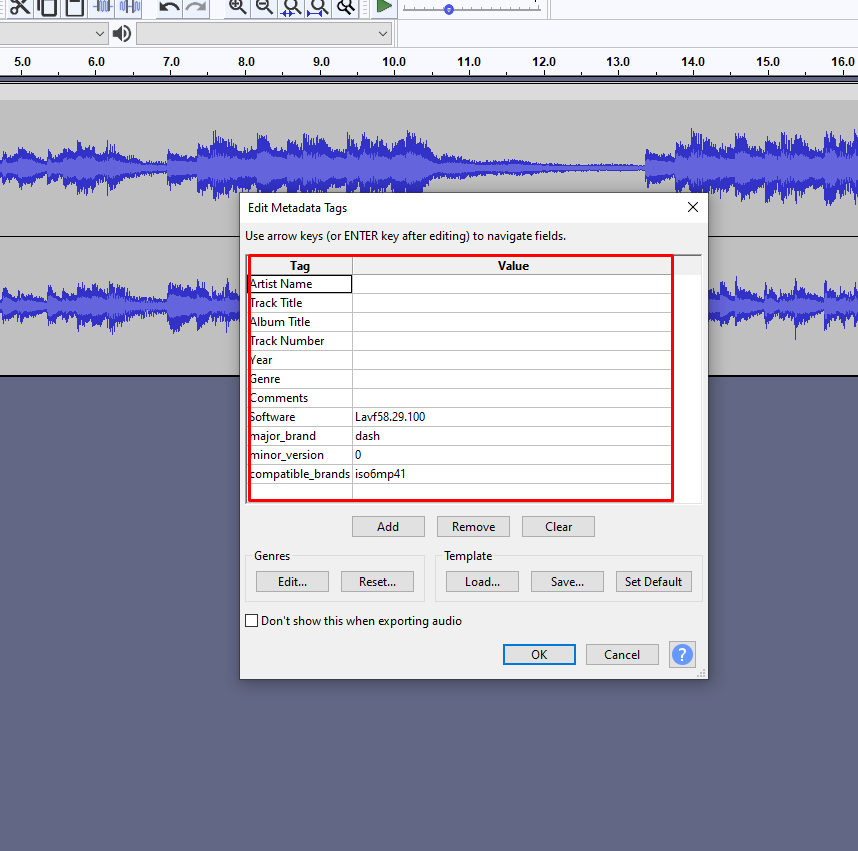
5) Now, select OK to import the audios to the location you selected on Mac.
Related: How to Switch Users on Mac in All Possible Ways Effortlessly
That’s it. Refer to the steps listed above and install Audacity on your Mac. Audacity’s simple interface makes it easier for even beginners to learn. Instead of buying paid audio editing software for your Mac, use this software for free. The software will be lightweight on your Mac system and does not cause any trouble while editing. Hope this article benefits you! To learn more about interesting tips and tricks of Apple products, visit our blog.